Introduction
- Reasonably priced
- Decent range
- Removable power pack
- Front battery pack not to everyone’s taste
- Complicated crowdfunding-style purchasing
Introduction
In all the excitement about electric car sales, it’s easy to forget that other forms of electrified mobility are also booming. With the pandemic discouraging people from crowded public transport, escooters and ebikes are gaining interest. But the very cheapest ebike will set you back at least £600, and most are quite a bit more than this. If you have a regular bike already that you like already, you may not want to stop using it. So what about converting it to electric? After all, there’s a booming business doing this to classic cars.

This is where Swytch comes in, with a kit that will electrify most standard bikes. The basic Universal kit costs £999, but you can get it for half price if you’re willing to wait 12 weeks, and there are prices in between with varying lead times, which is all a bit complicated. Unfortunately, you can’t just go to Swytch’s website and buy. You have to register your interest and wait for the next round of manufacturing, although Swytch claims this is how the costs can be kept low.
Aside from Universal kit for any bike there is a specific one for a Brompton. There are also ECO and PRO versions of the power pack, which corresponds to 180Wh and 250Wh respectively, giving you 35km (22 miles) or 50km (31 miles). The PRO pack also includes a built-in 200 lumen light.
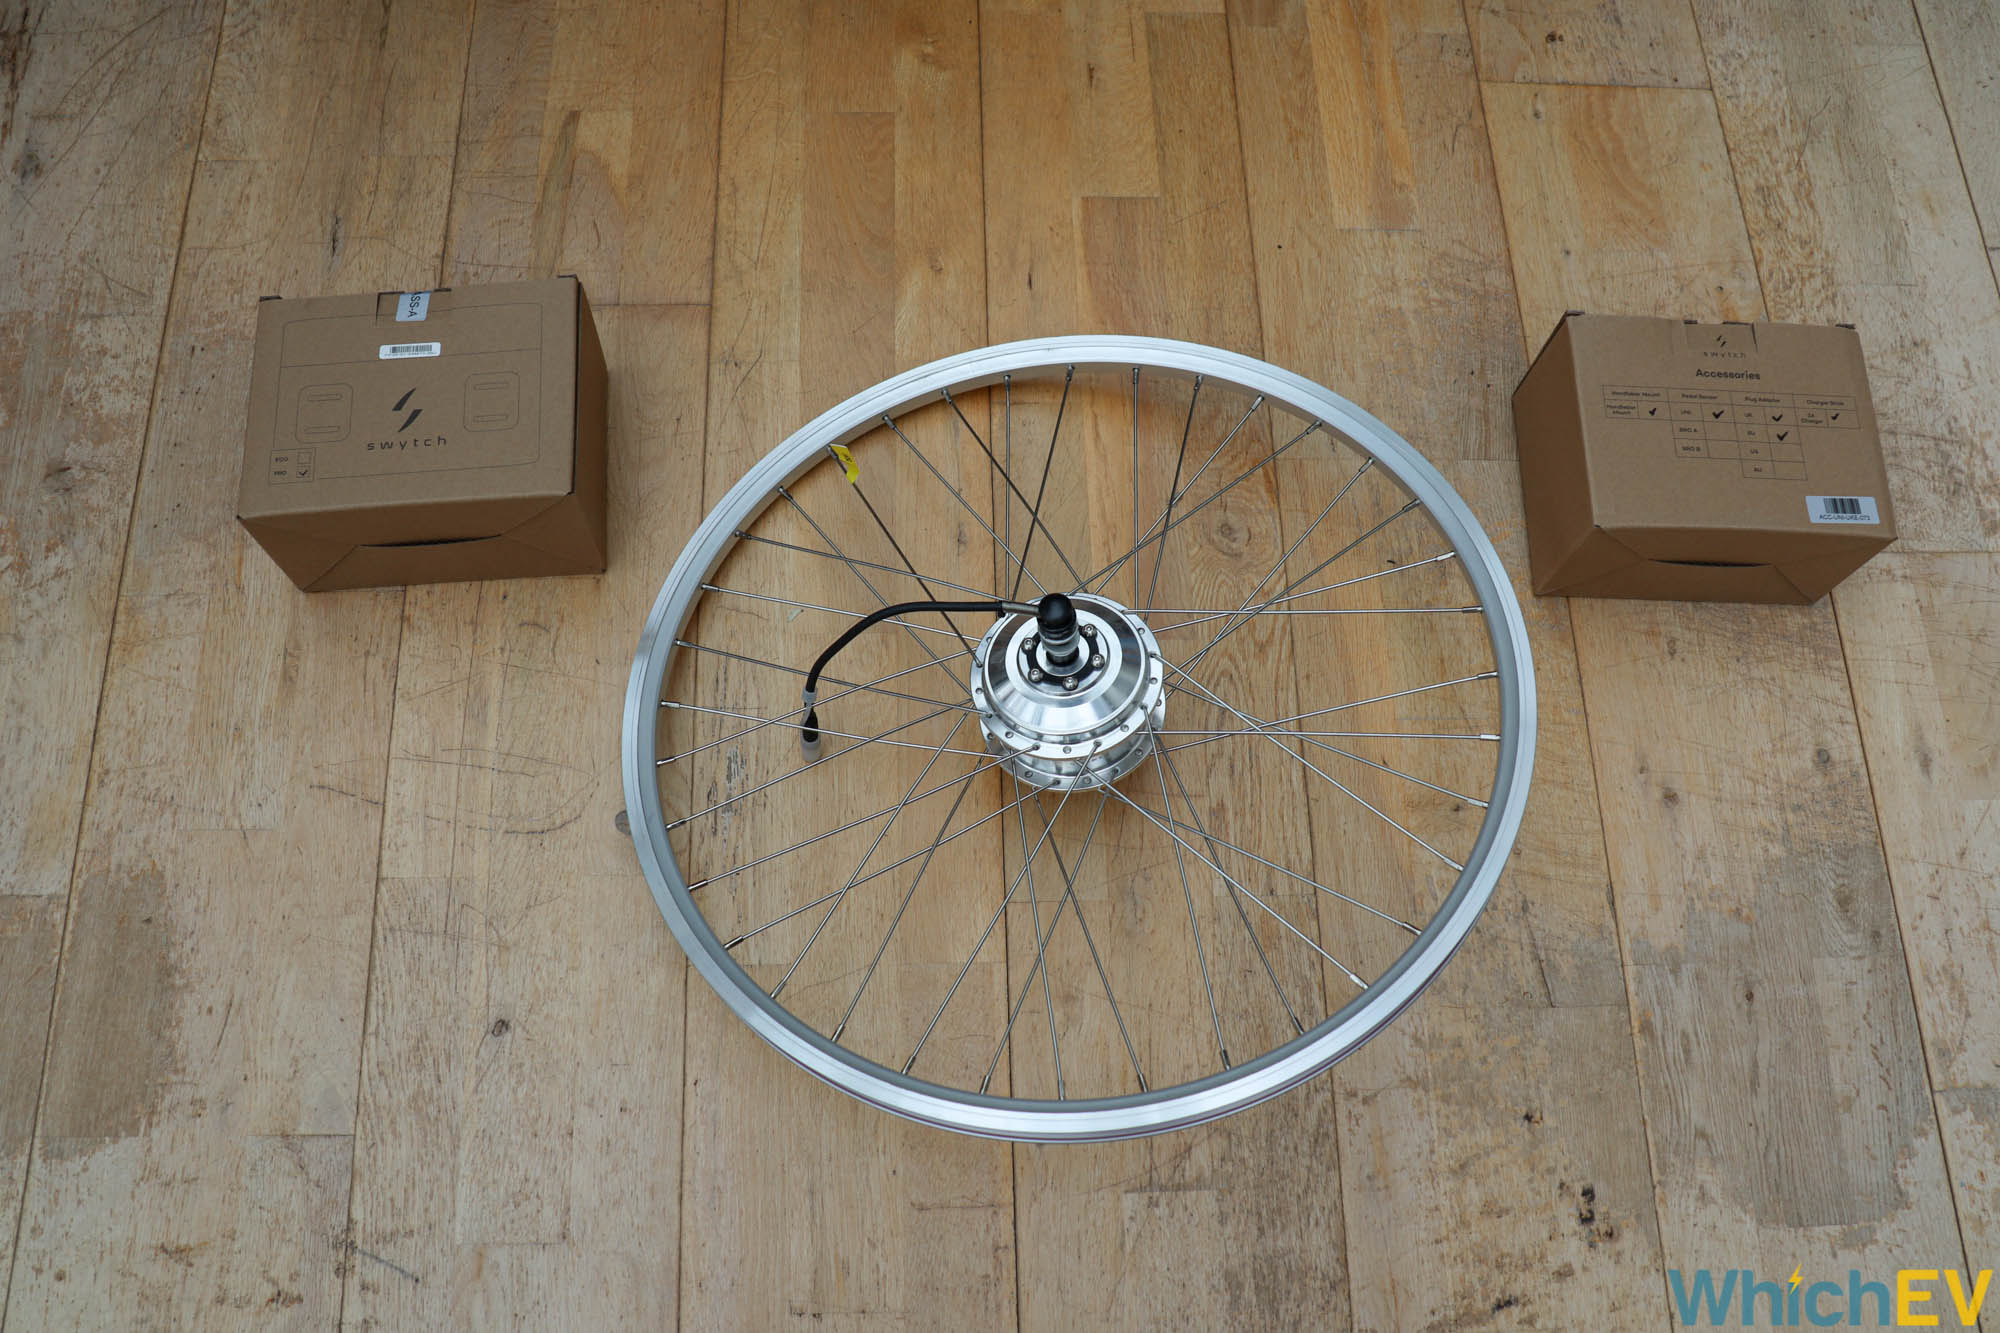

When you order your Swytch, you need to specify your wheel size. You will then be sent a wheel to match your bike (although probably not the spoke style). You can ask for black, but the standard finish is silver. There are also a number of accessories you can specify. These include in-line or hydraulic brake sensors, which will shut off the power to the motor as soon as you hit the brakes. You can fit these on the rear only, or front as well. There’s also a torque arm, a twist throttle, and a thumb throttle. The cost of these isn’t advertised on Swytch’s website, and it’s not clear how you would buy them after receiving the main kit.
Installing the Swytch
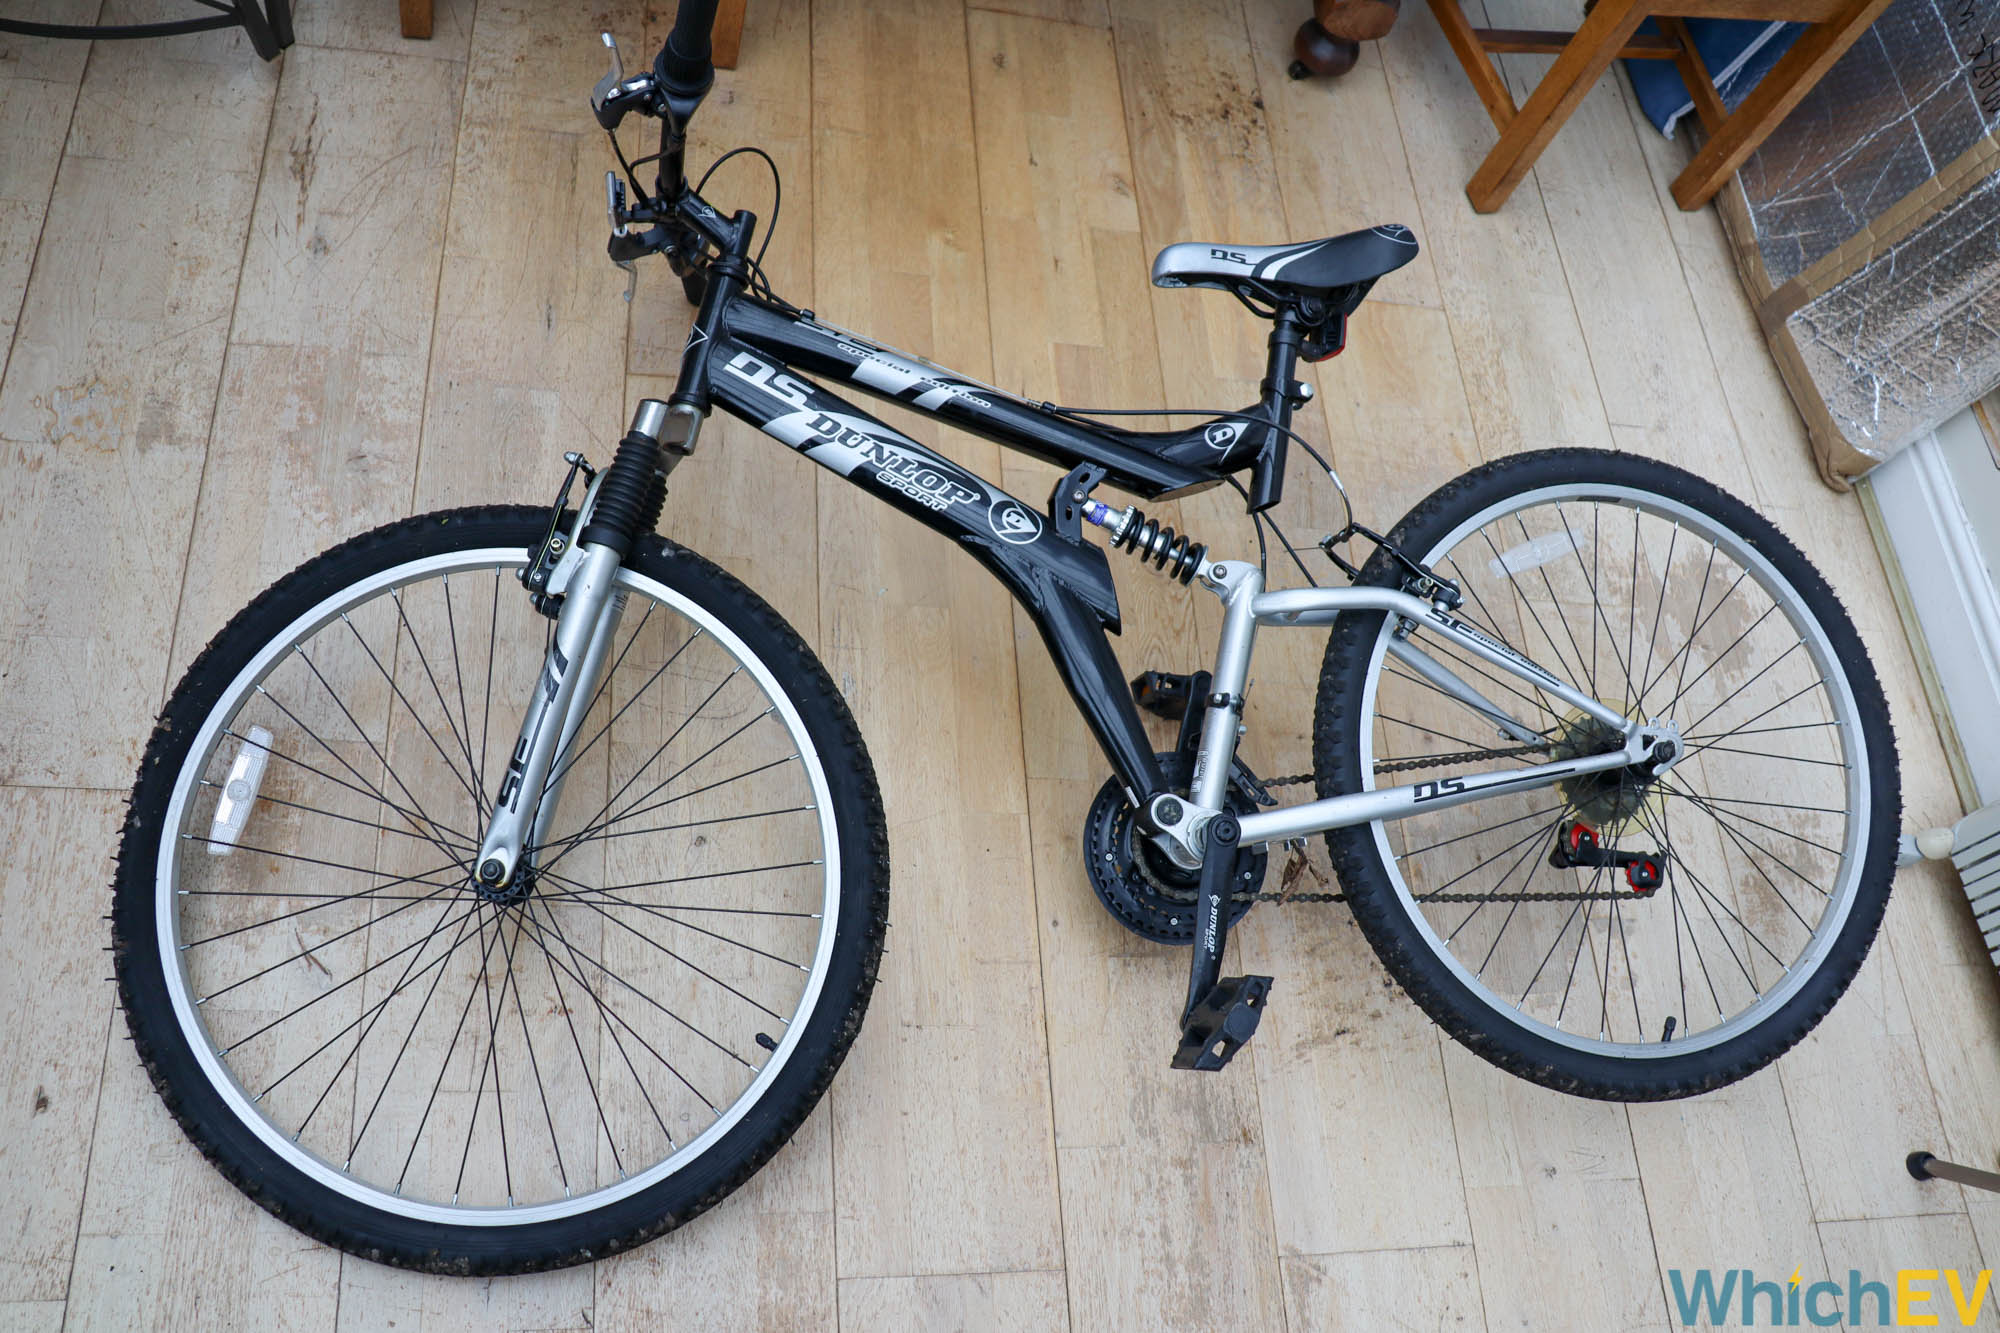
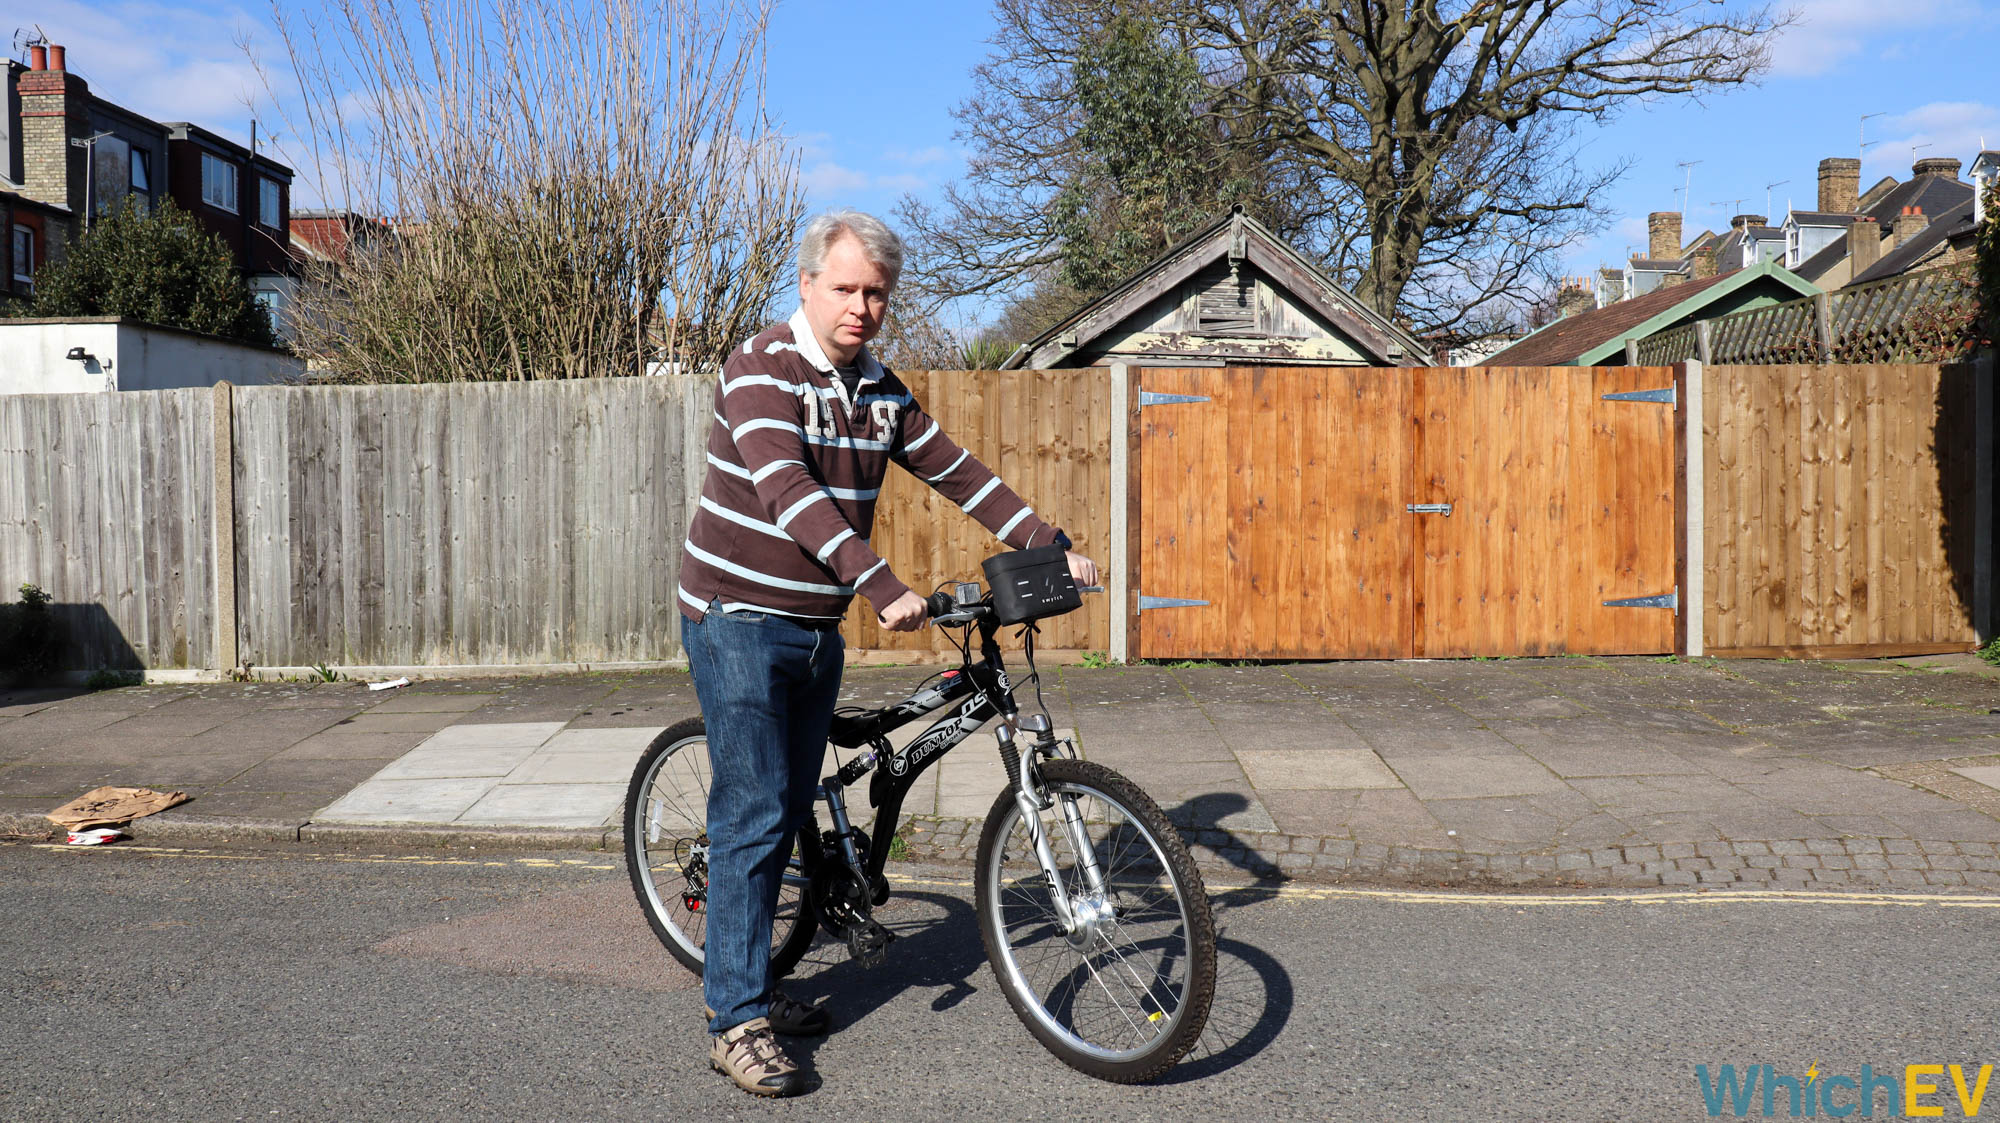
However, if the purchasing system is a little unorthodox and like crowdfunding, the rest of the experience is extremely polished. We decided to install the Swytch on a very basic Dunlop Sport DS dual-suspension mountain bike. This has 26in wheels and is extremely solid, but very heavy making it not such an ideal city bike, particularly on journeys with lots of hills. We reckoned electrifying it would alleviate that problem. The kit Swytch sent us was the PRO one, but without any accessories.
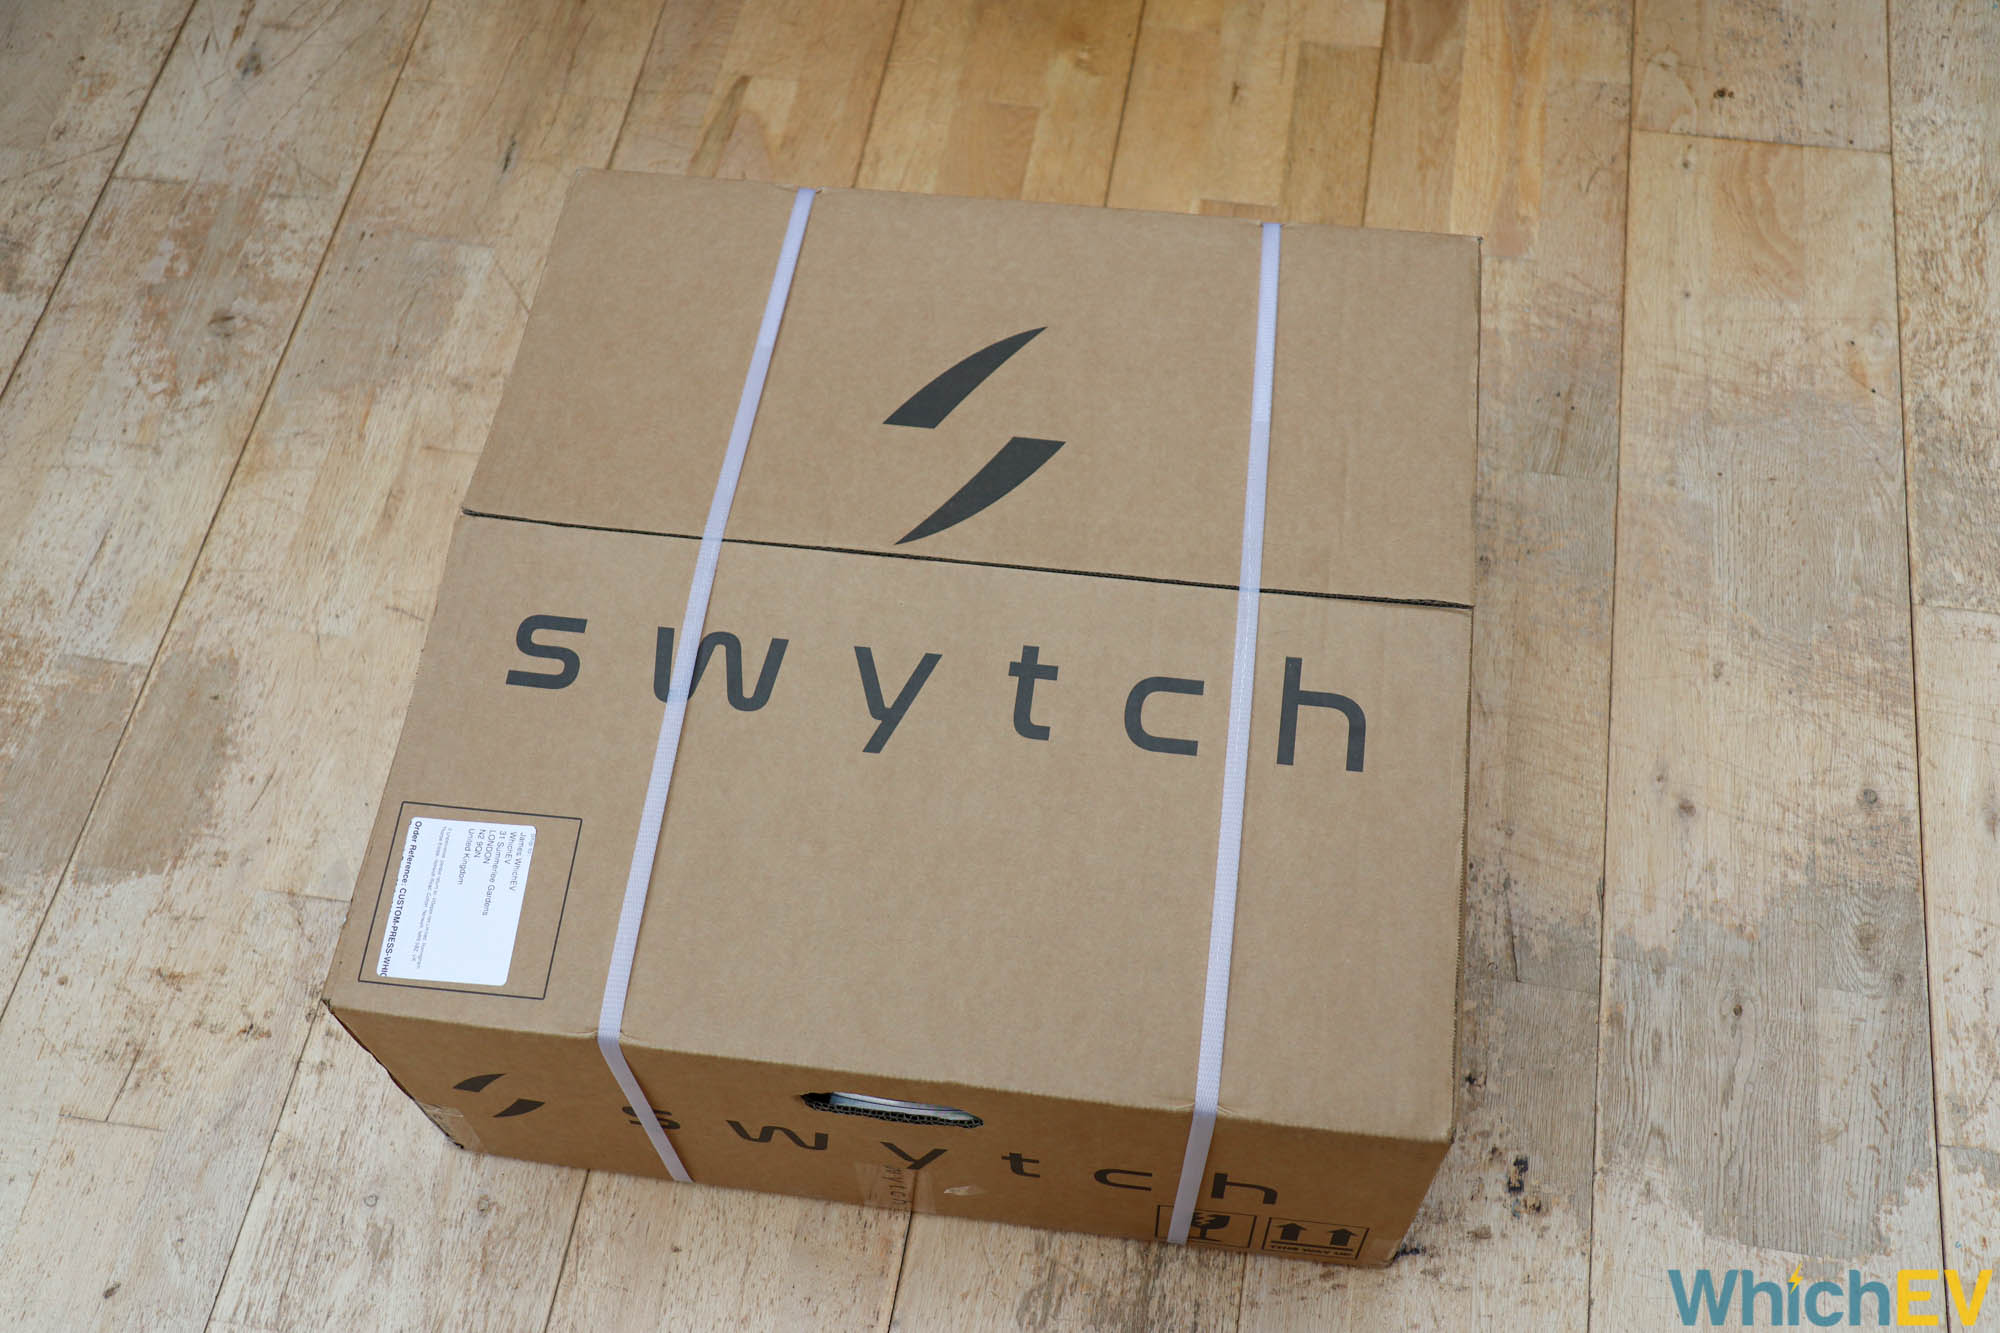
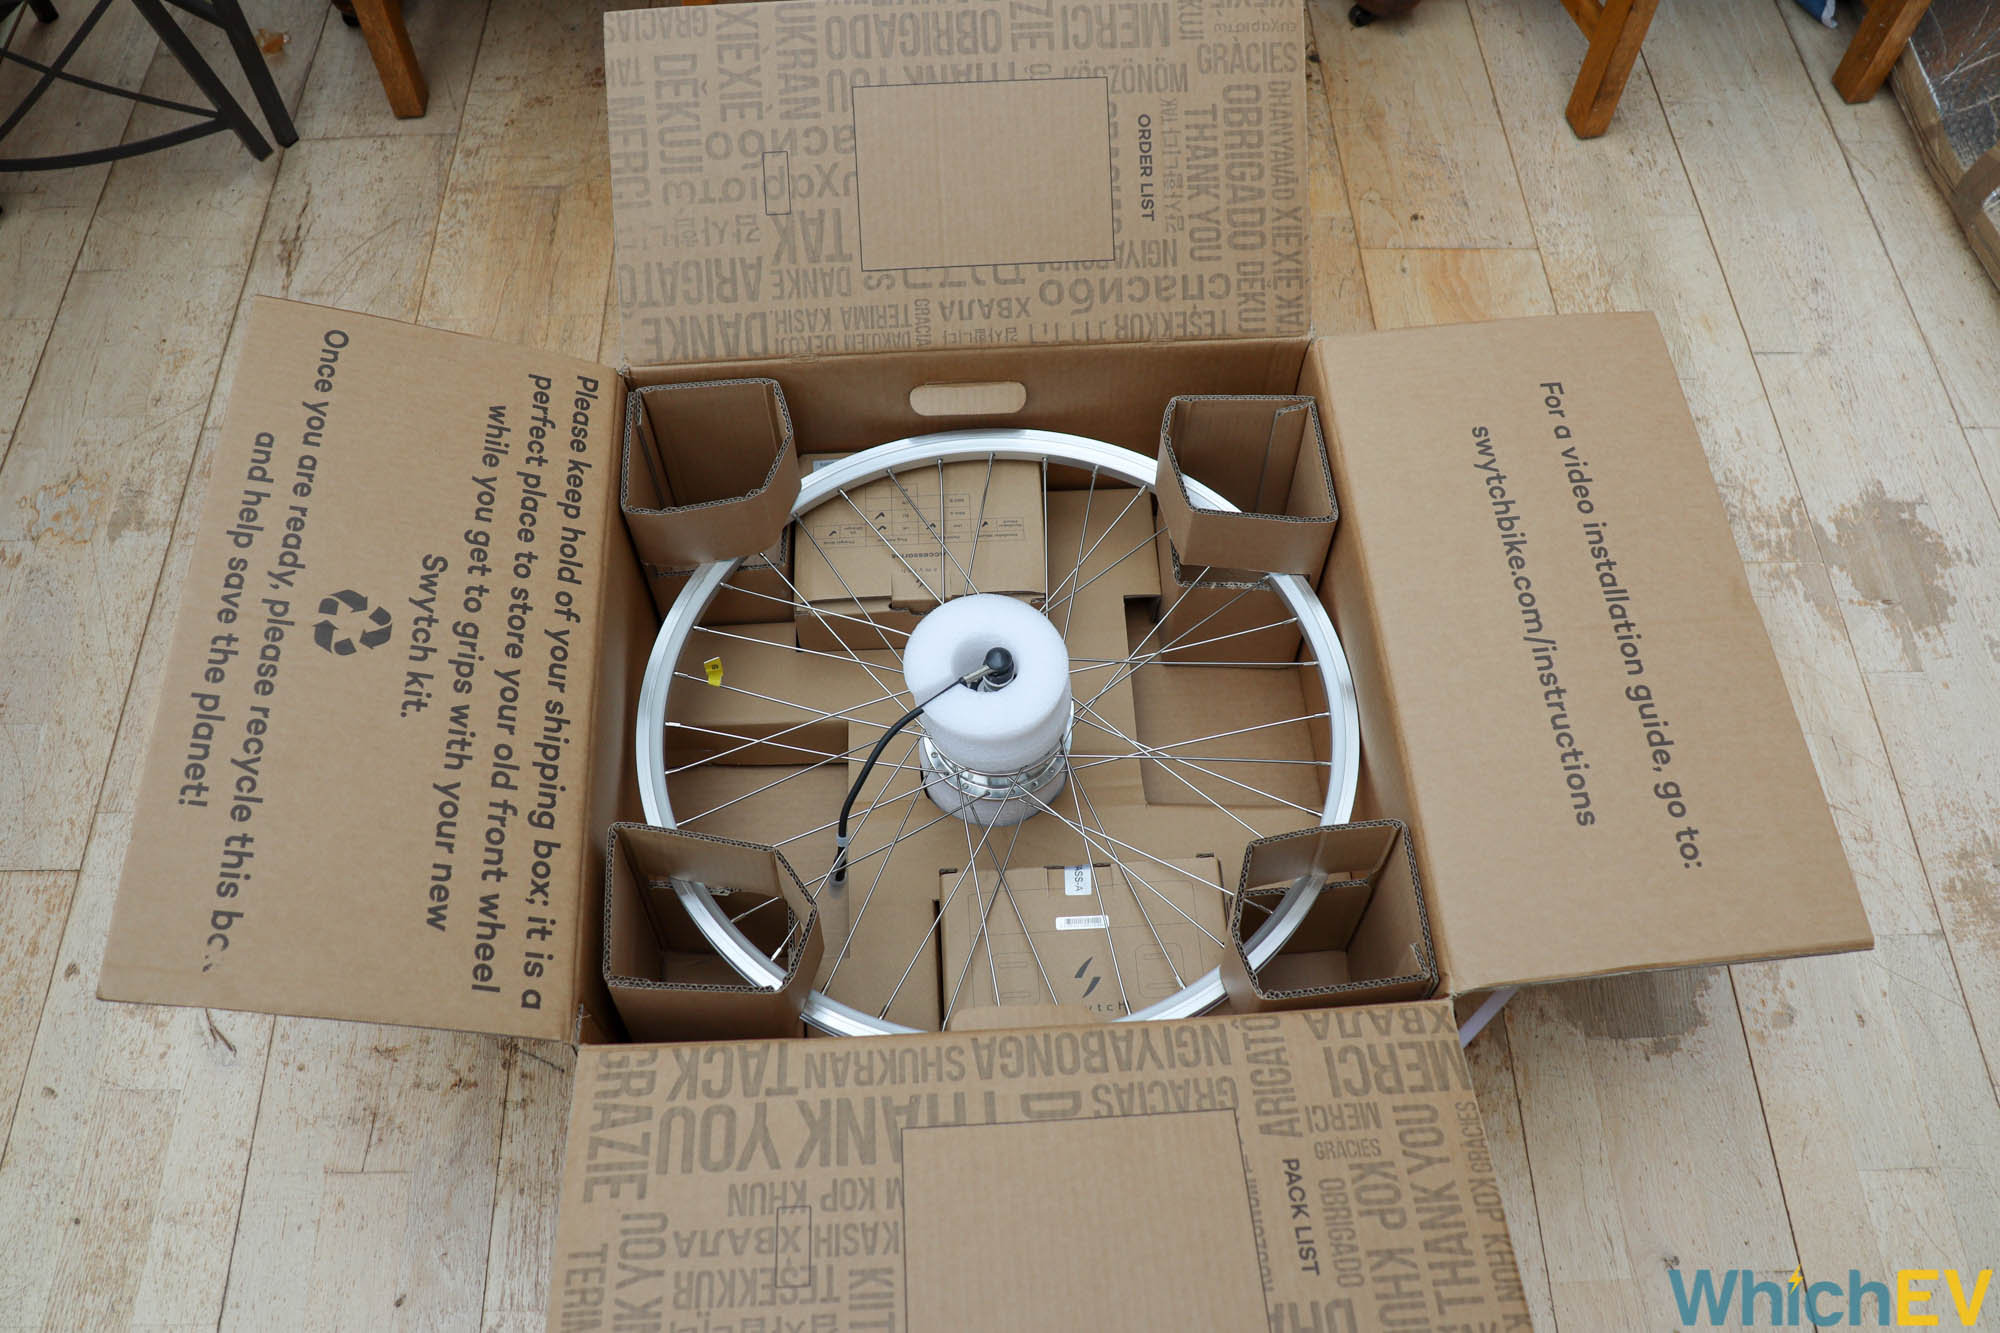
In the box you get a wheel the right size for your bike (but no tyre), a battery pack with the proportion of a medium-sized lunchbox, plus various wires and electronic components. Although you can watch installation videos on Swytch’s website or download the manual in PDF form, you also get paper manuals in the box. This is a bit of a godsend because installation has quite a few stages and will need some care if you’re not particularly big on bike maintenance. You will be checking the manual regularly to be sure you’re doing things right.
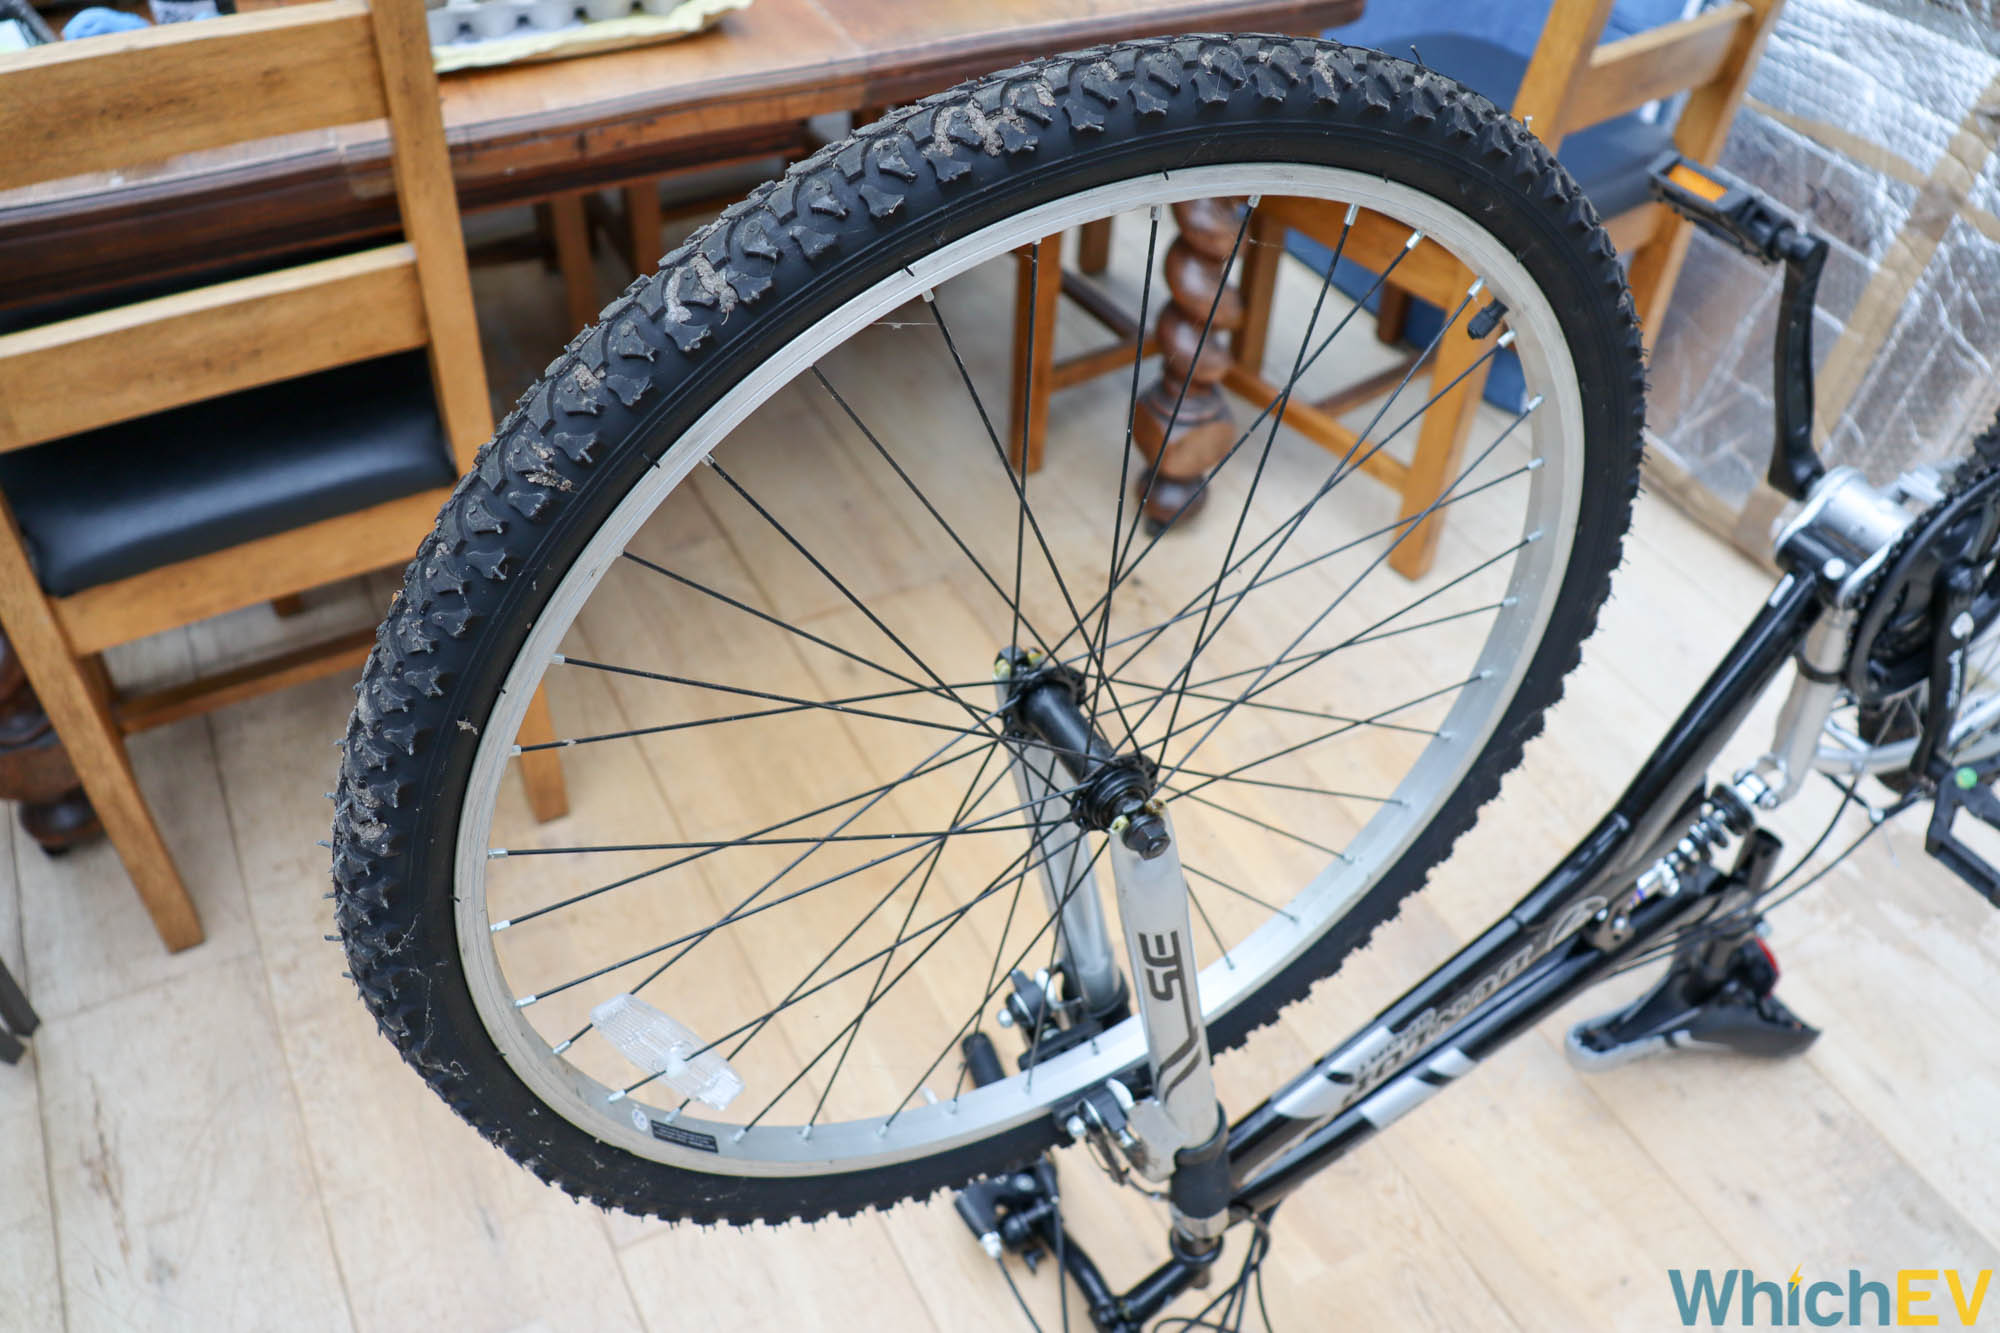
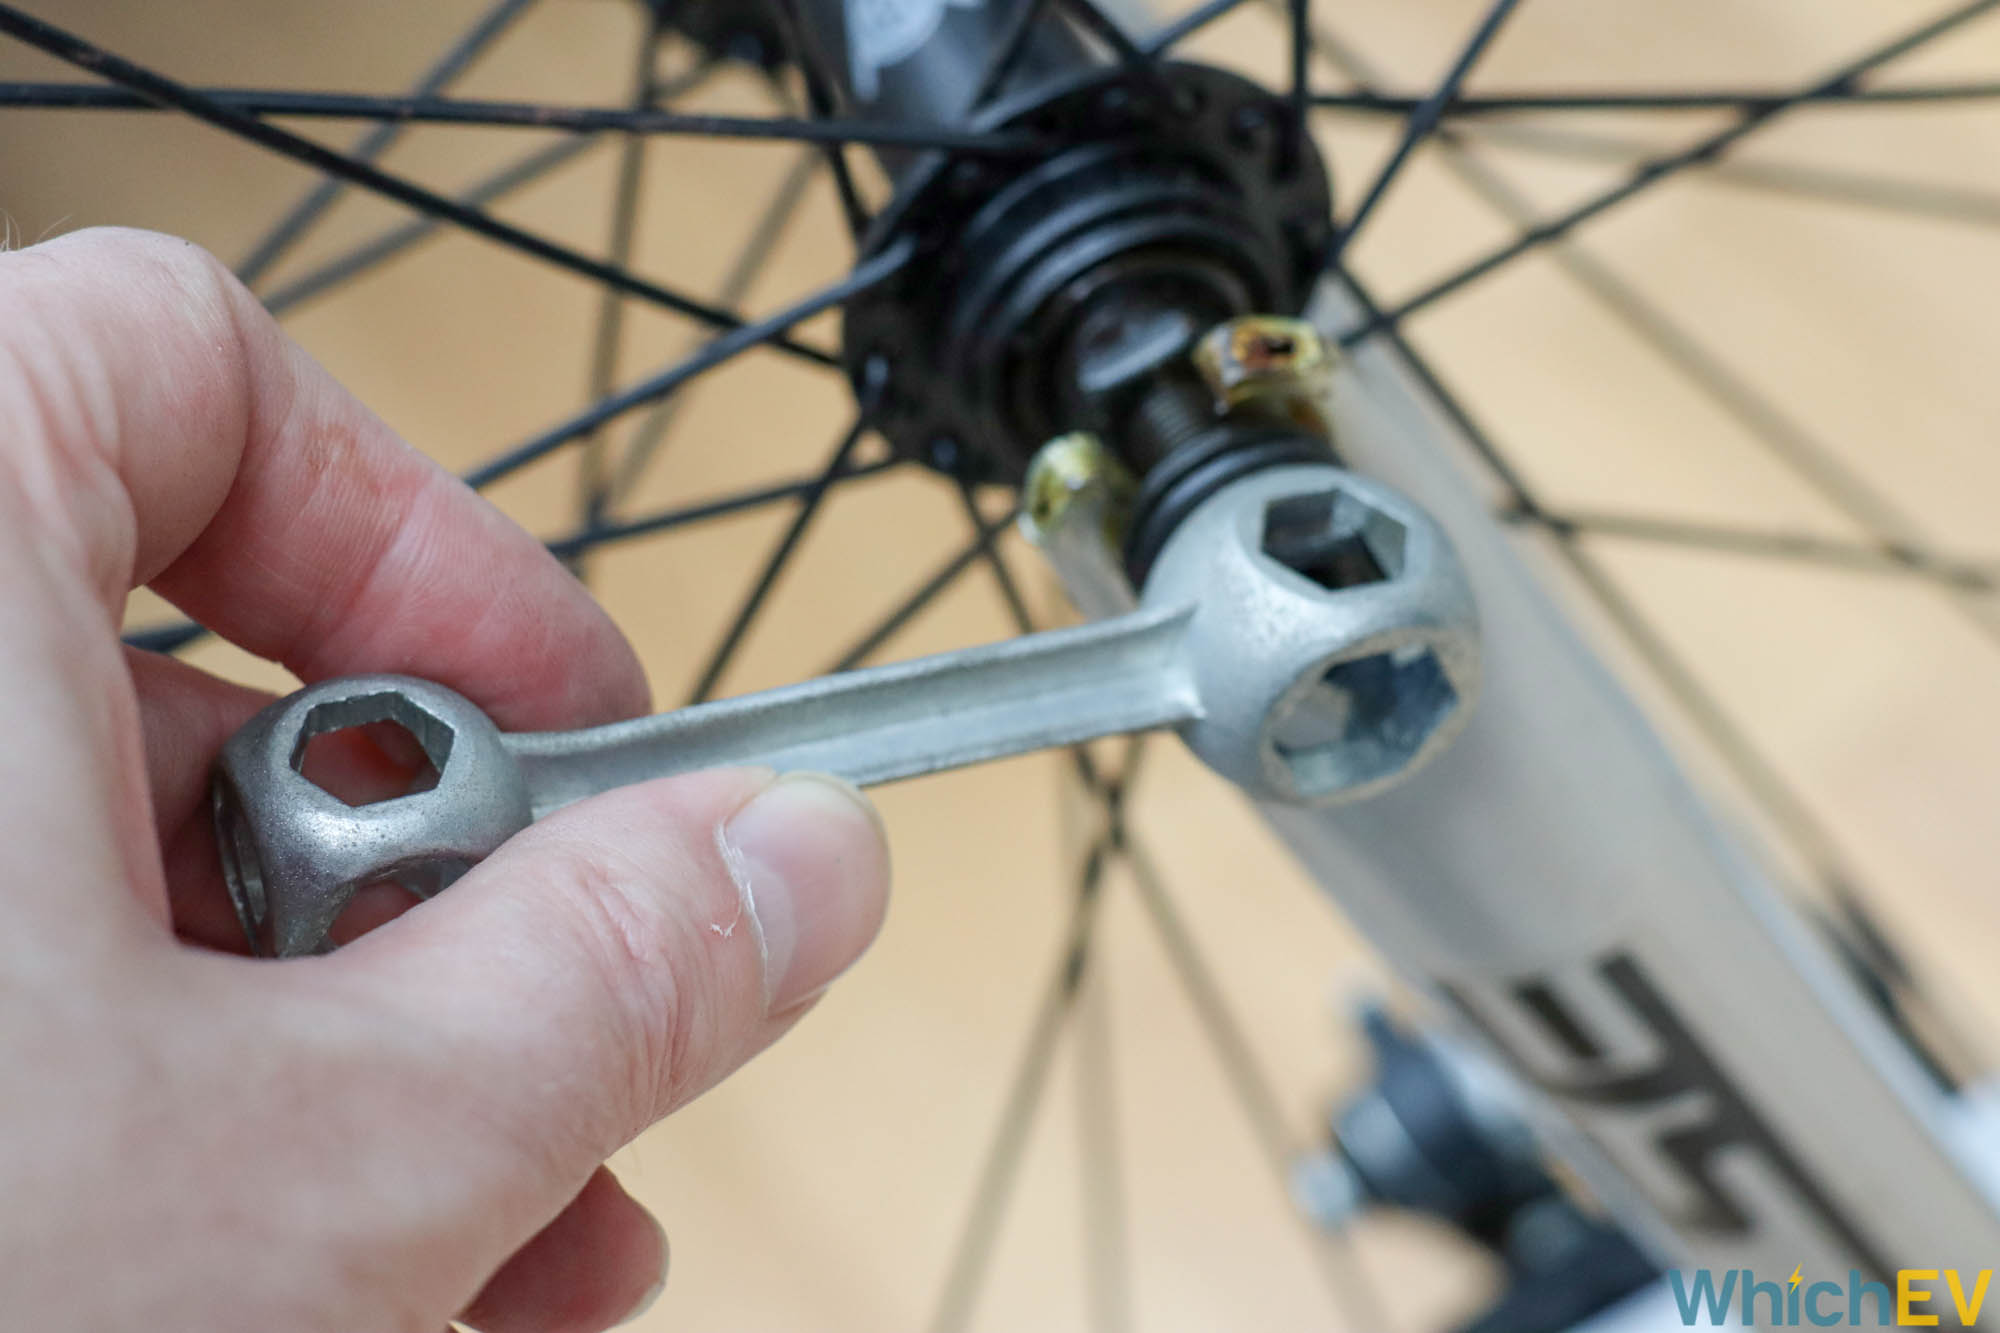
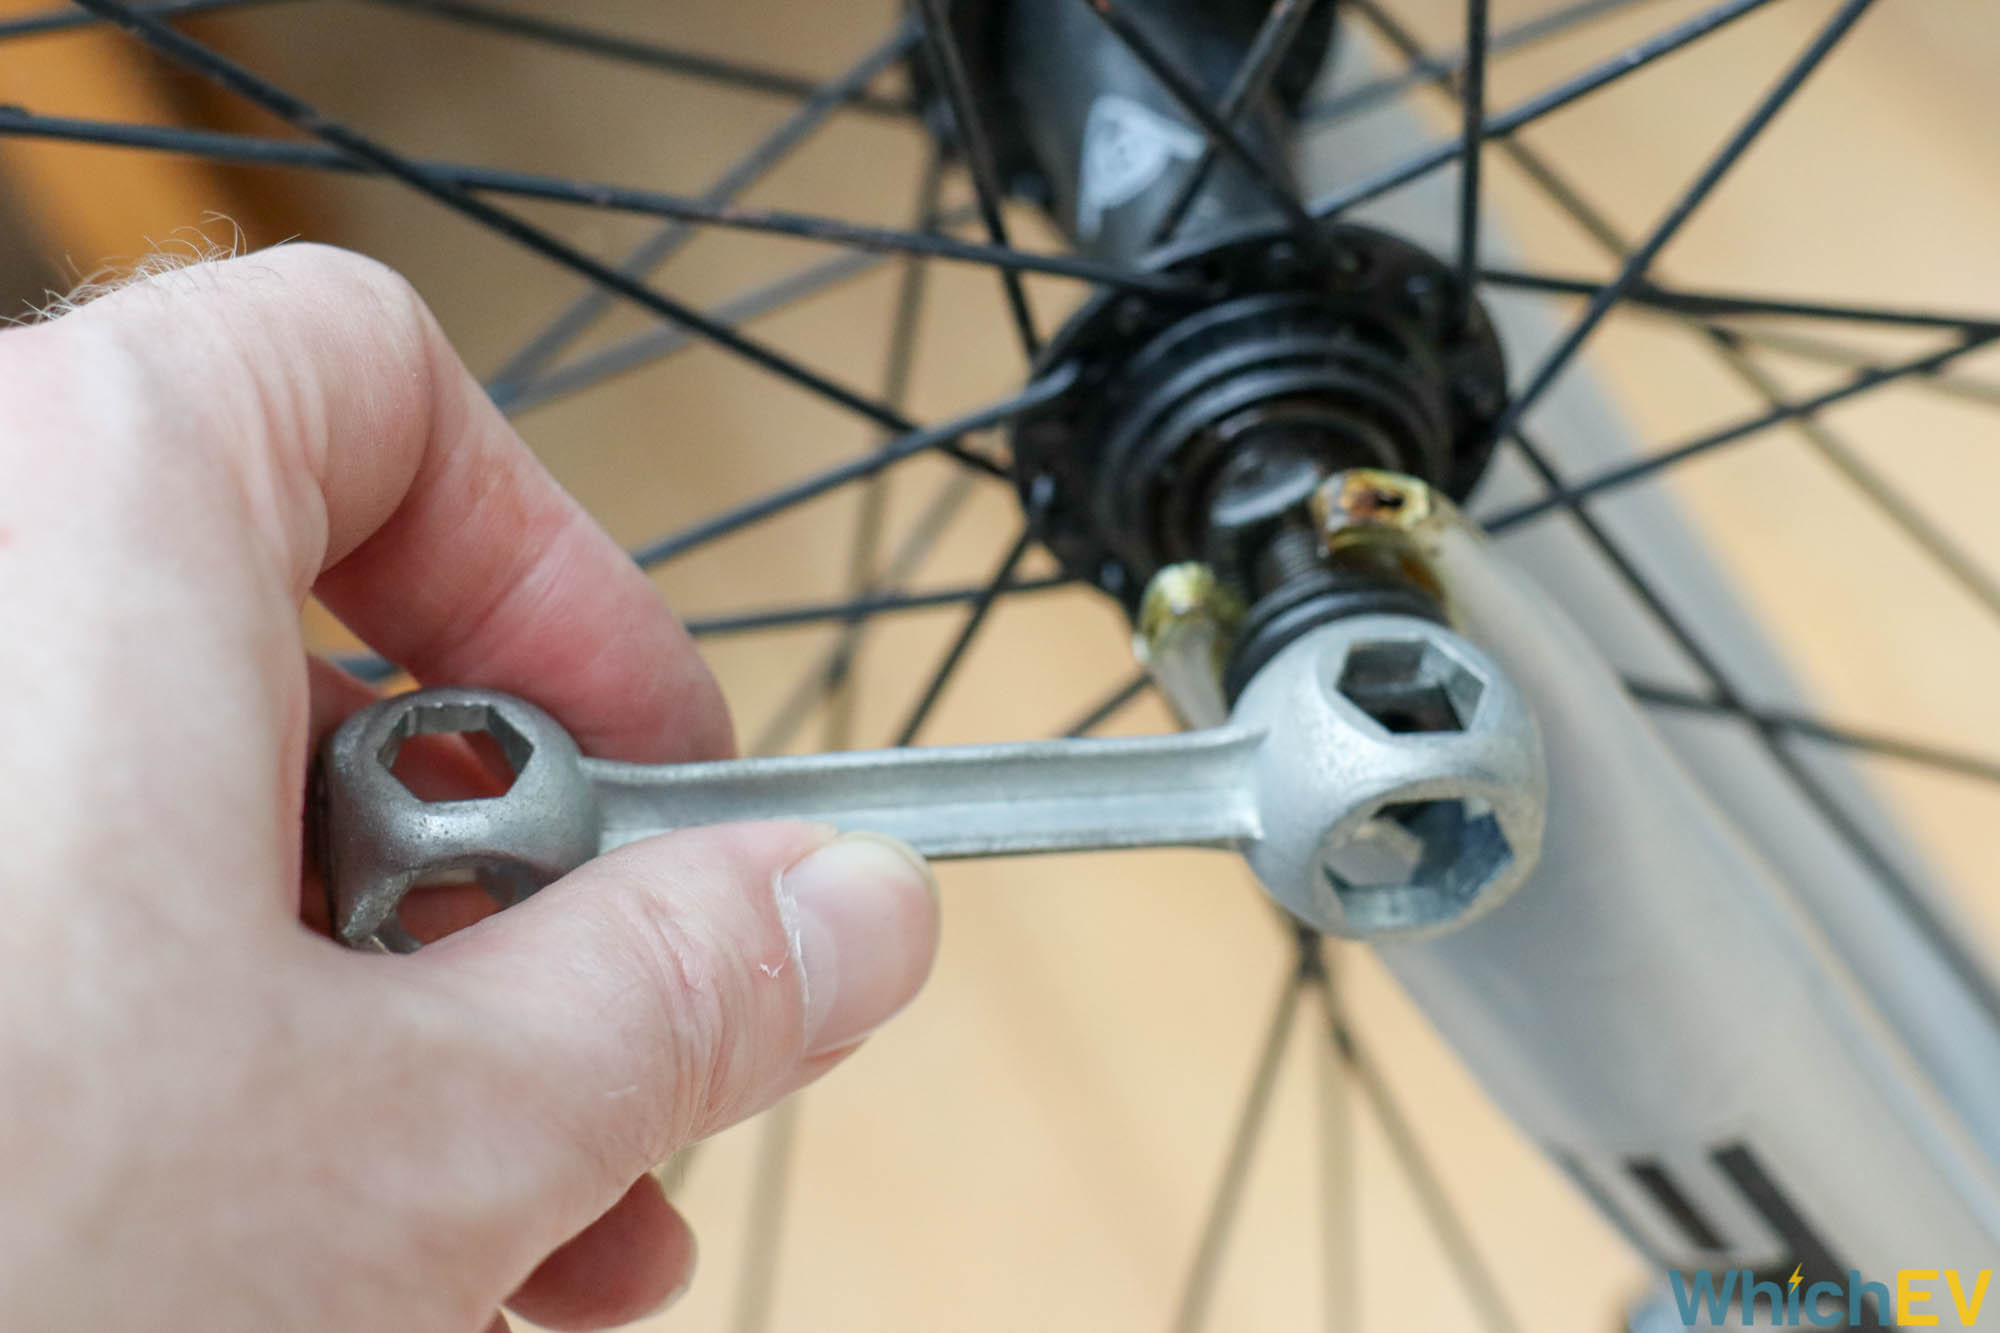
The first step is ensuring you have the tools you need. This includes a spanner, Allen key set, bicycle pump, potentially some screwdrivers and (all-importantly) tyre levers. This is because your first job is to remove the existing front wheel from your bike, then take off its tyre and inner tube. On our Dunlop cycle this proved to be extremely difficult due to the solid, heavily treaded nylon mountain bike tyres. We also had to be careful to get the tread pointing in the right direction because the motor on the Swytch wheel is meant to go on the side opposite the pedals, otherwise it will drive backwards.

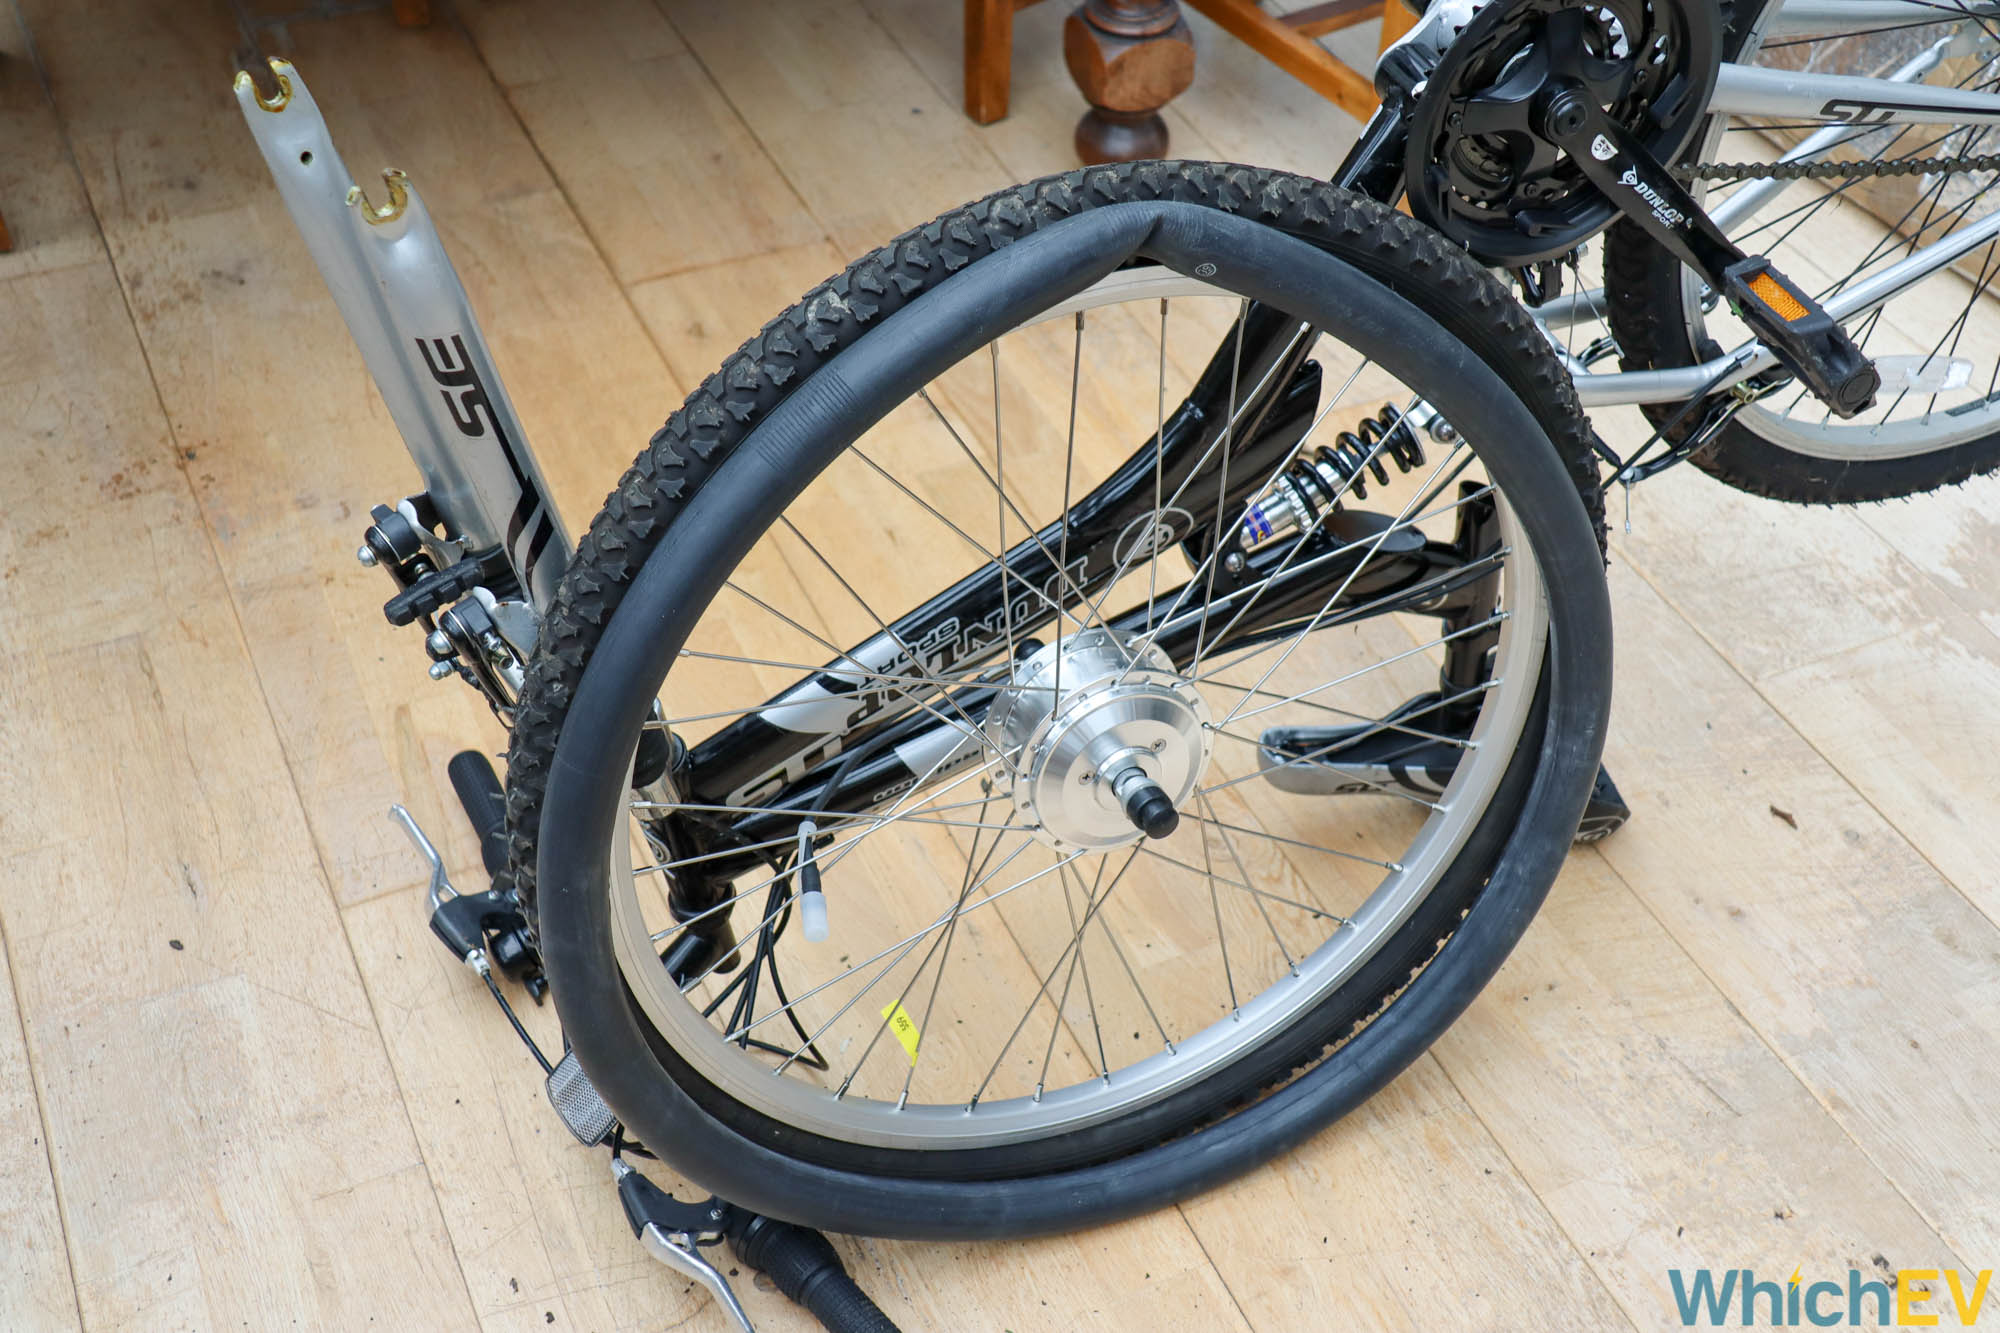
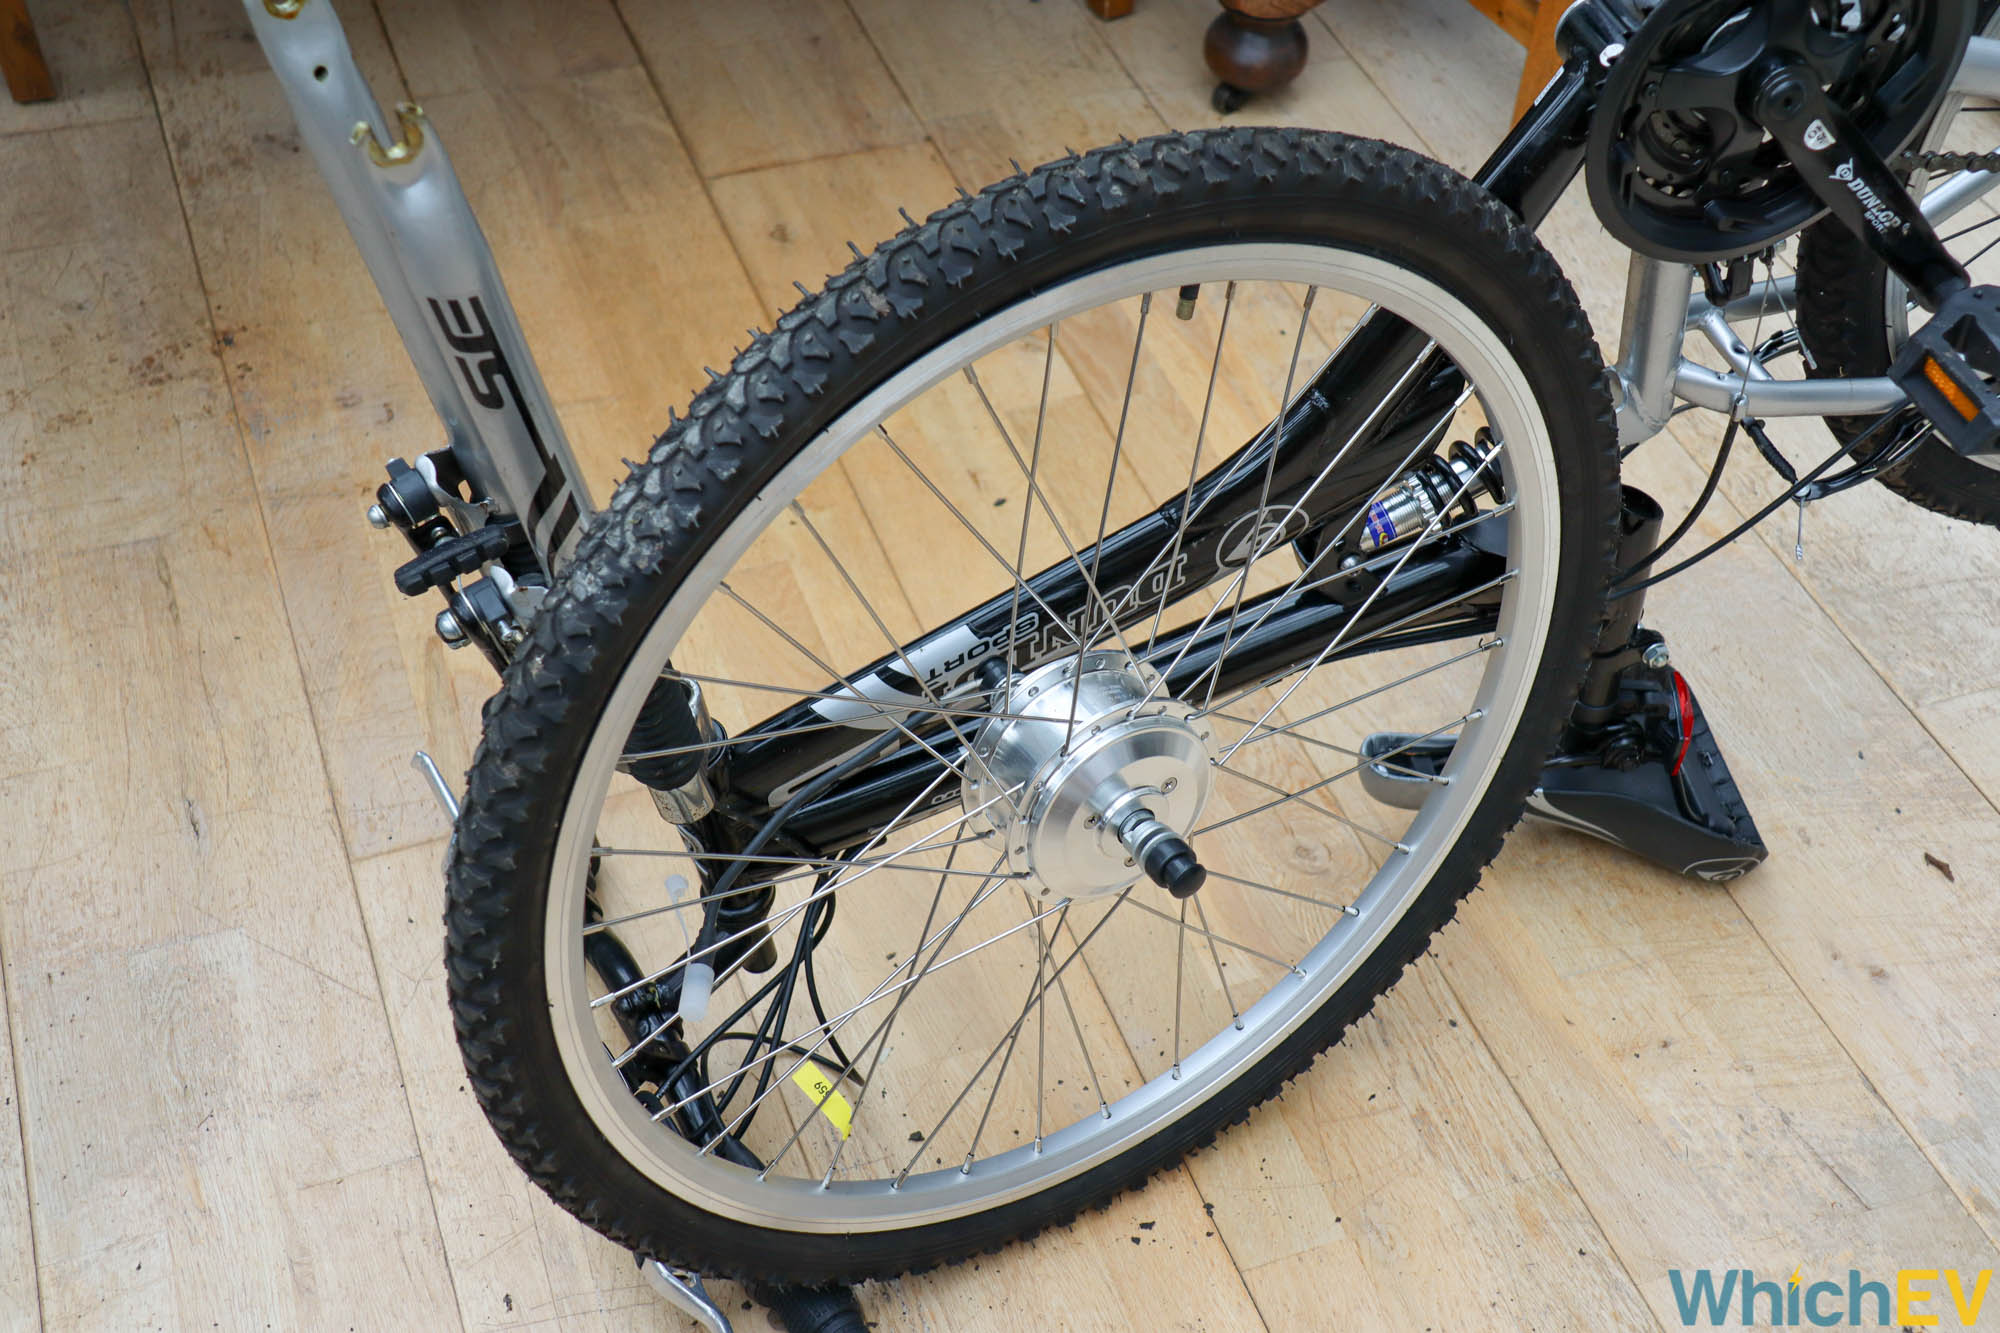
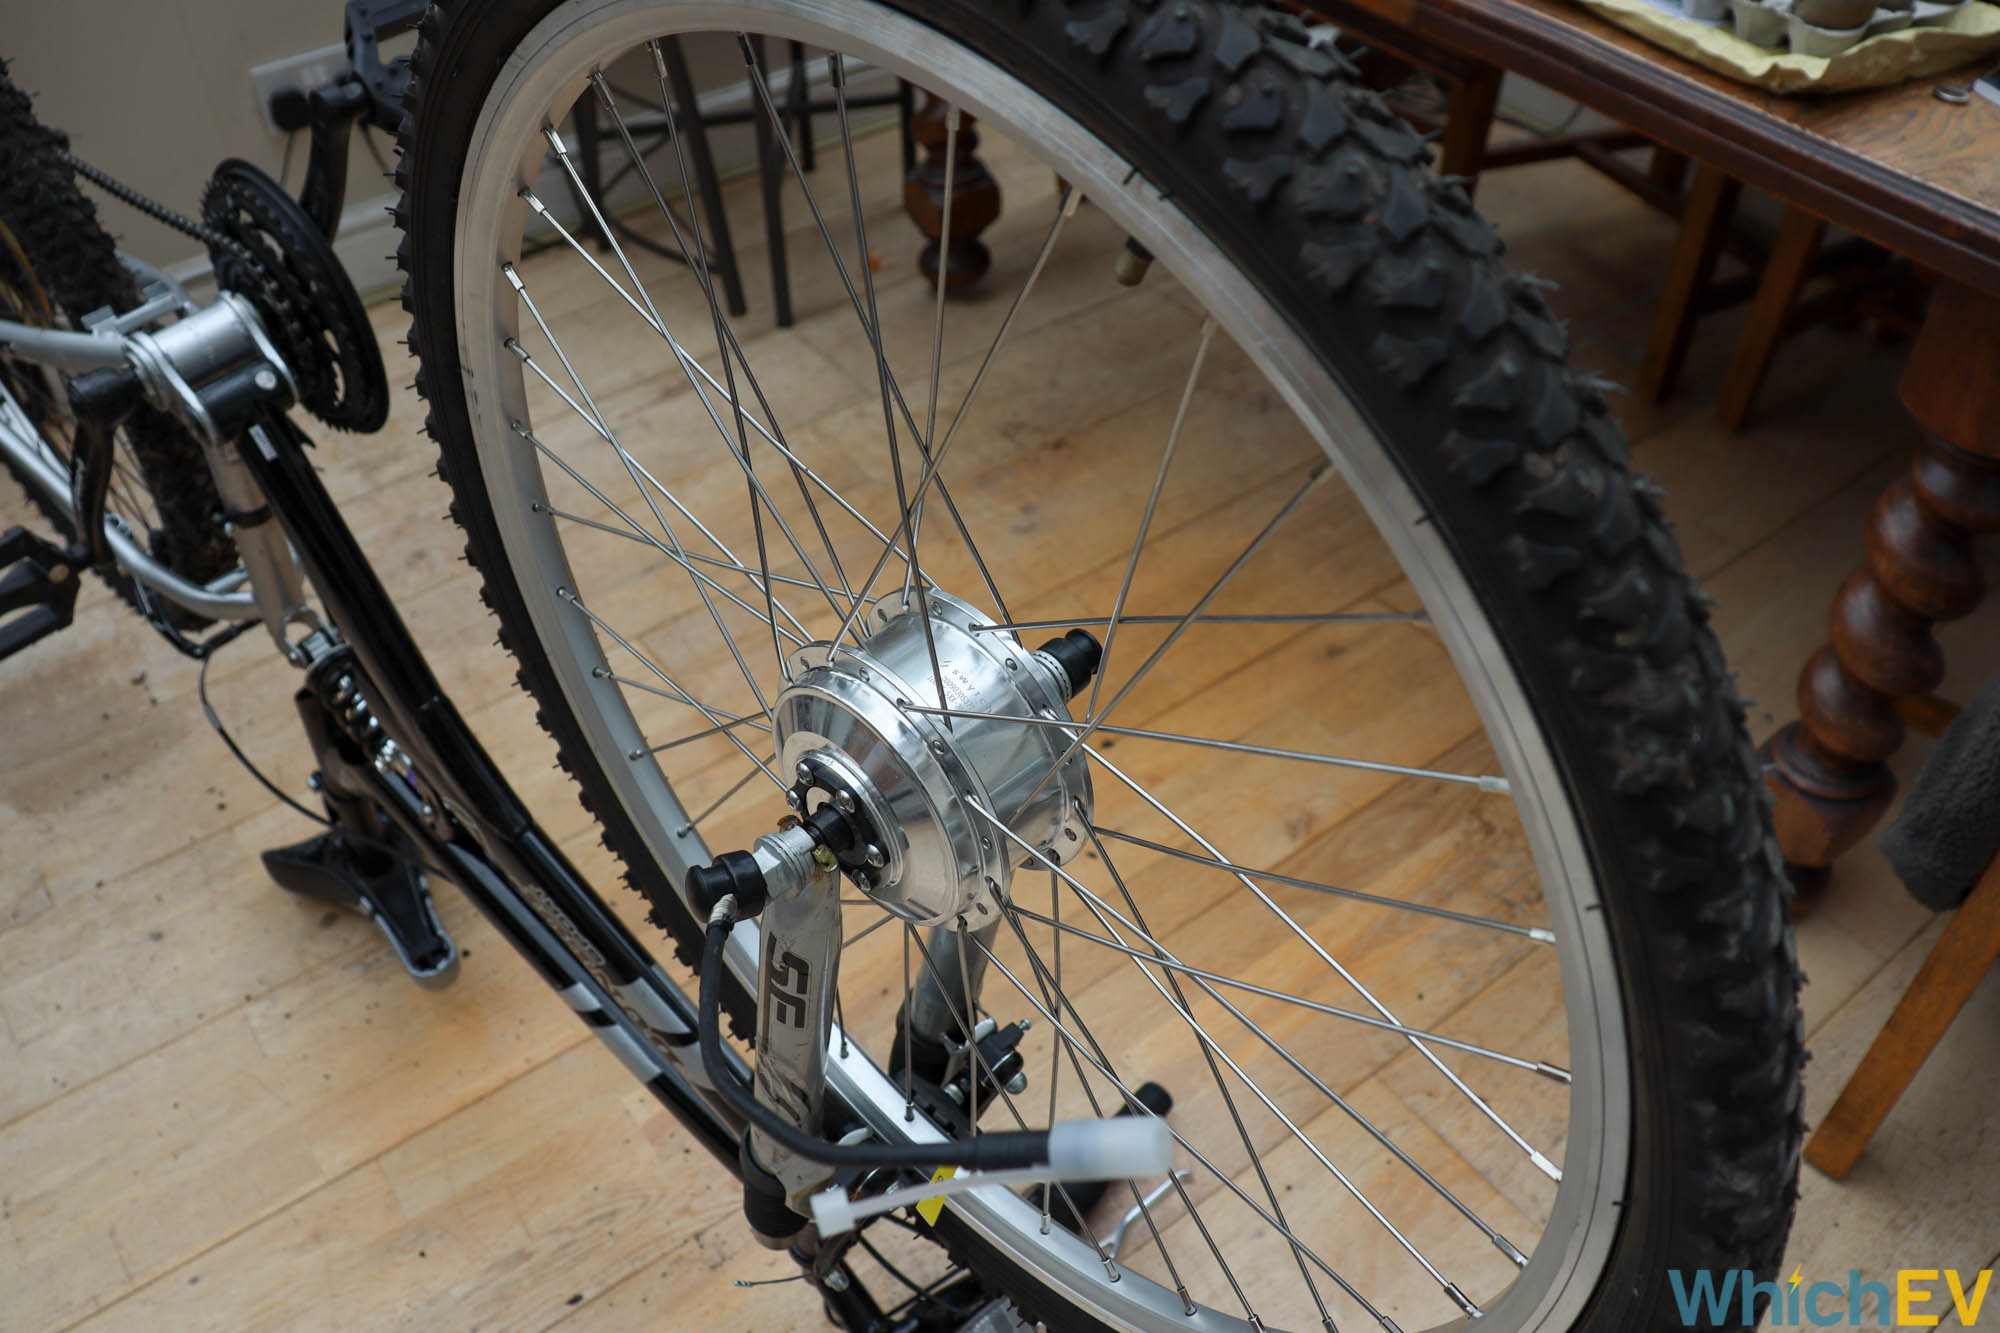
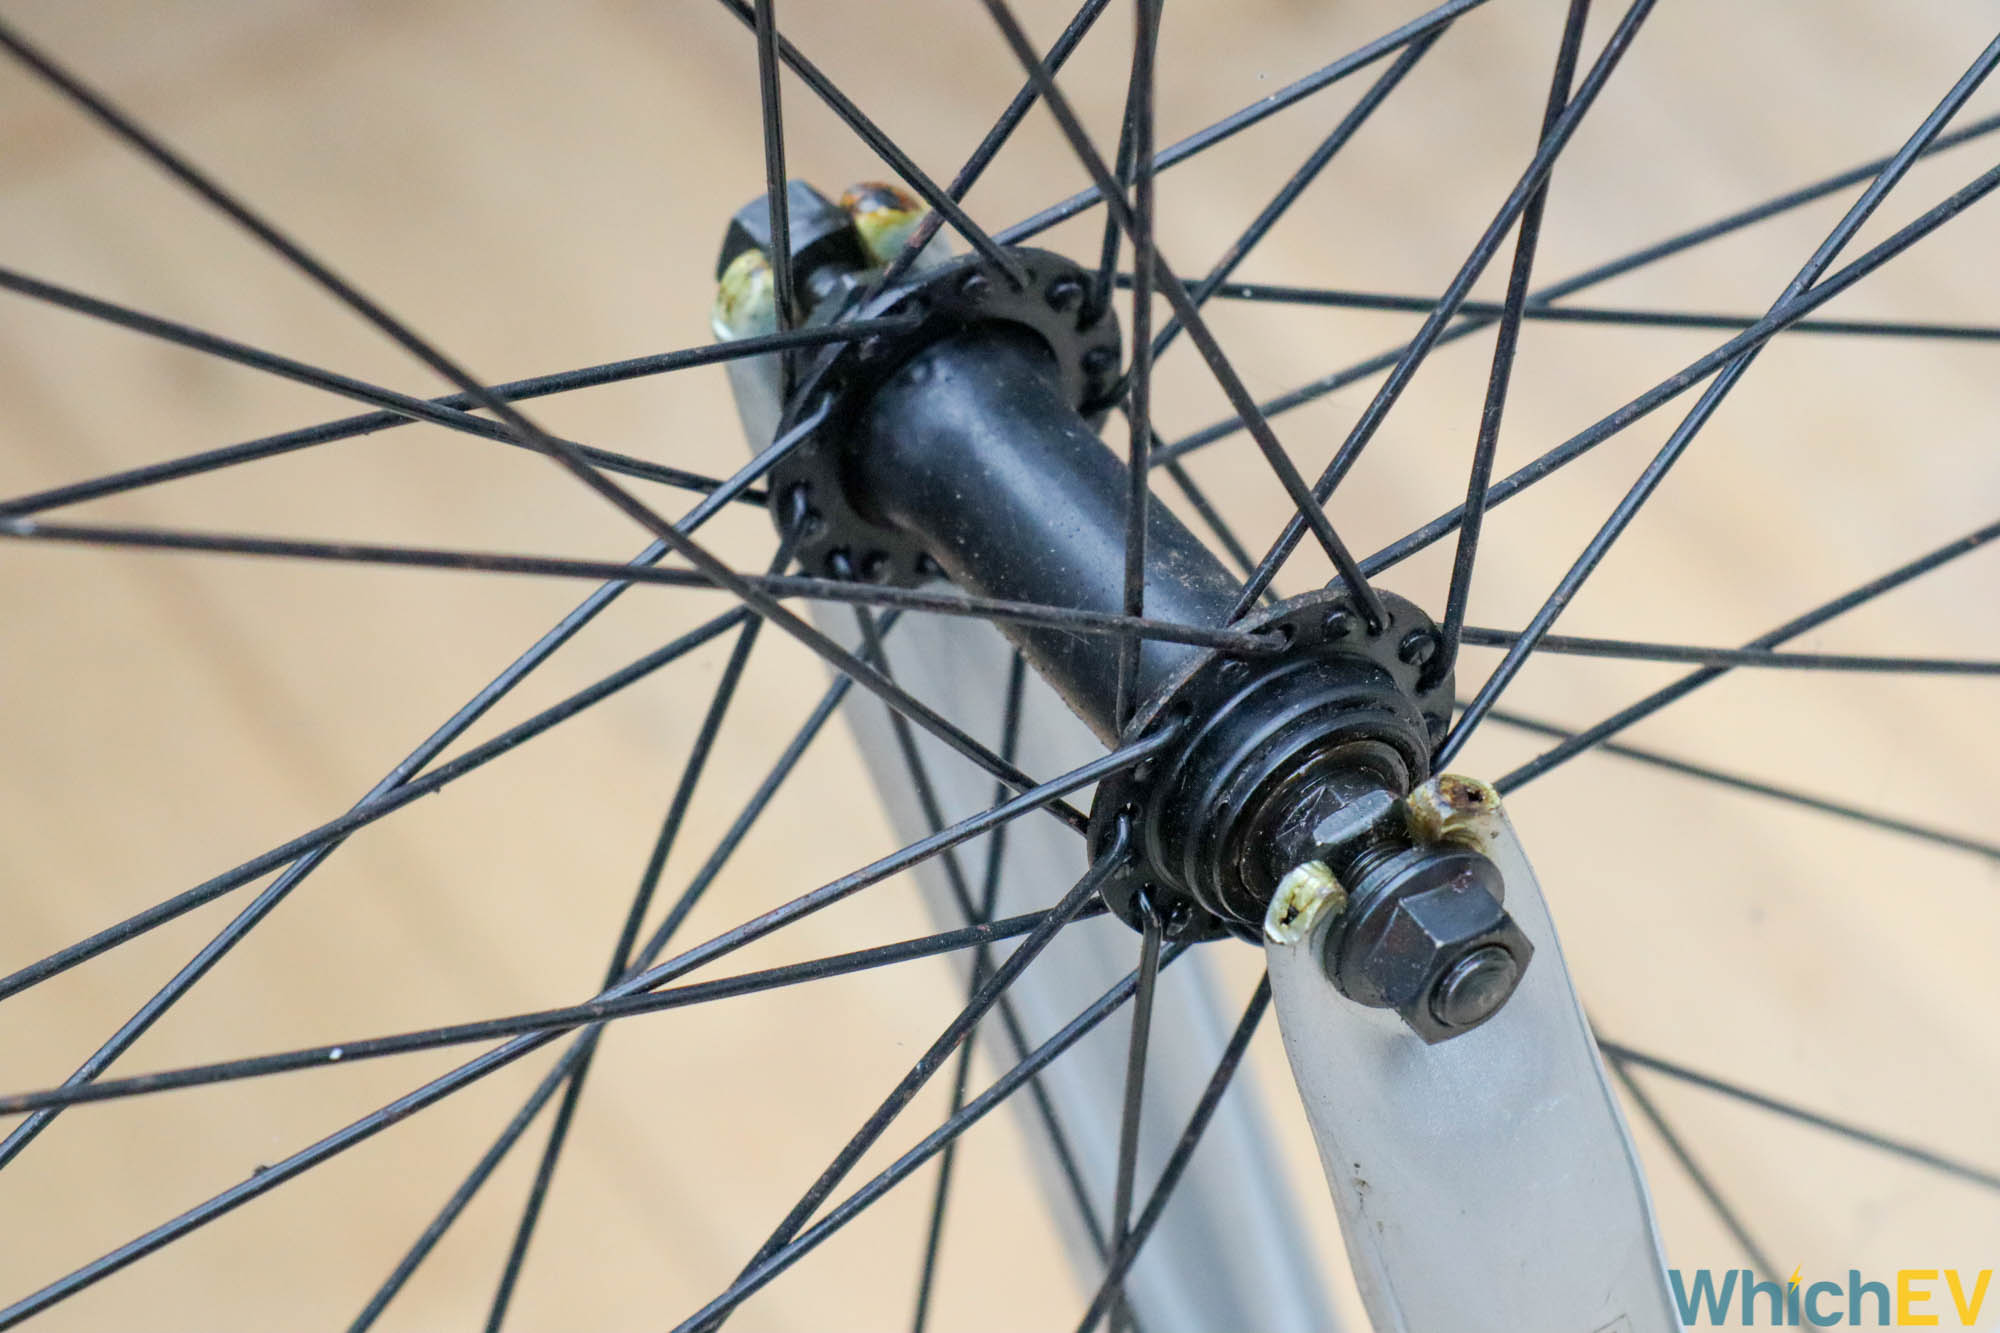
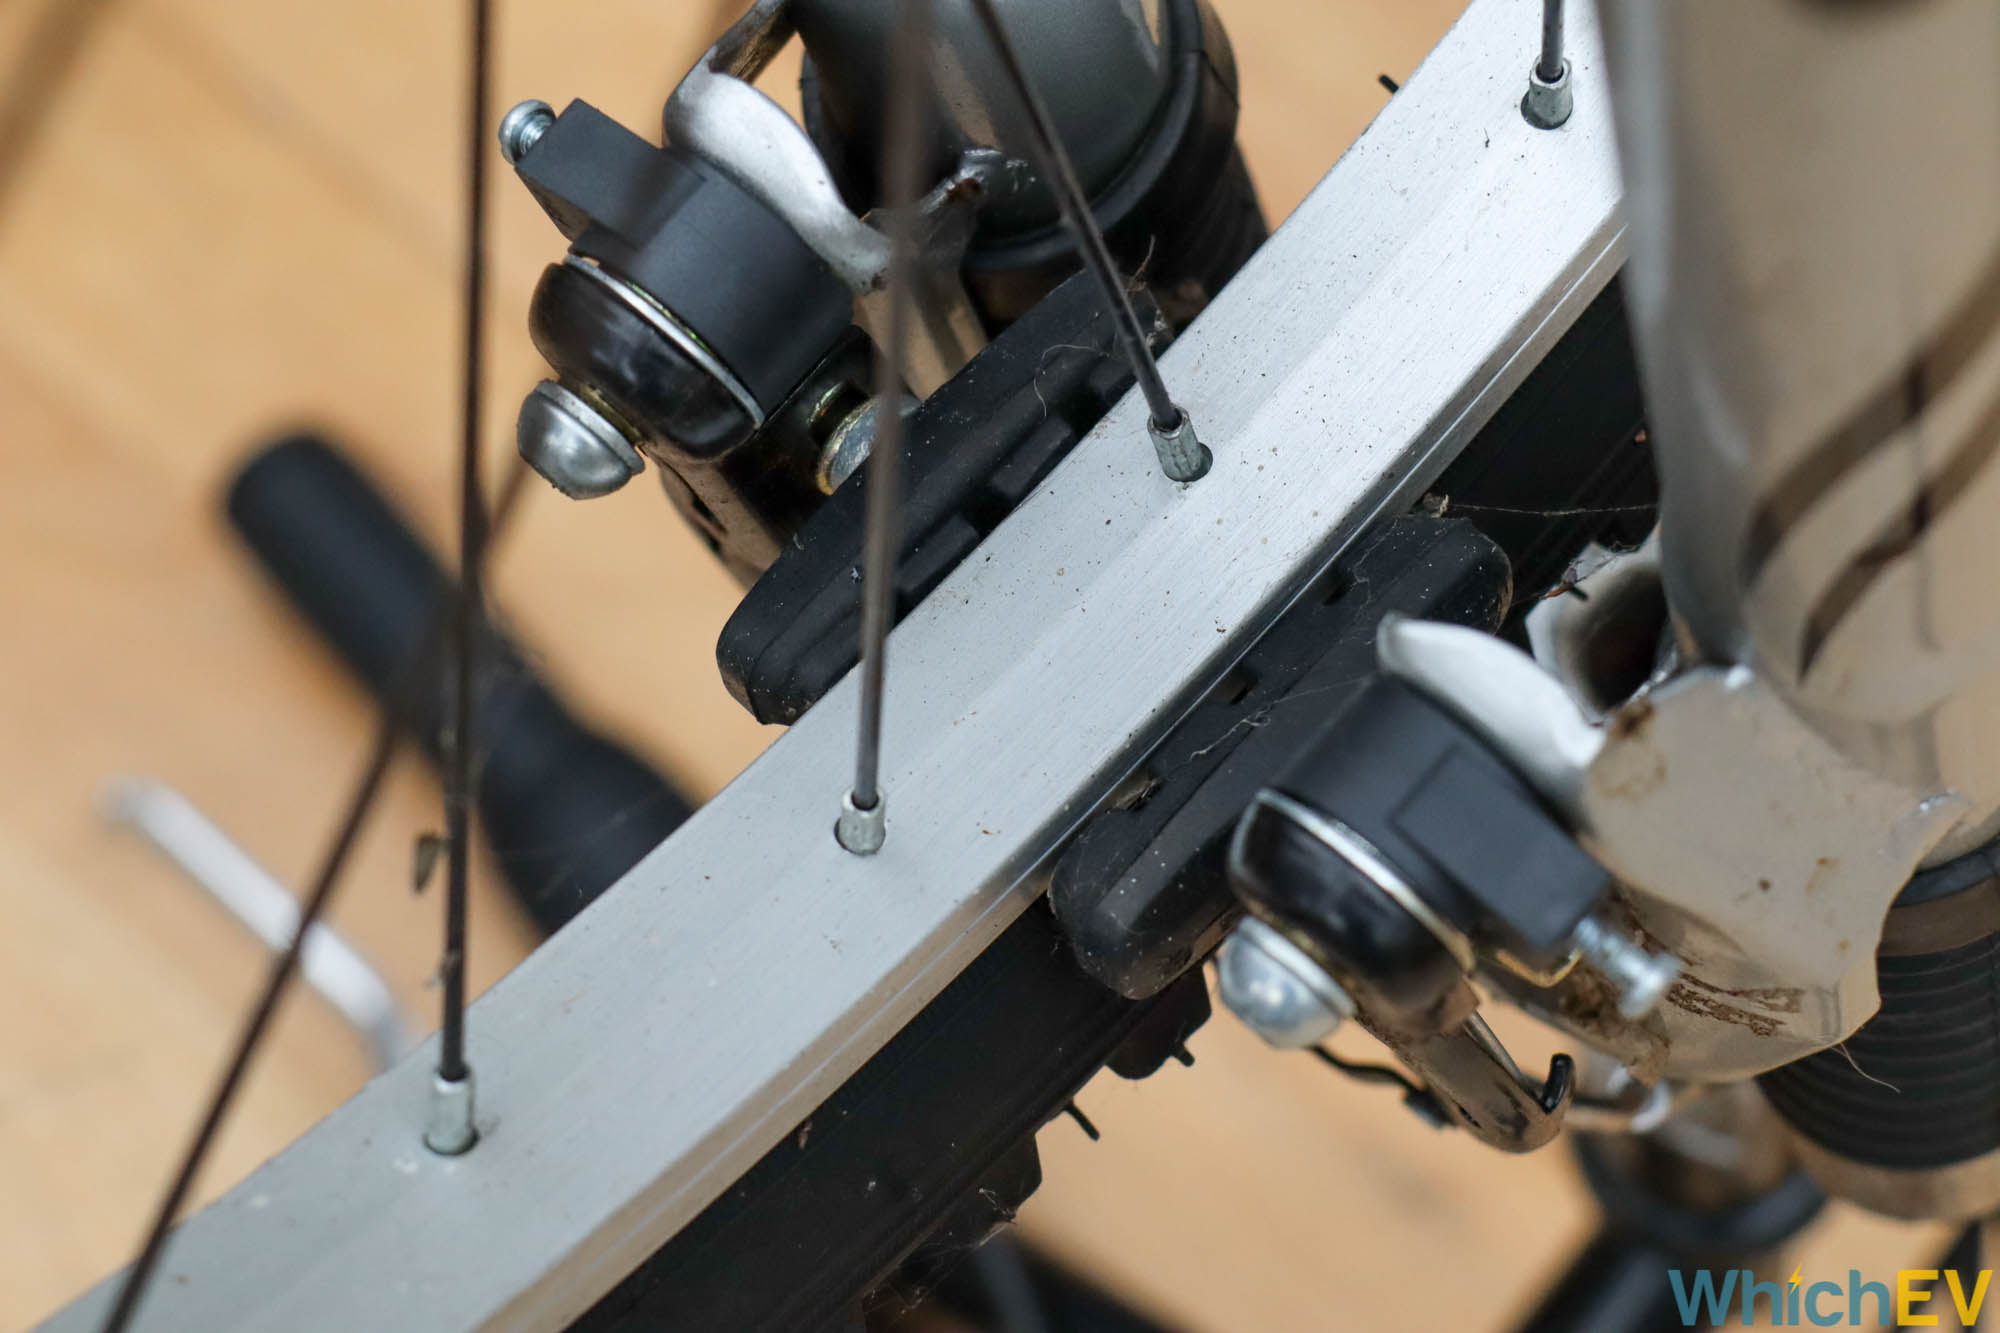
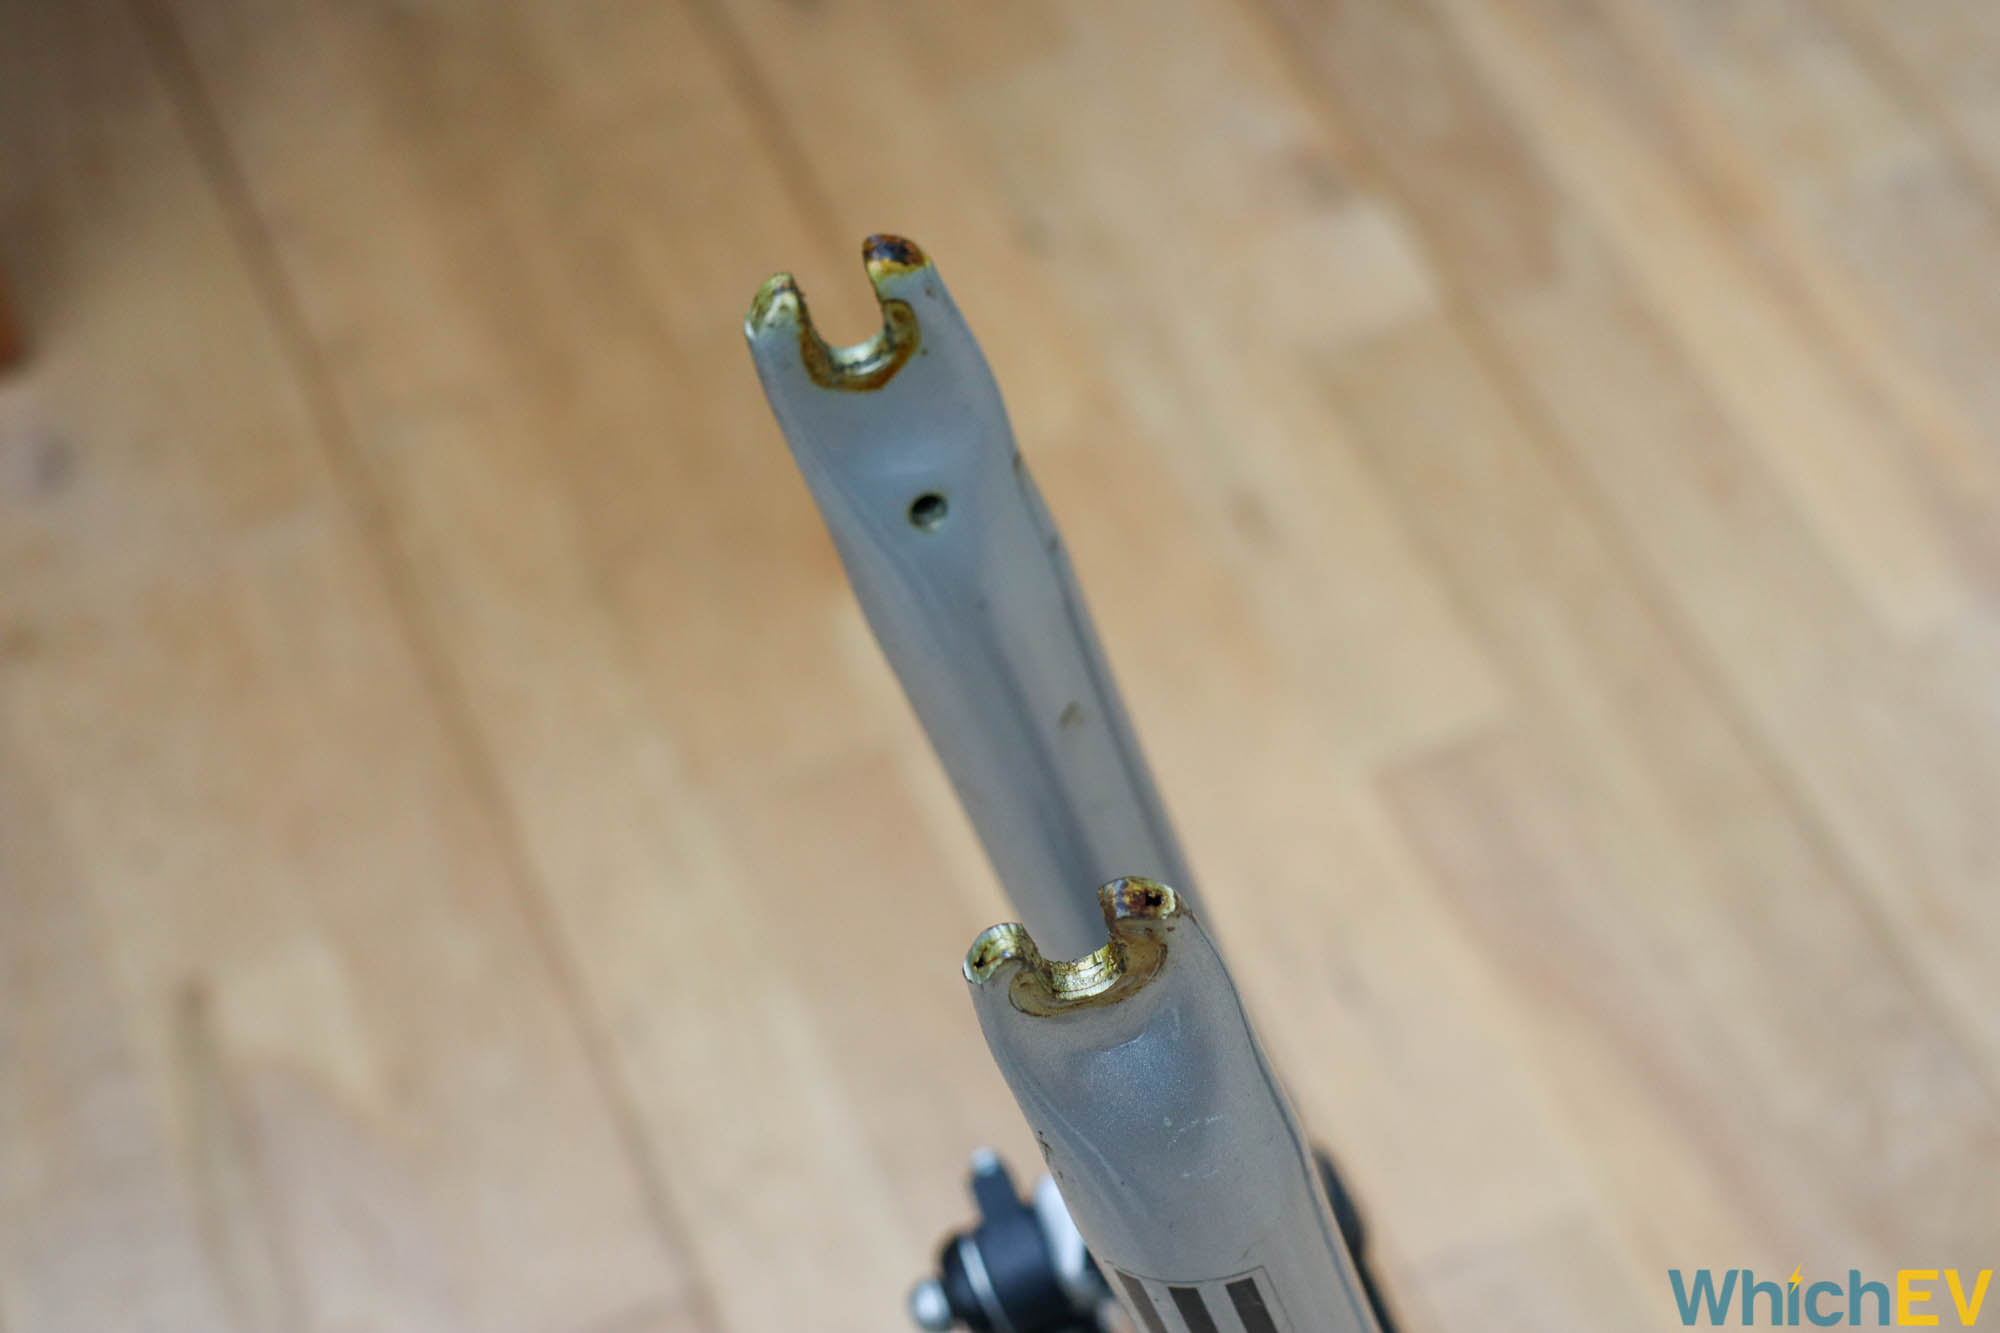
Once the tyre is installed on the Swytch wheel, it’s time to put it back on the bike, which we found a little tricky because the axle was quite a tight fit for the fork slots on our Dunlop. We eventually managed it, and there were no issues with the much broader motor hub touching the forks. The motor turns with the wheel, with the axle remaining stationary. If your original wheel had a disc brake, you would need to fit this on the Swytch wheel, too. But our Dunlop used traditional rubber friction shoes, so we just had to make sure these still aligned properly with the metal rim of the wheel and didn’t rub when the brakes were disengaged.
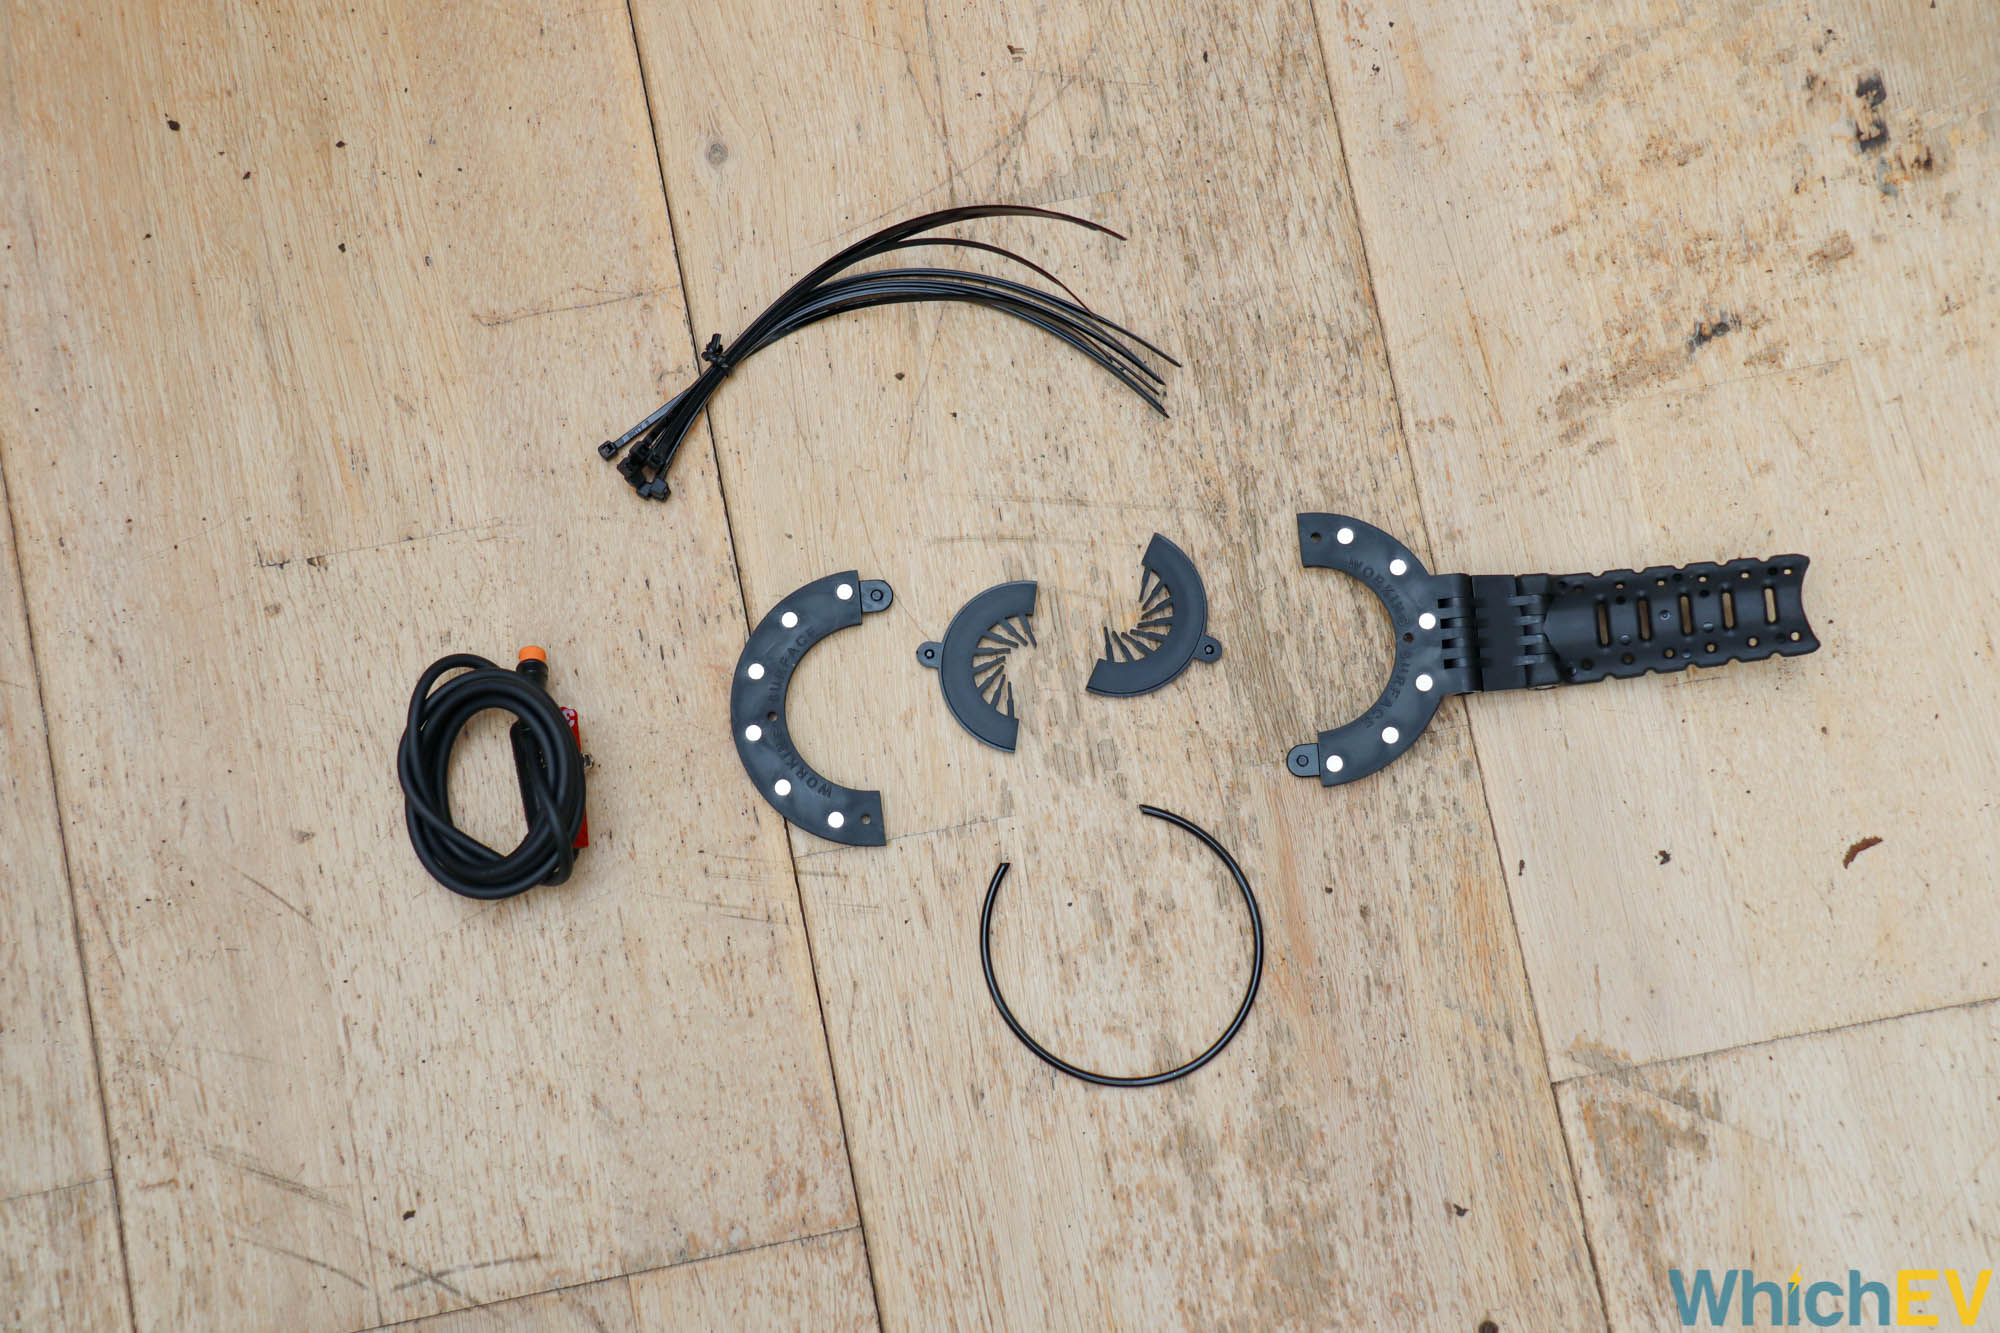


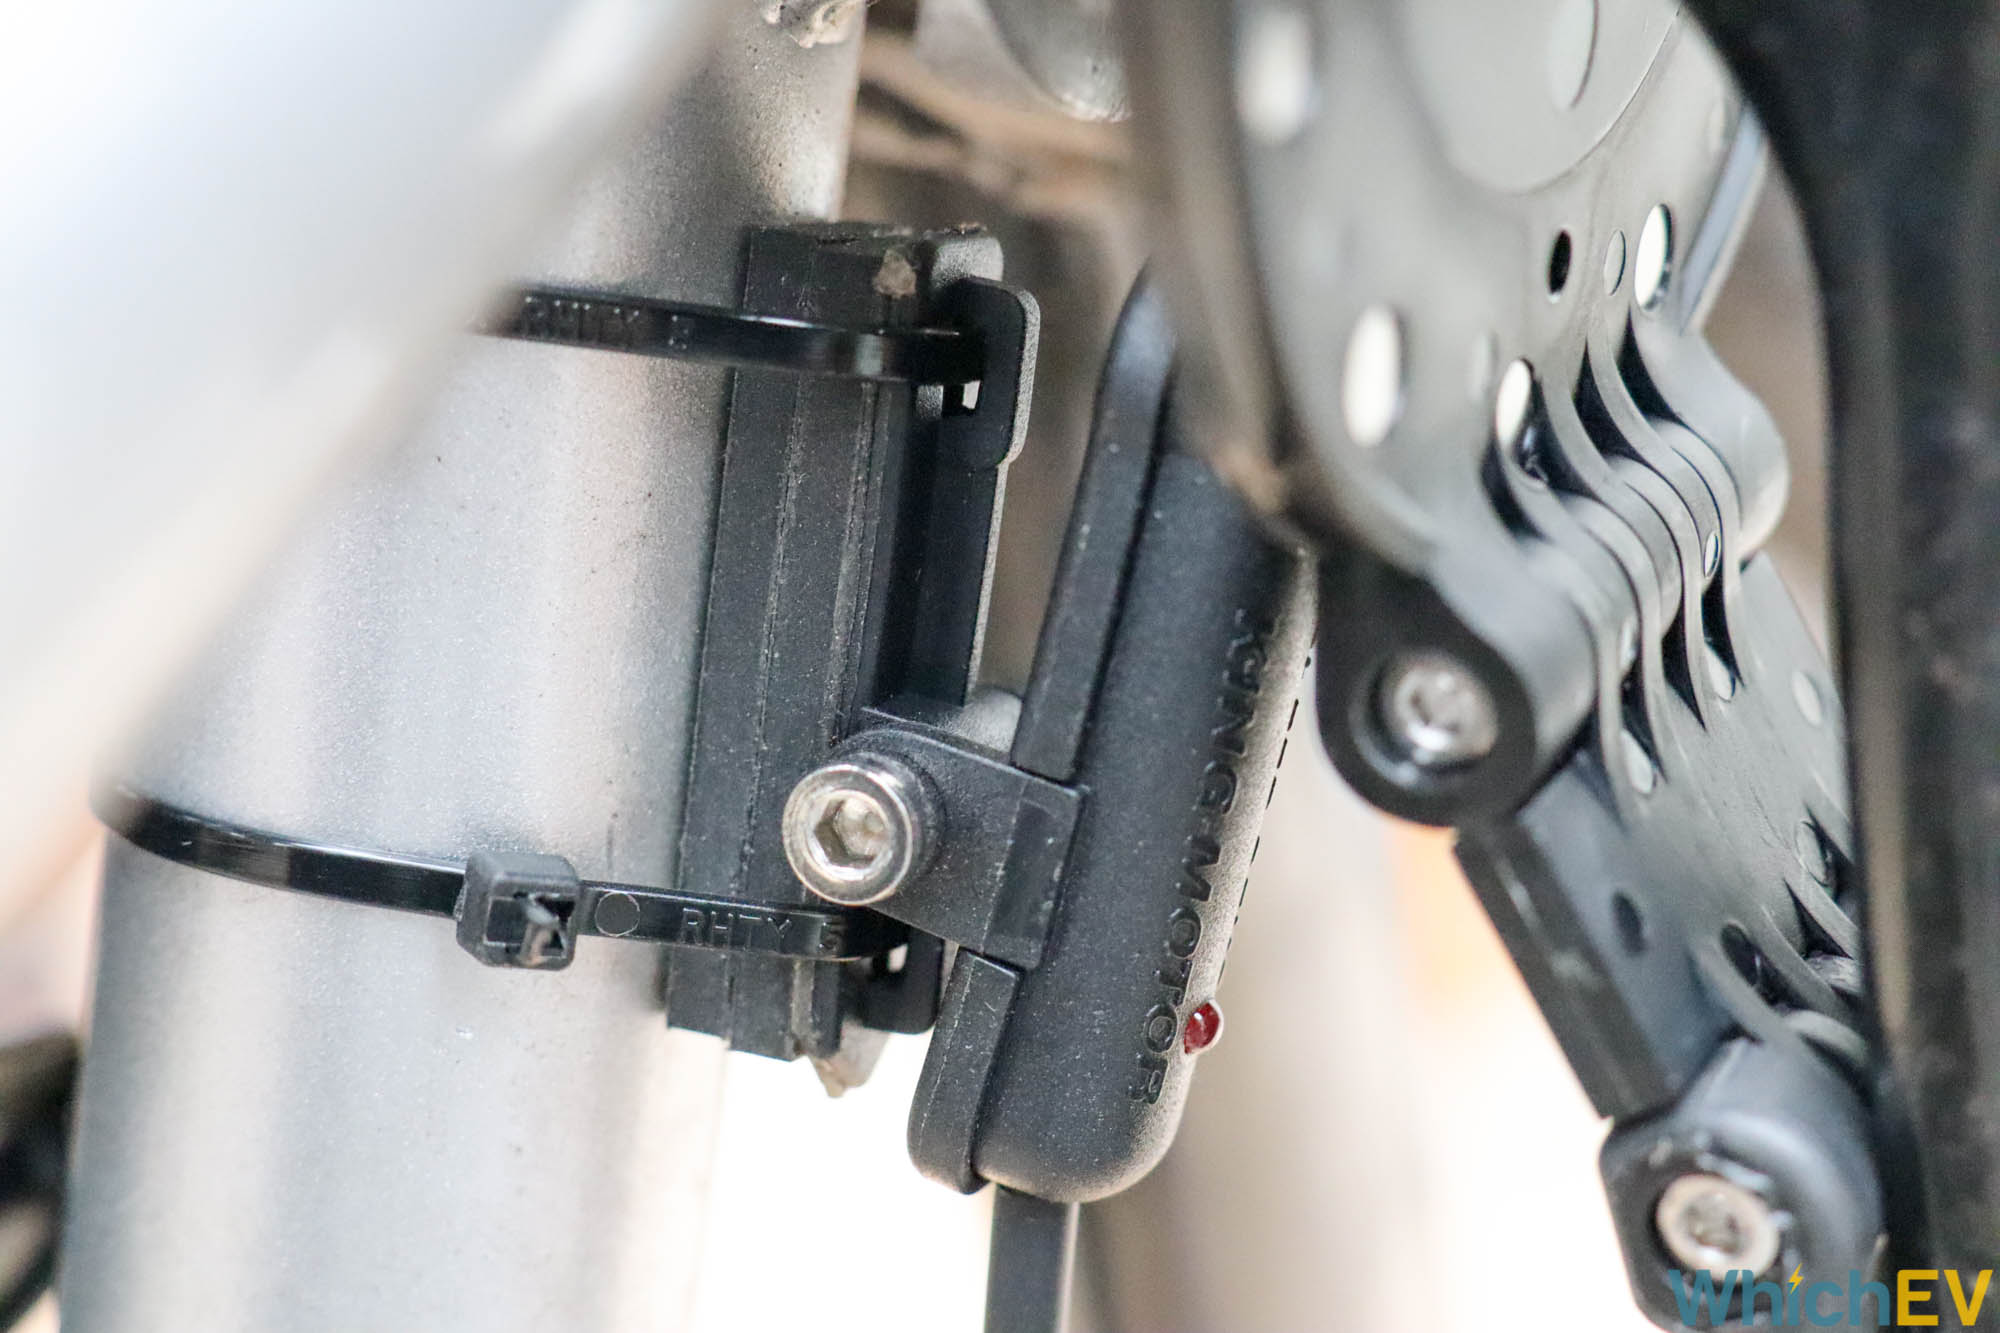
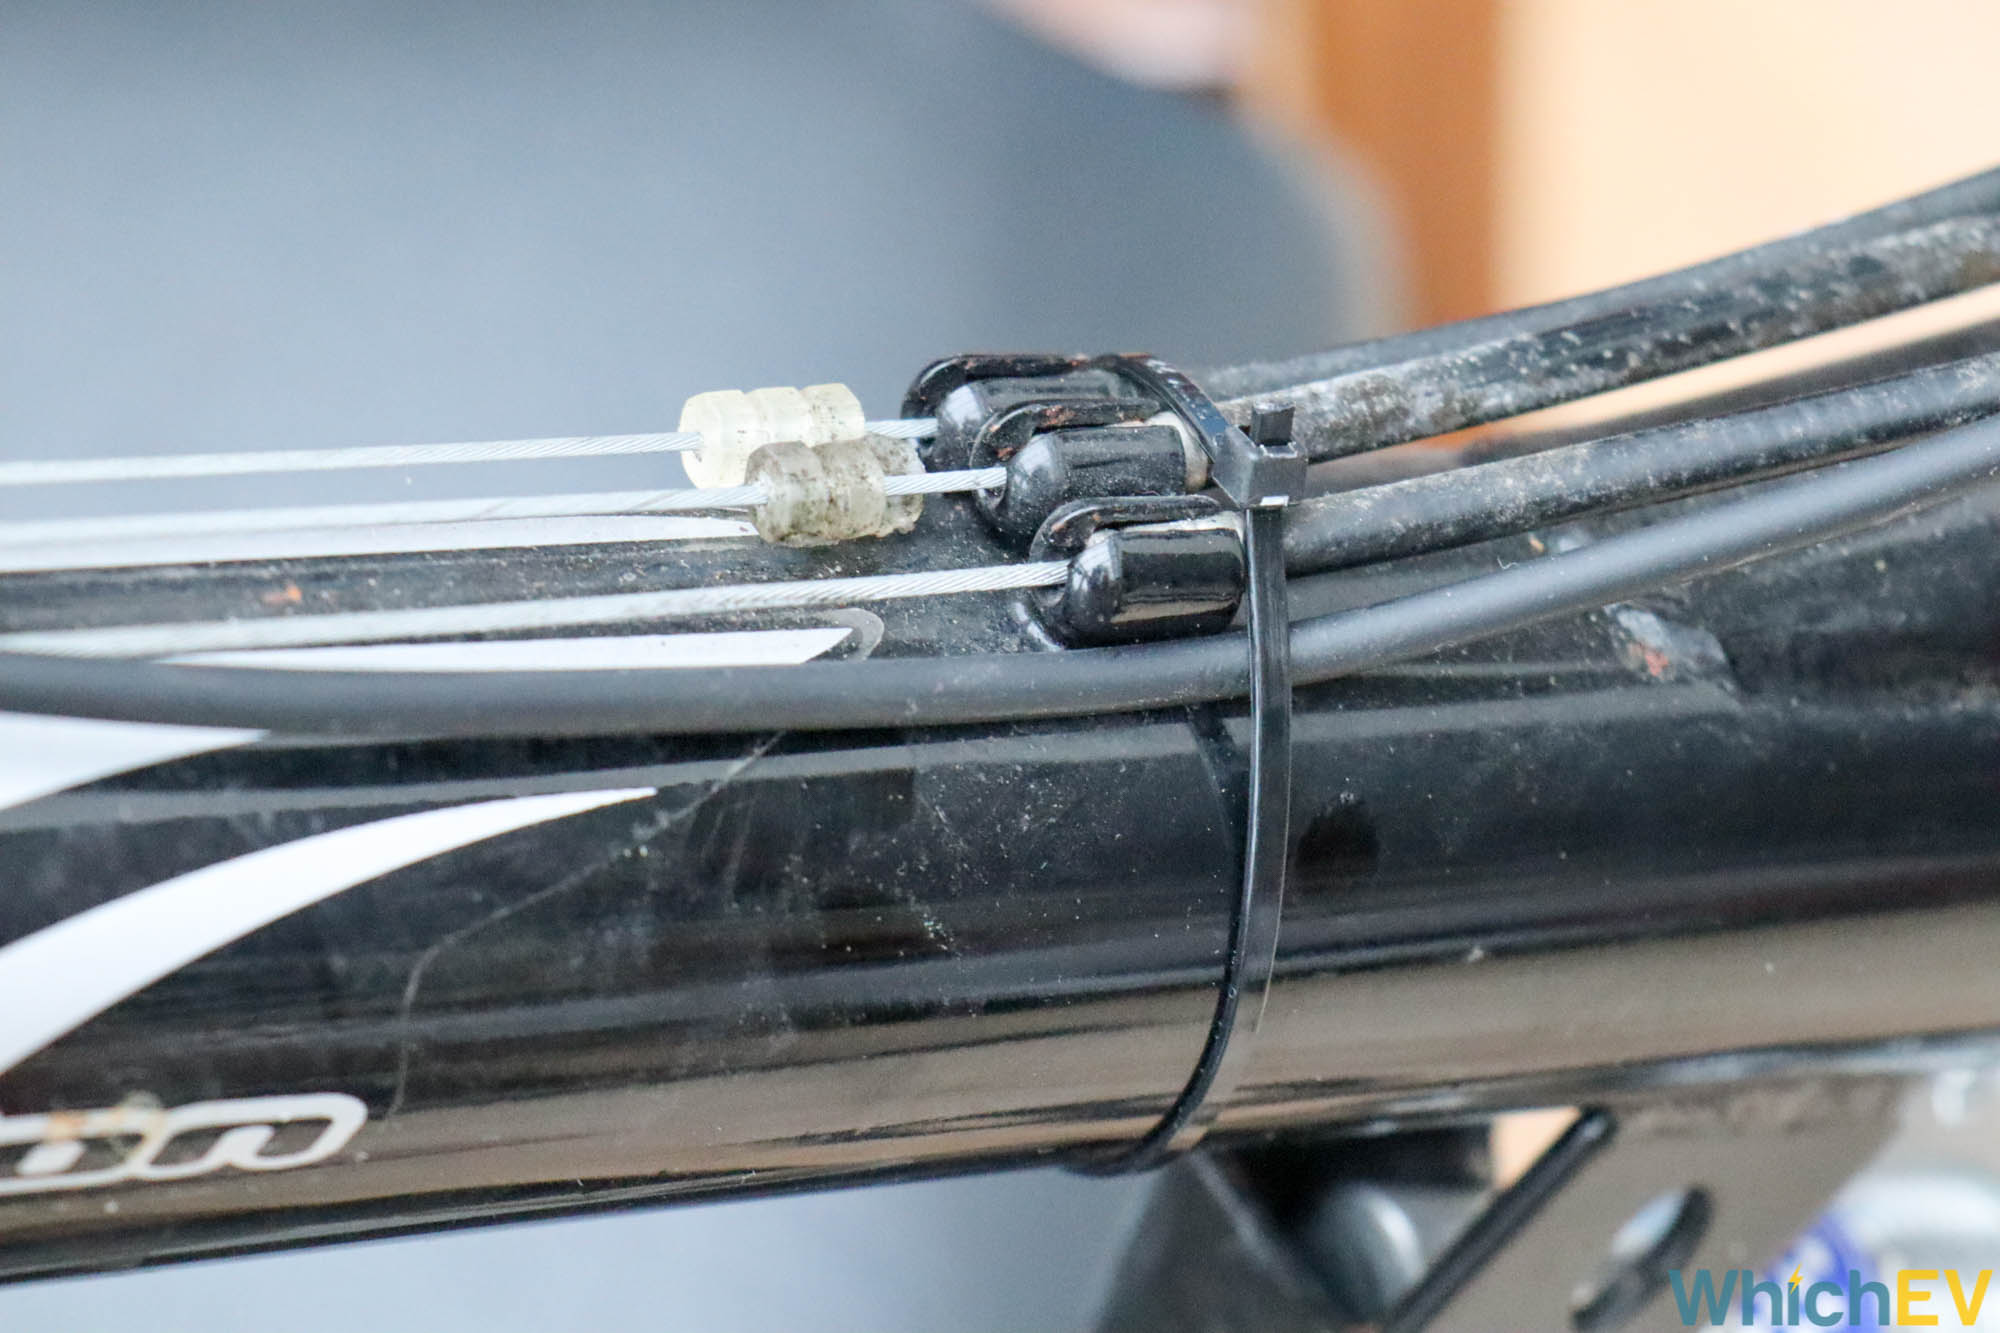
That’s it for the motor. Next up is the sensor that activates the drive, which you install on the pedal on the opposite side to the chain. This consists of a disk of magnets, which you attach to the pedal itself with an arm that ensures it rotates with the pedal. You secure this with cable ties. Next you install a sensor on the bike frame, ensuring it sits closely to the ring of magnets, but without actually touching it. On our bike we had a choice between a frame tube that was too close and one that was too far away. Luckily, Swytch has thought of this and includes a couple of spacers. We had to use both. You can also angle the sensor and screw it firmly in place at this angle for optimum positioning.
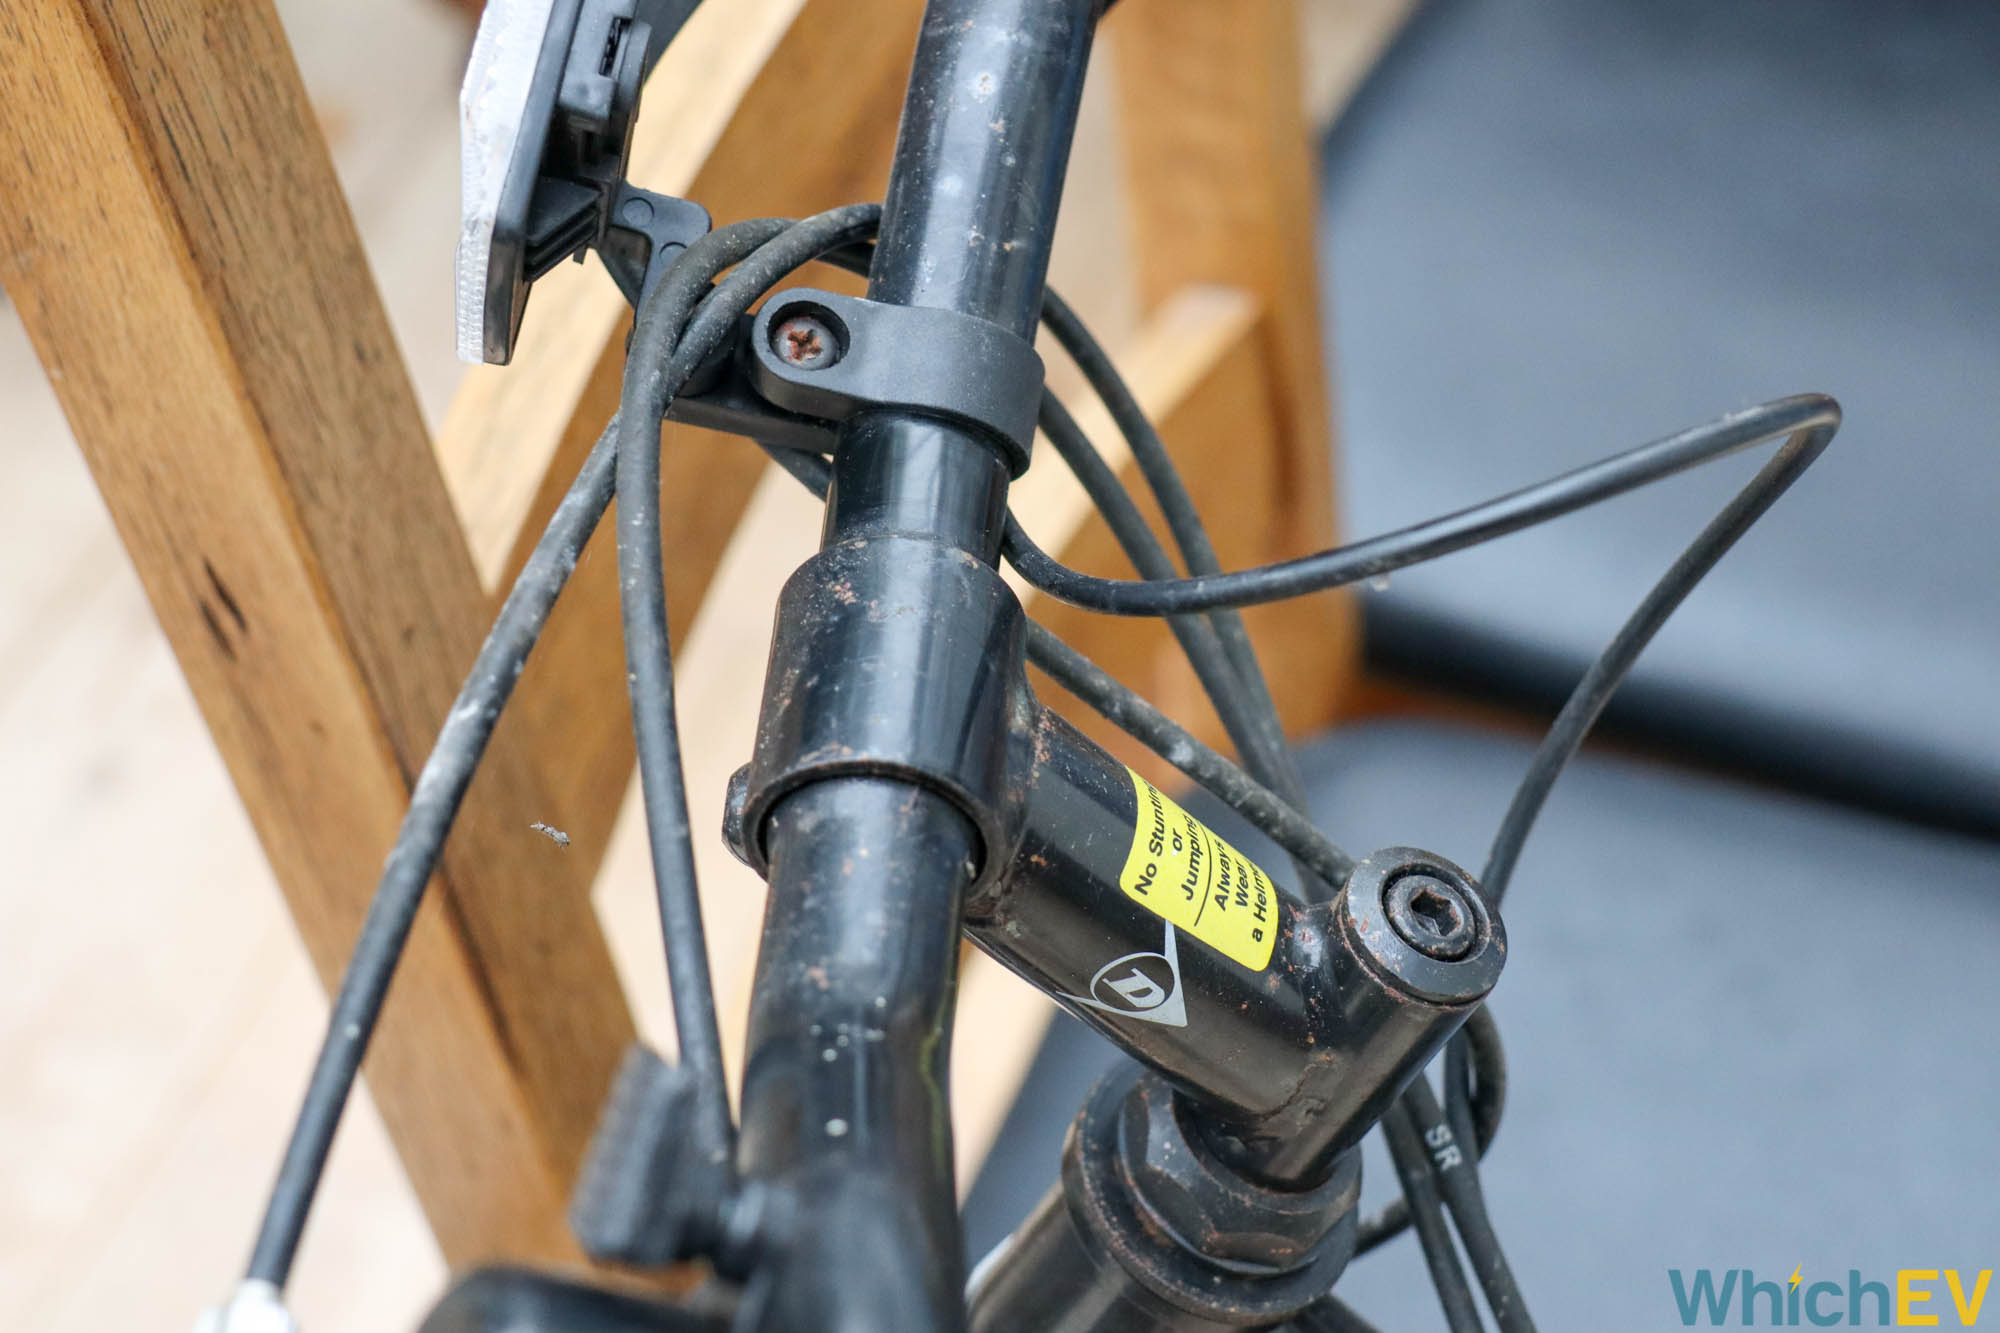
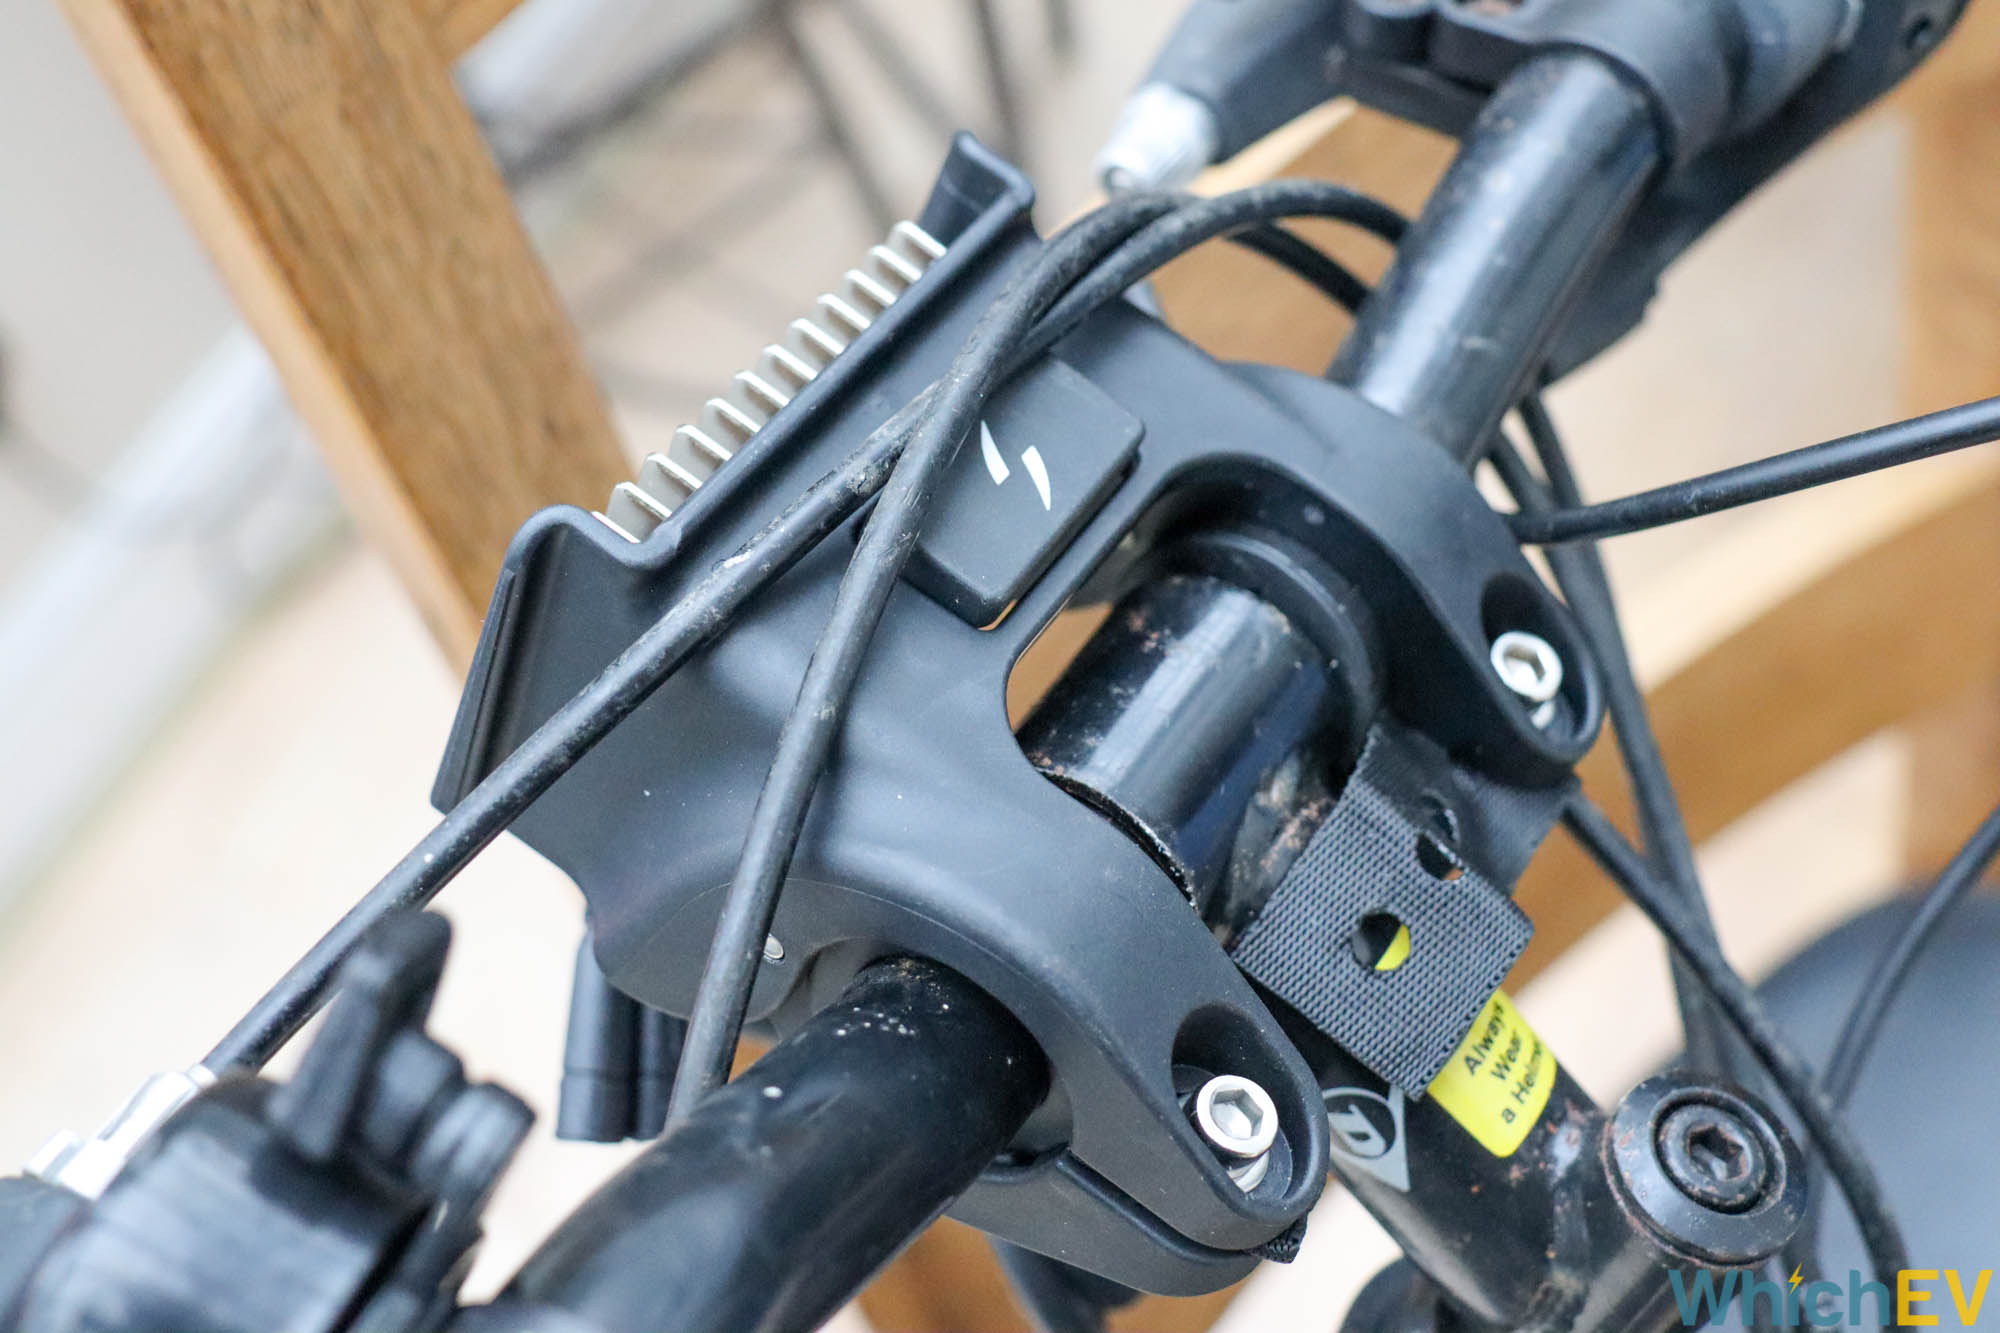
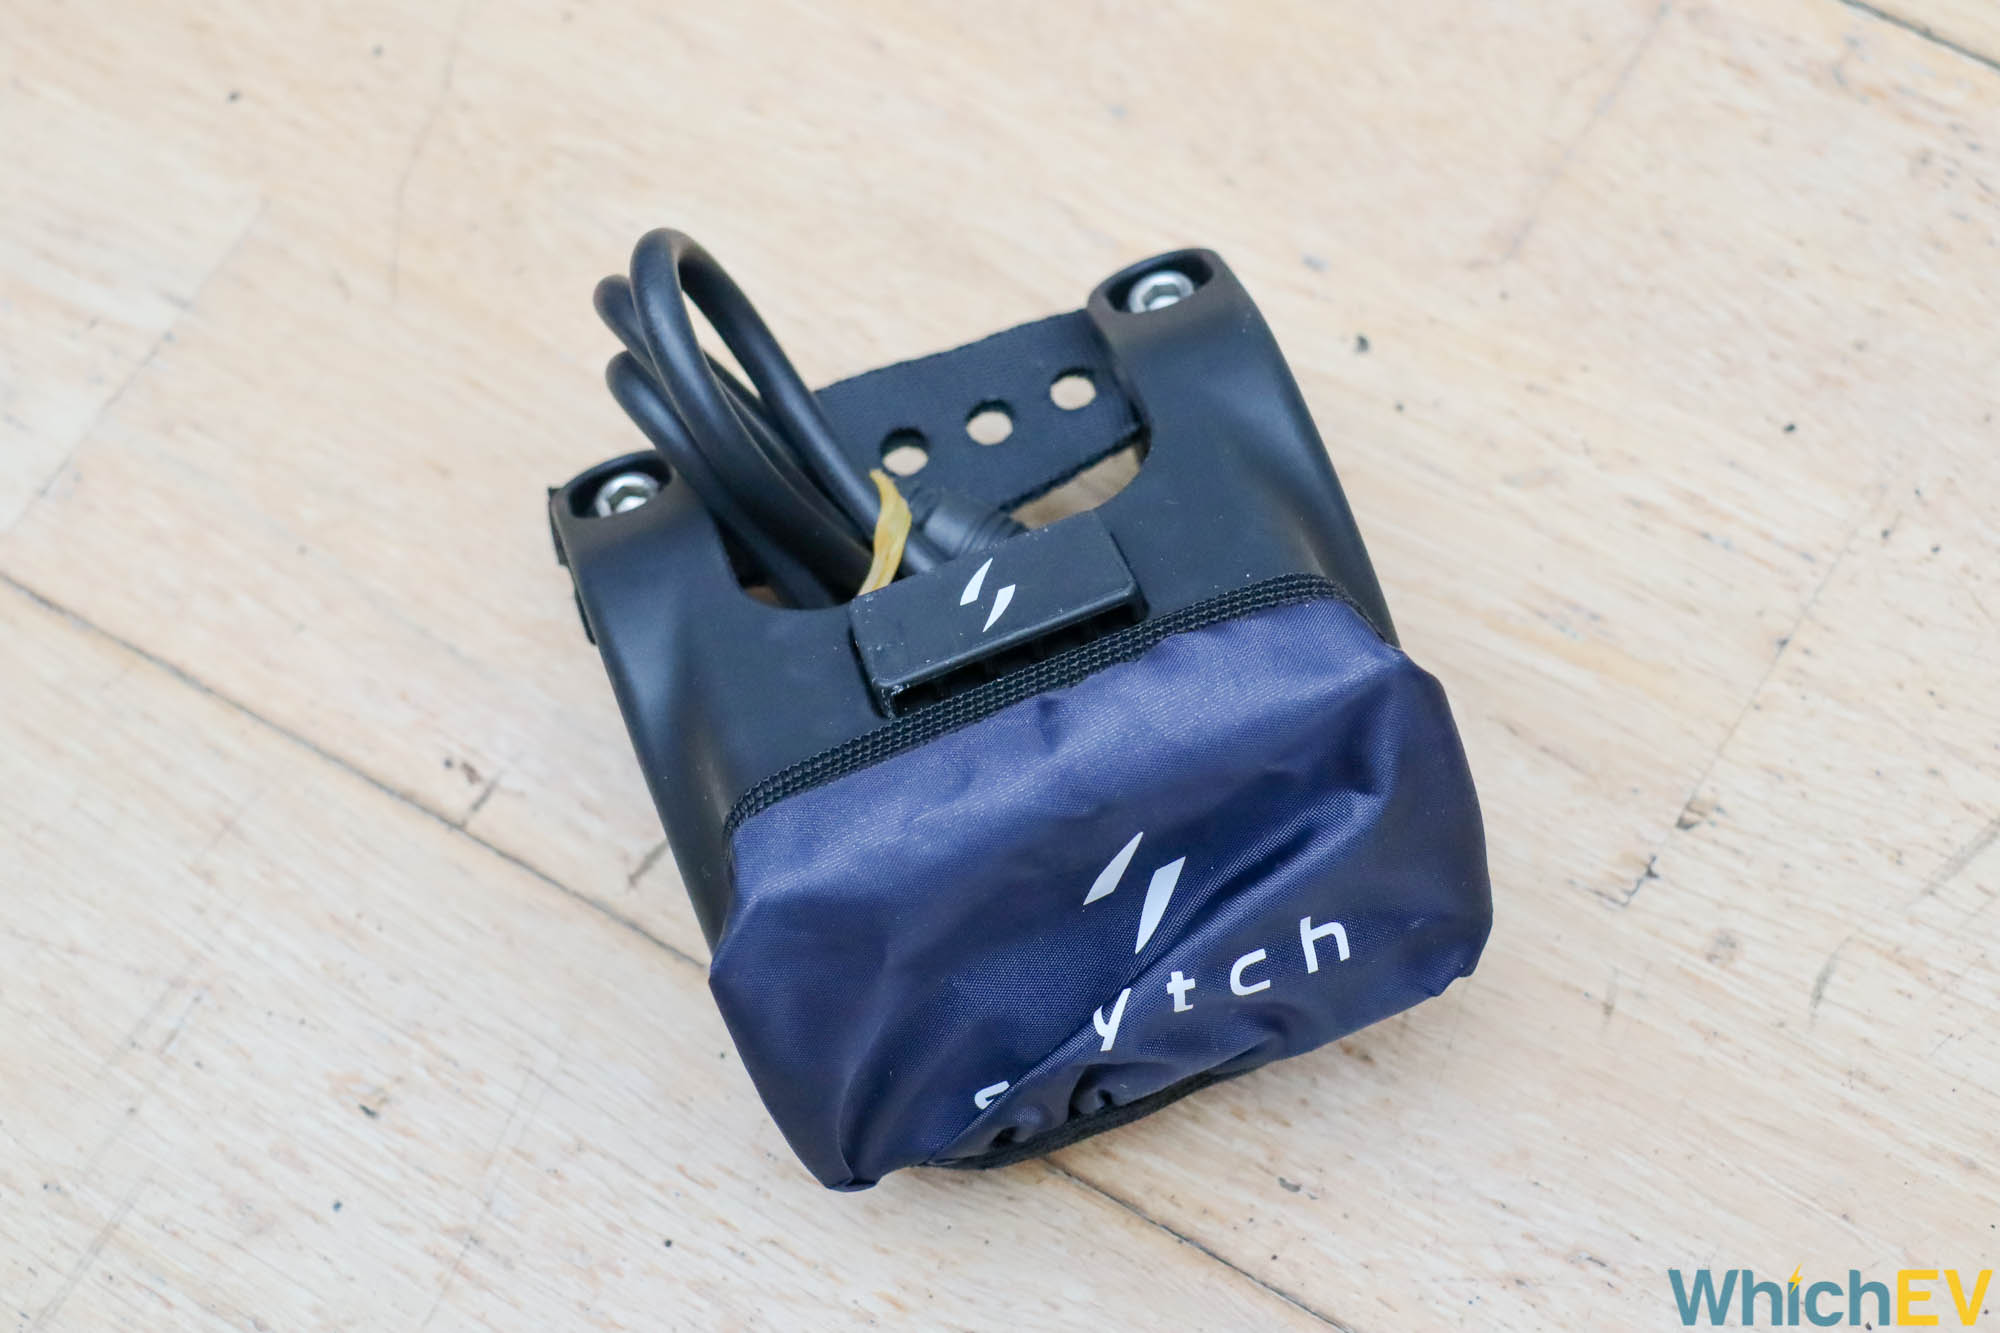
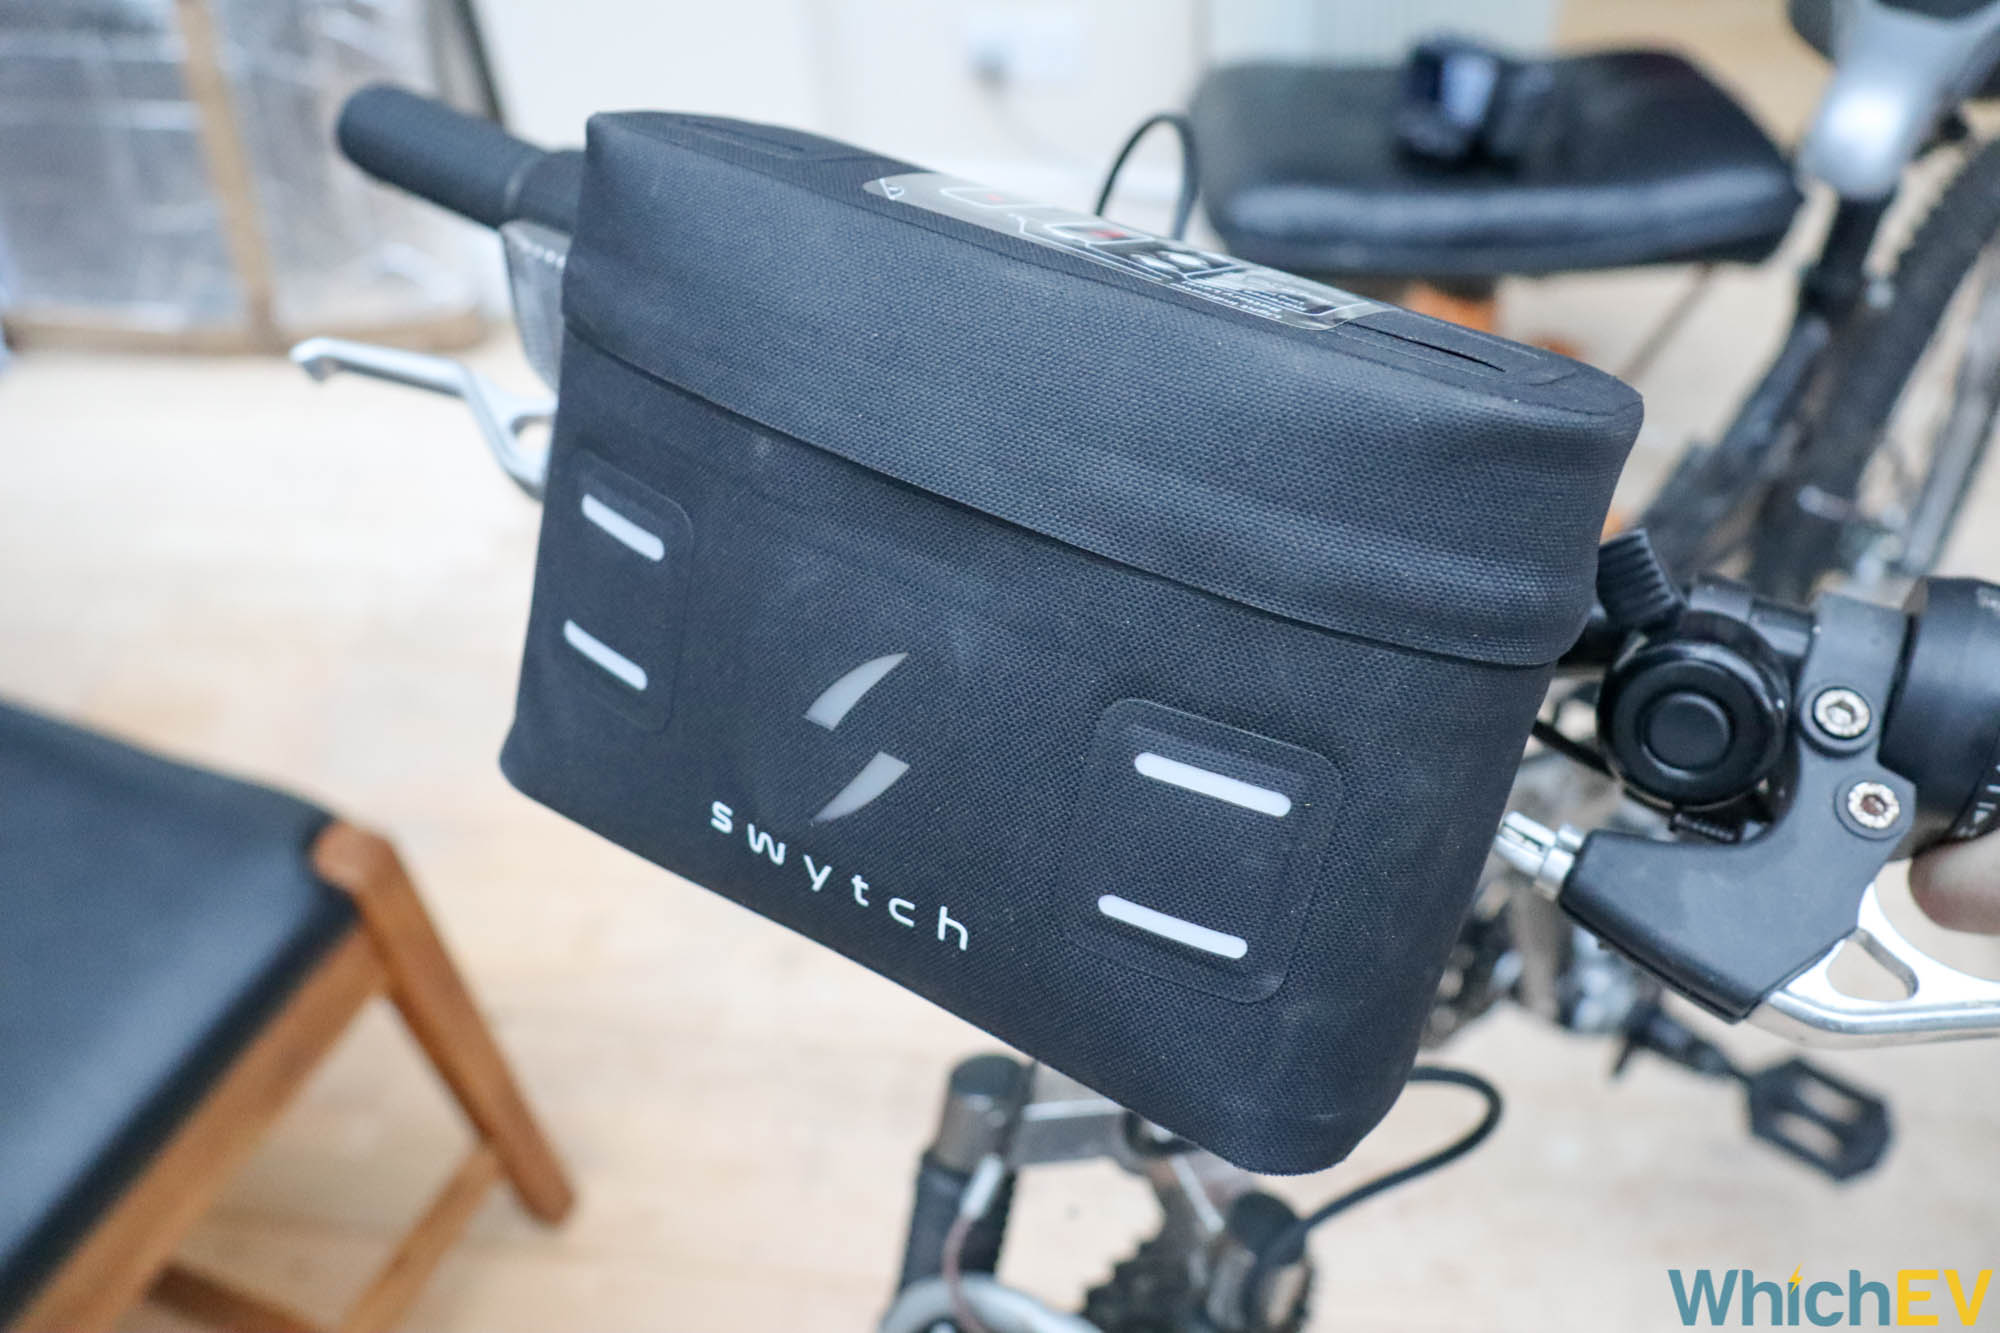
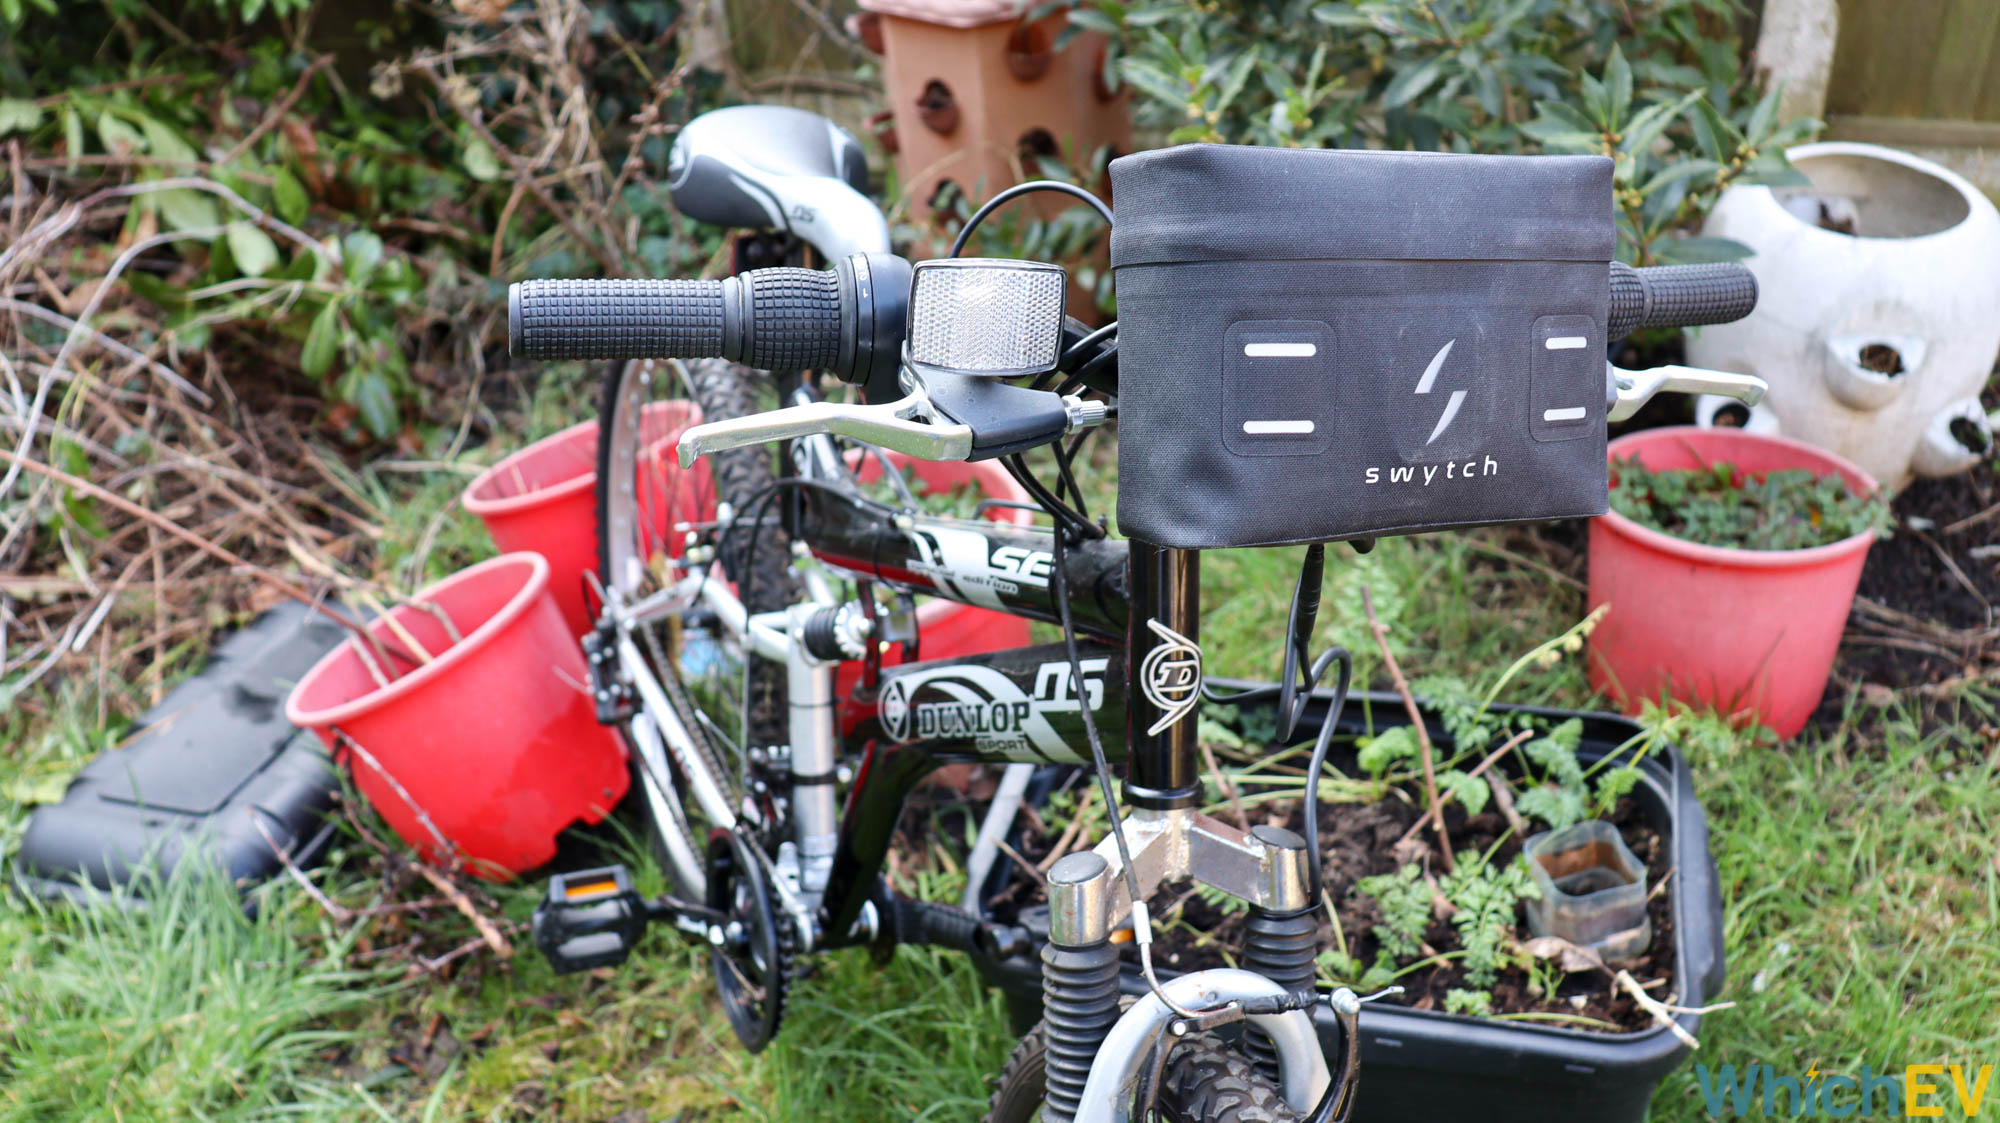
The final major component to install is the handlebar mount for the battery. This goes on the front like a light installation, with rings and rubber spacers to hold onto the handlebars firmly. However, this isn’t the exclusive element holding the mount in place. You also have to loop a strap under the centre frame tube. This stops the mount from rotating downwards.
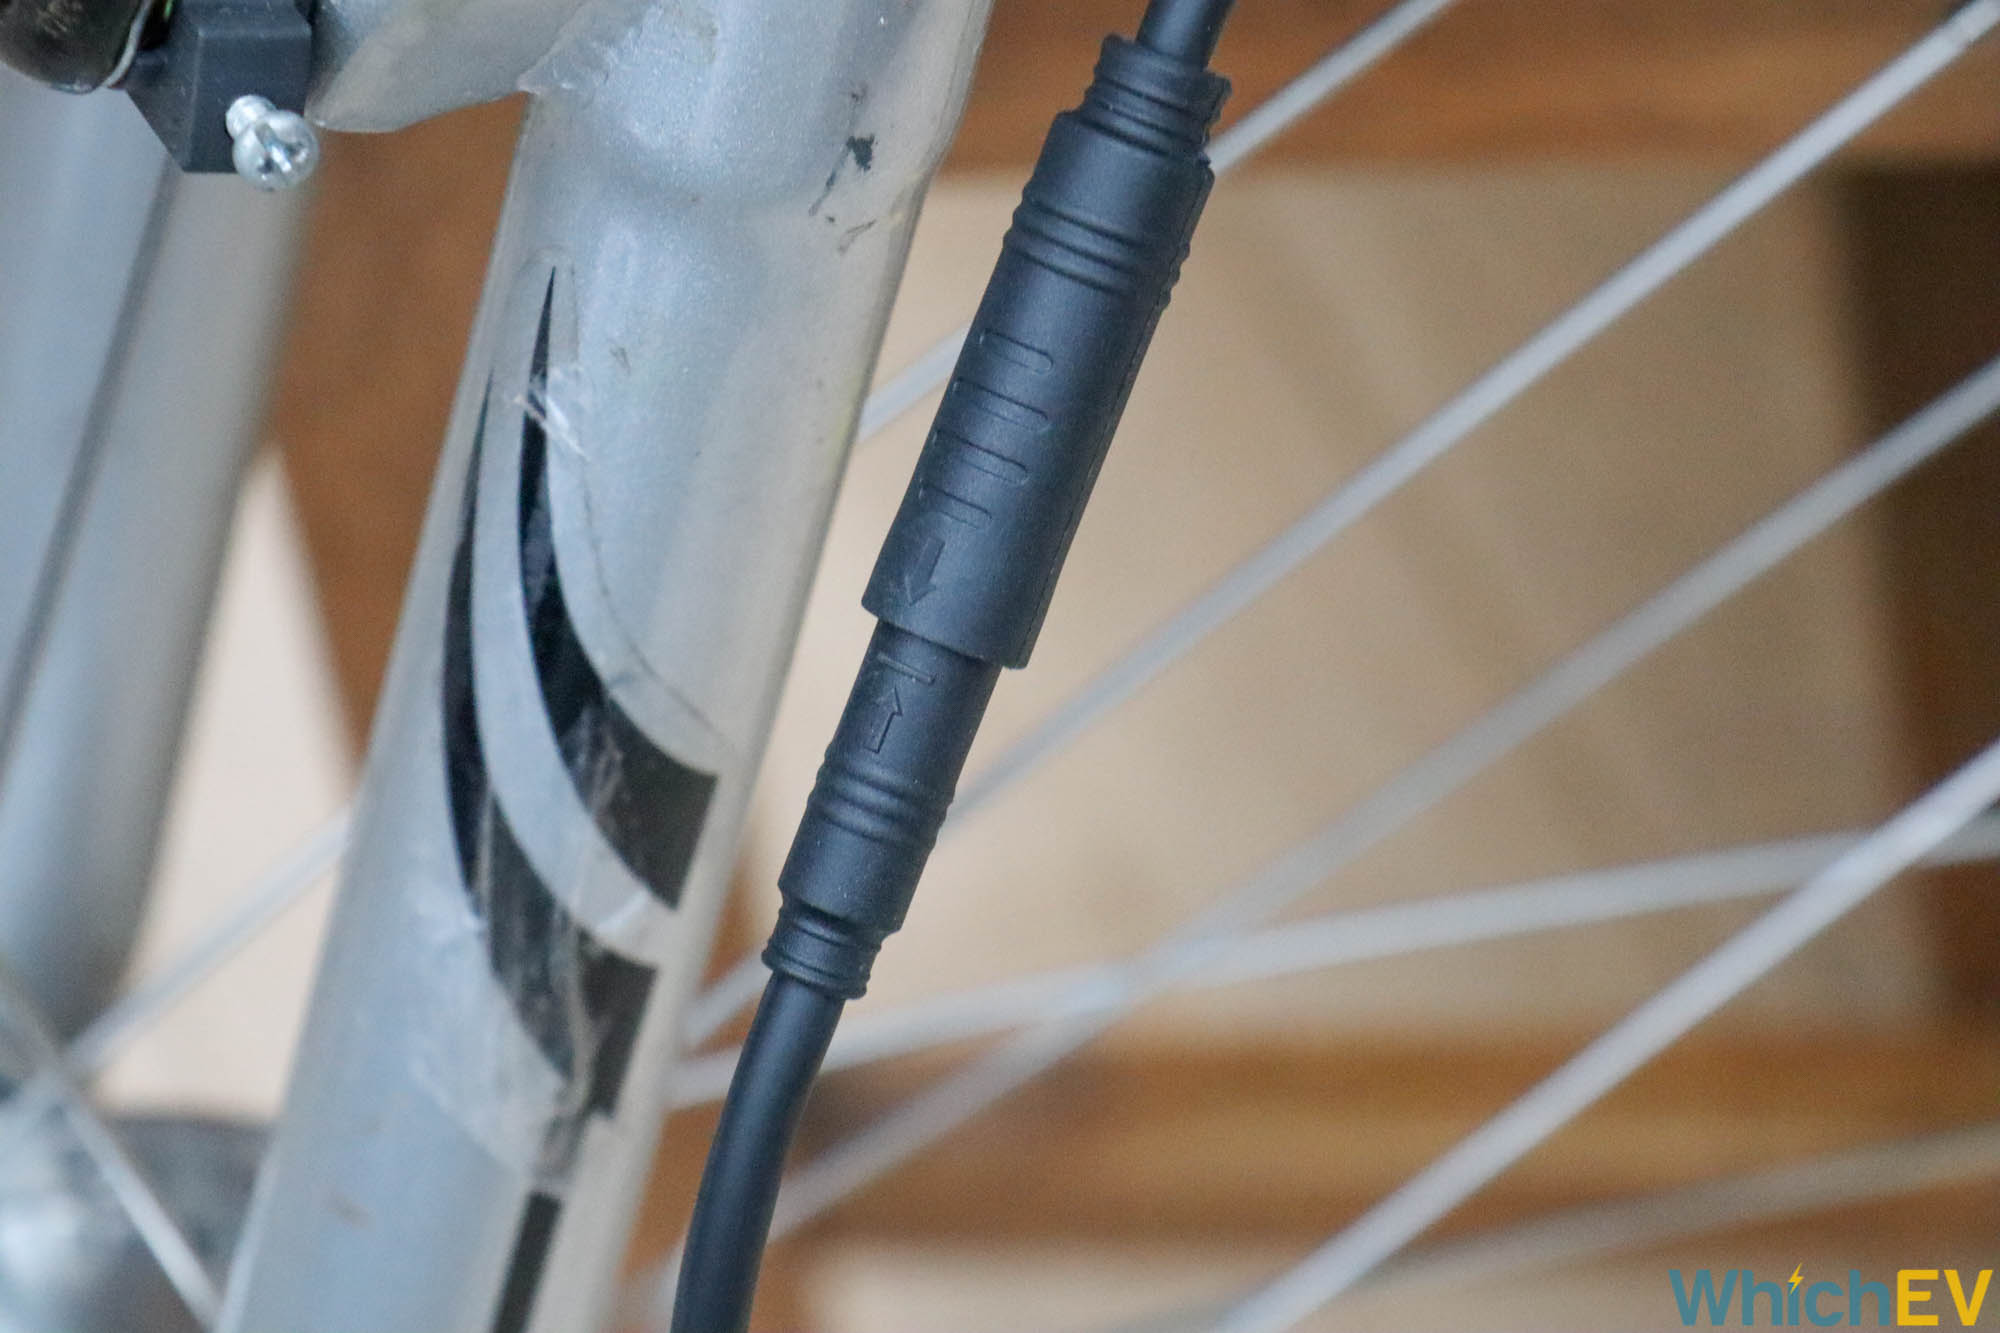


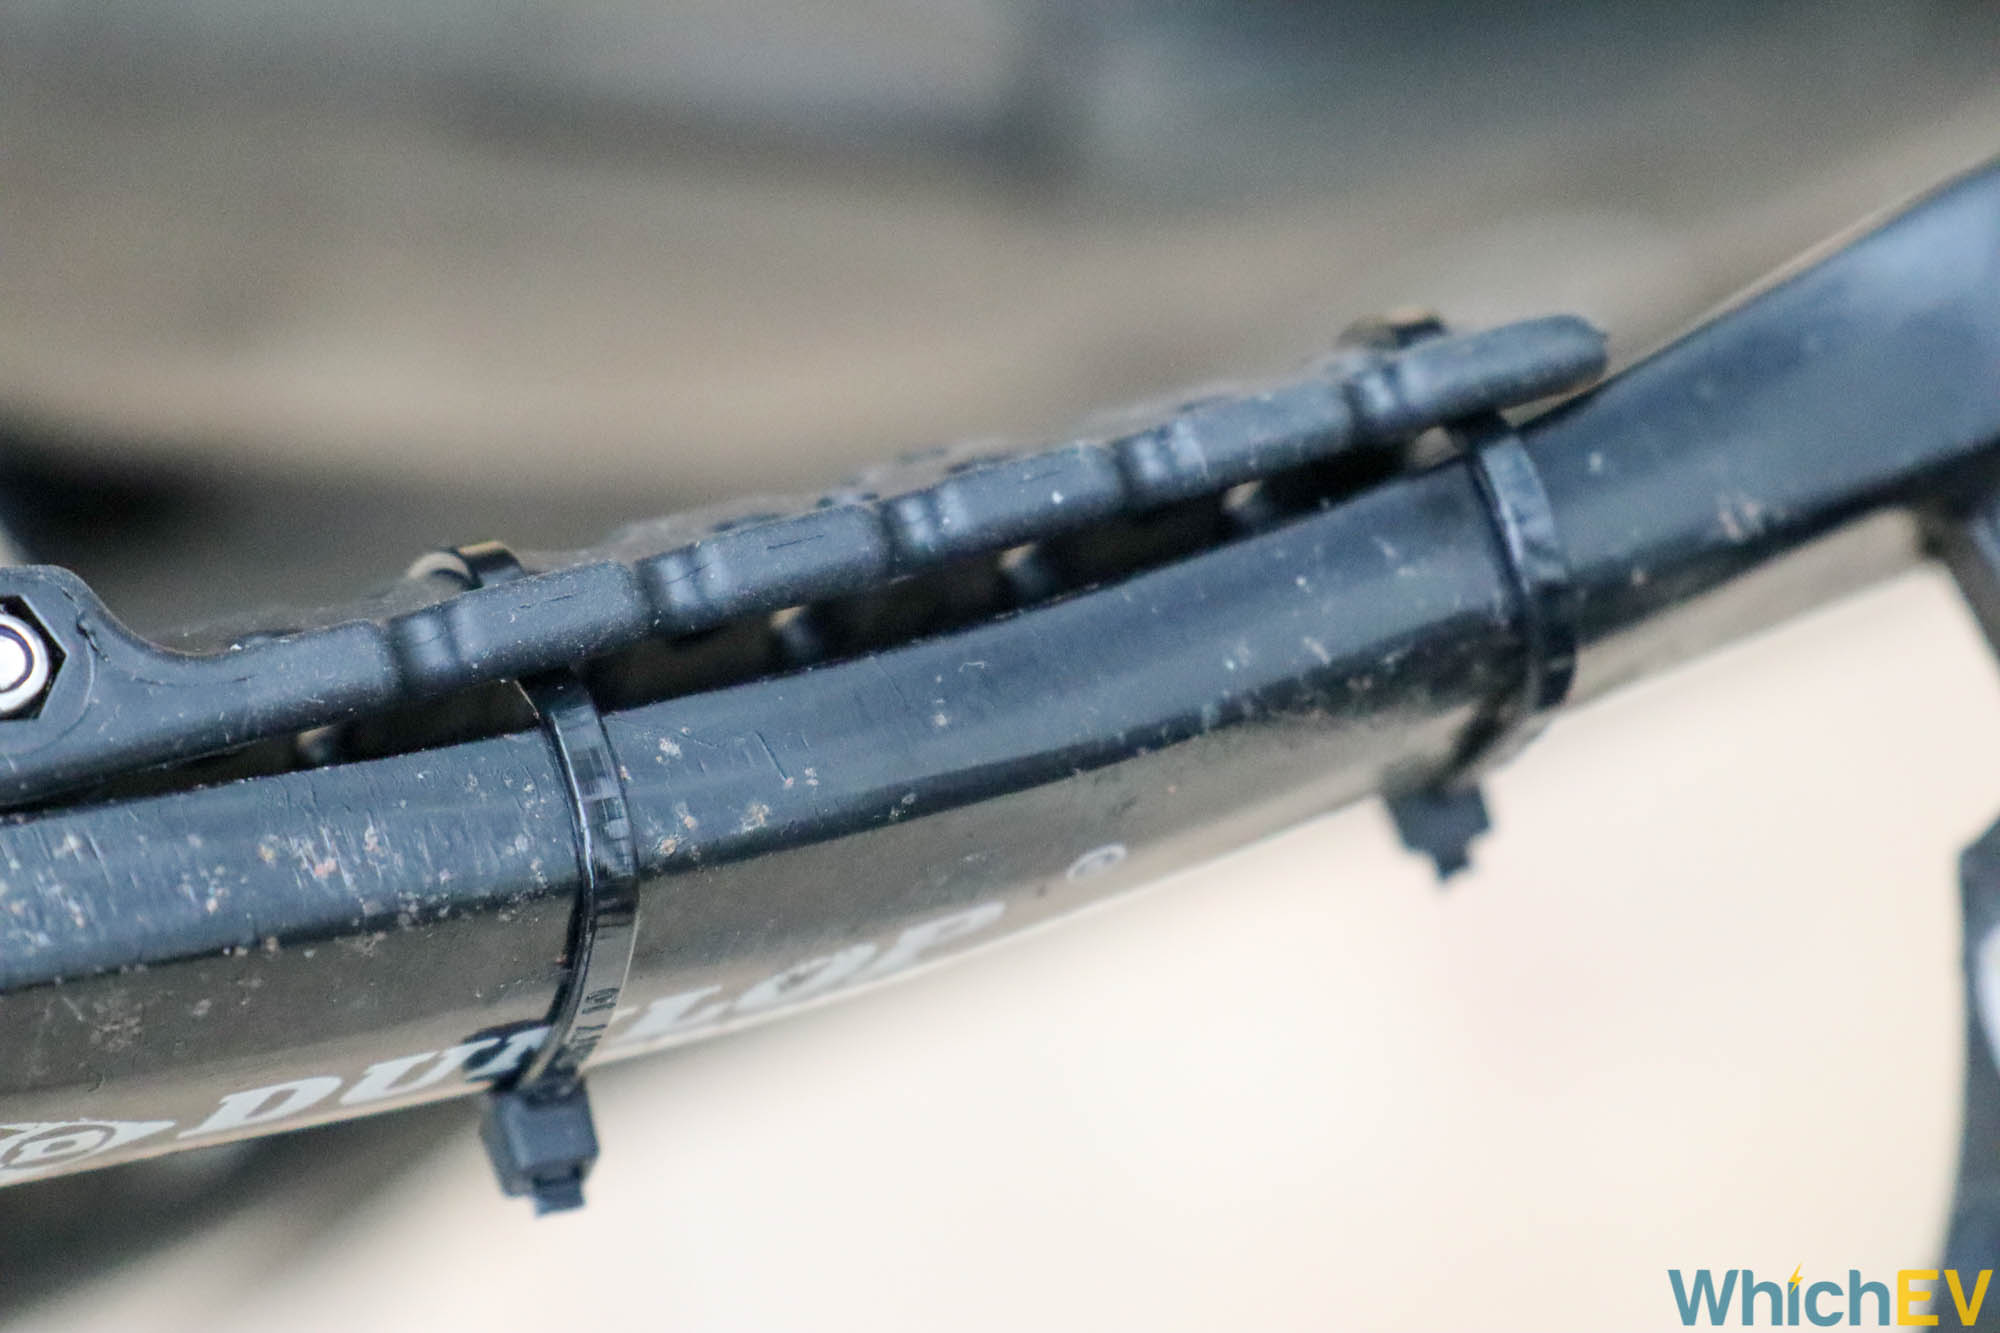
Once all these components are in place, it’s time to connect up all the wires. If you have any of the accessories you will need to install and wire these up too. Then you cable tie all your wiring neatly to the frame, ensuring in particular that there’s enough play in the power cable to the motor for turning the front wheel forks. You’re finally ready to install the battery pack.
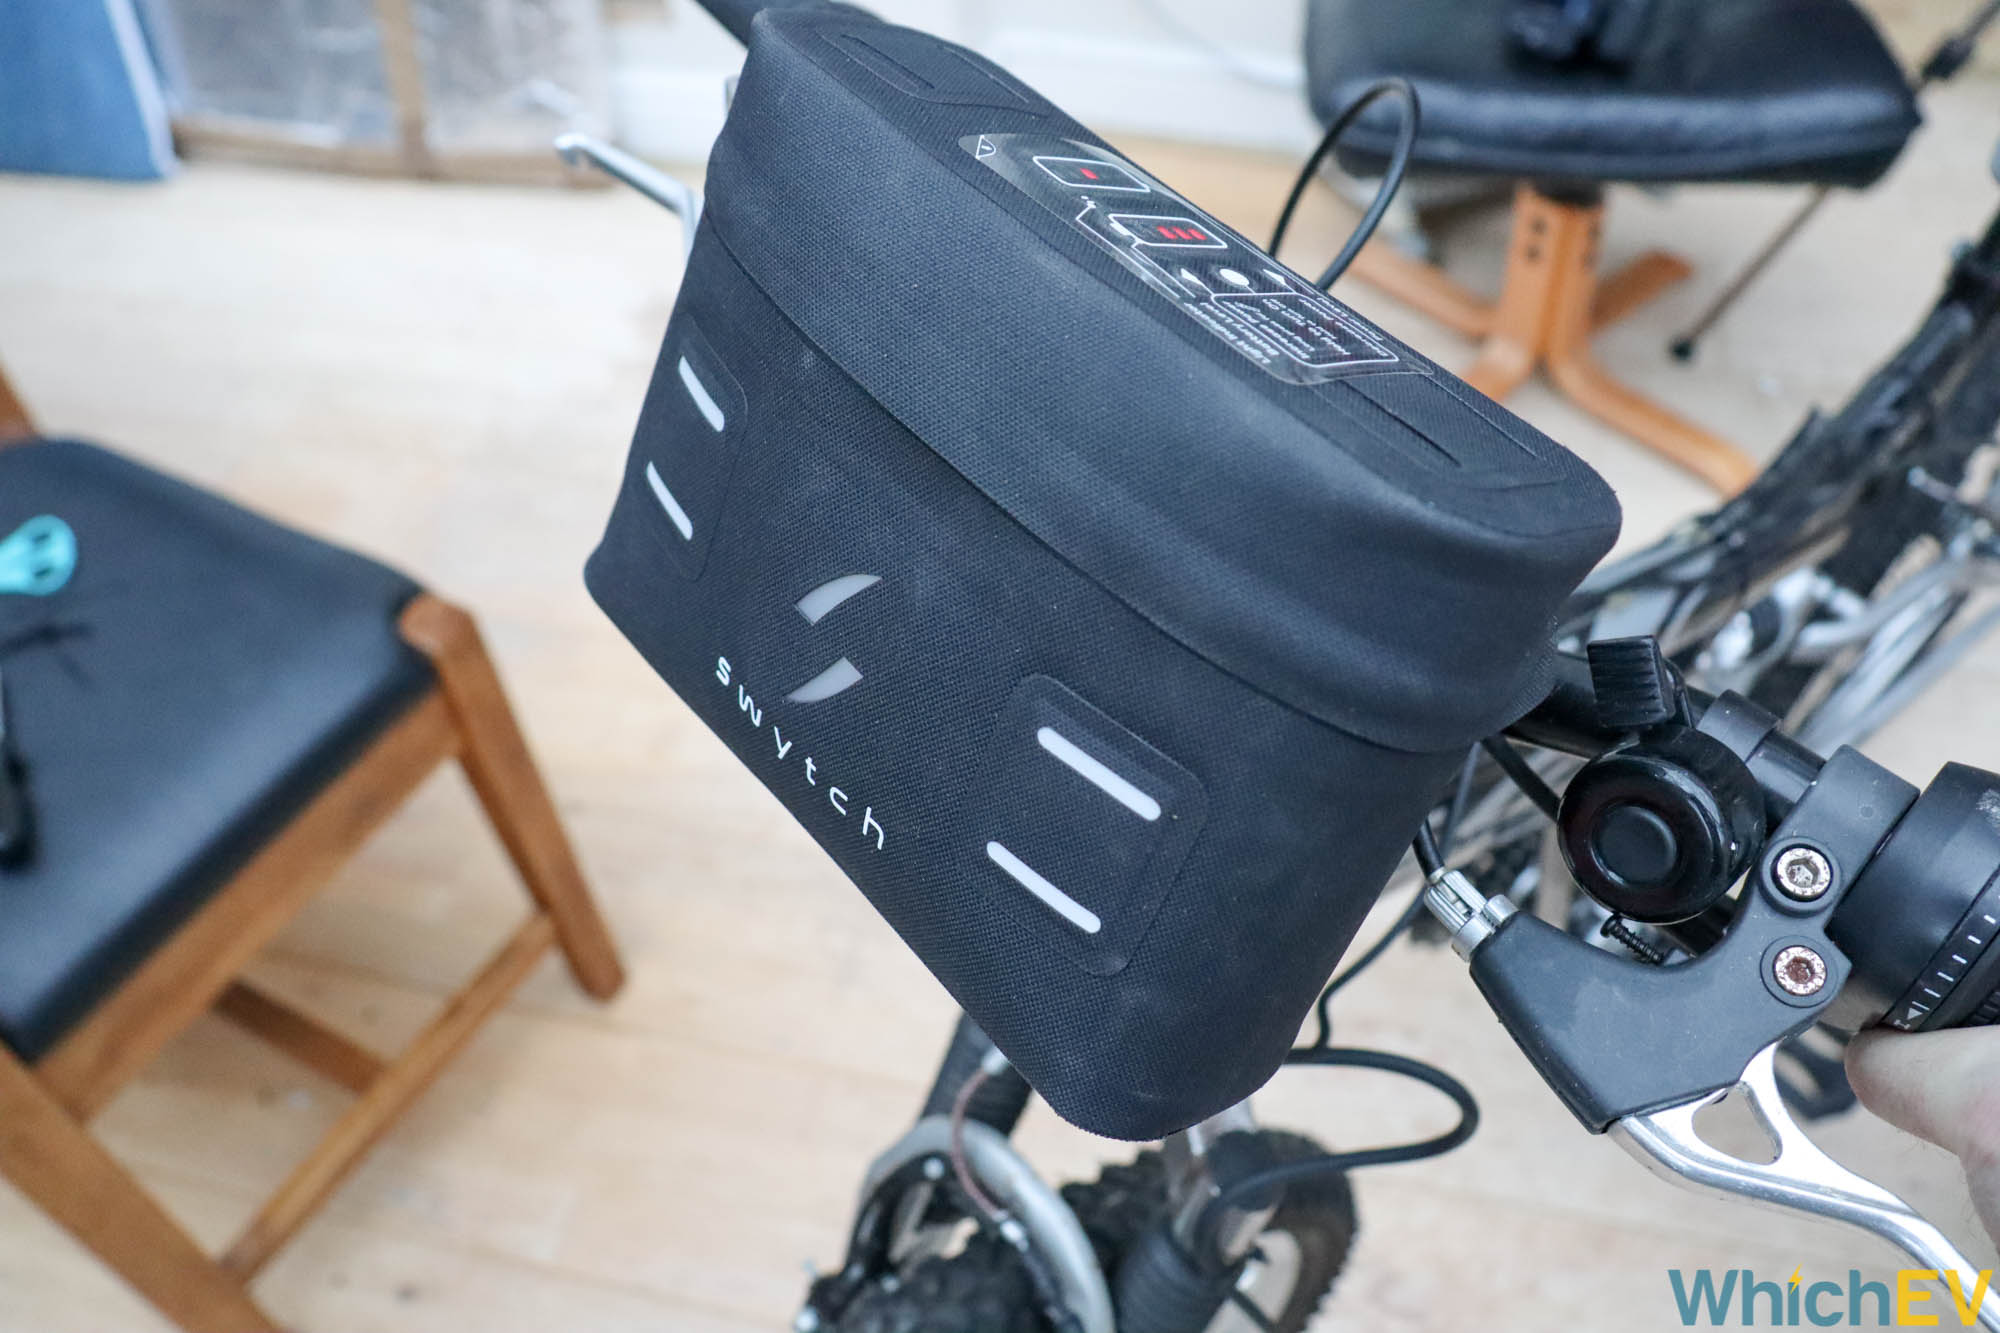
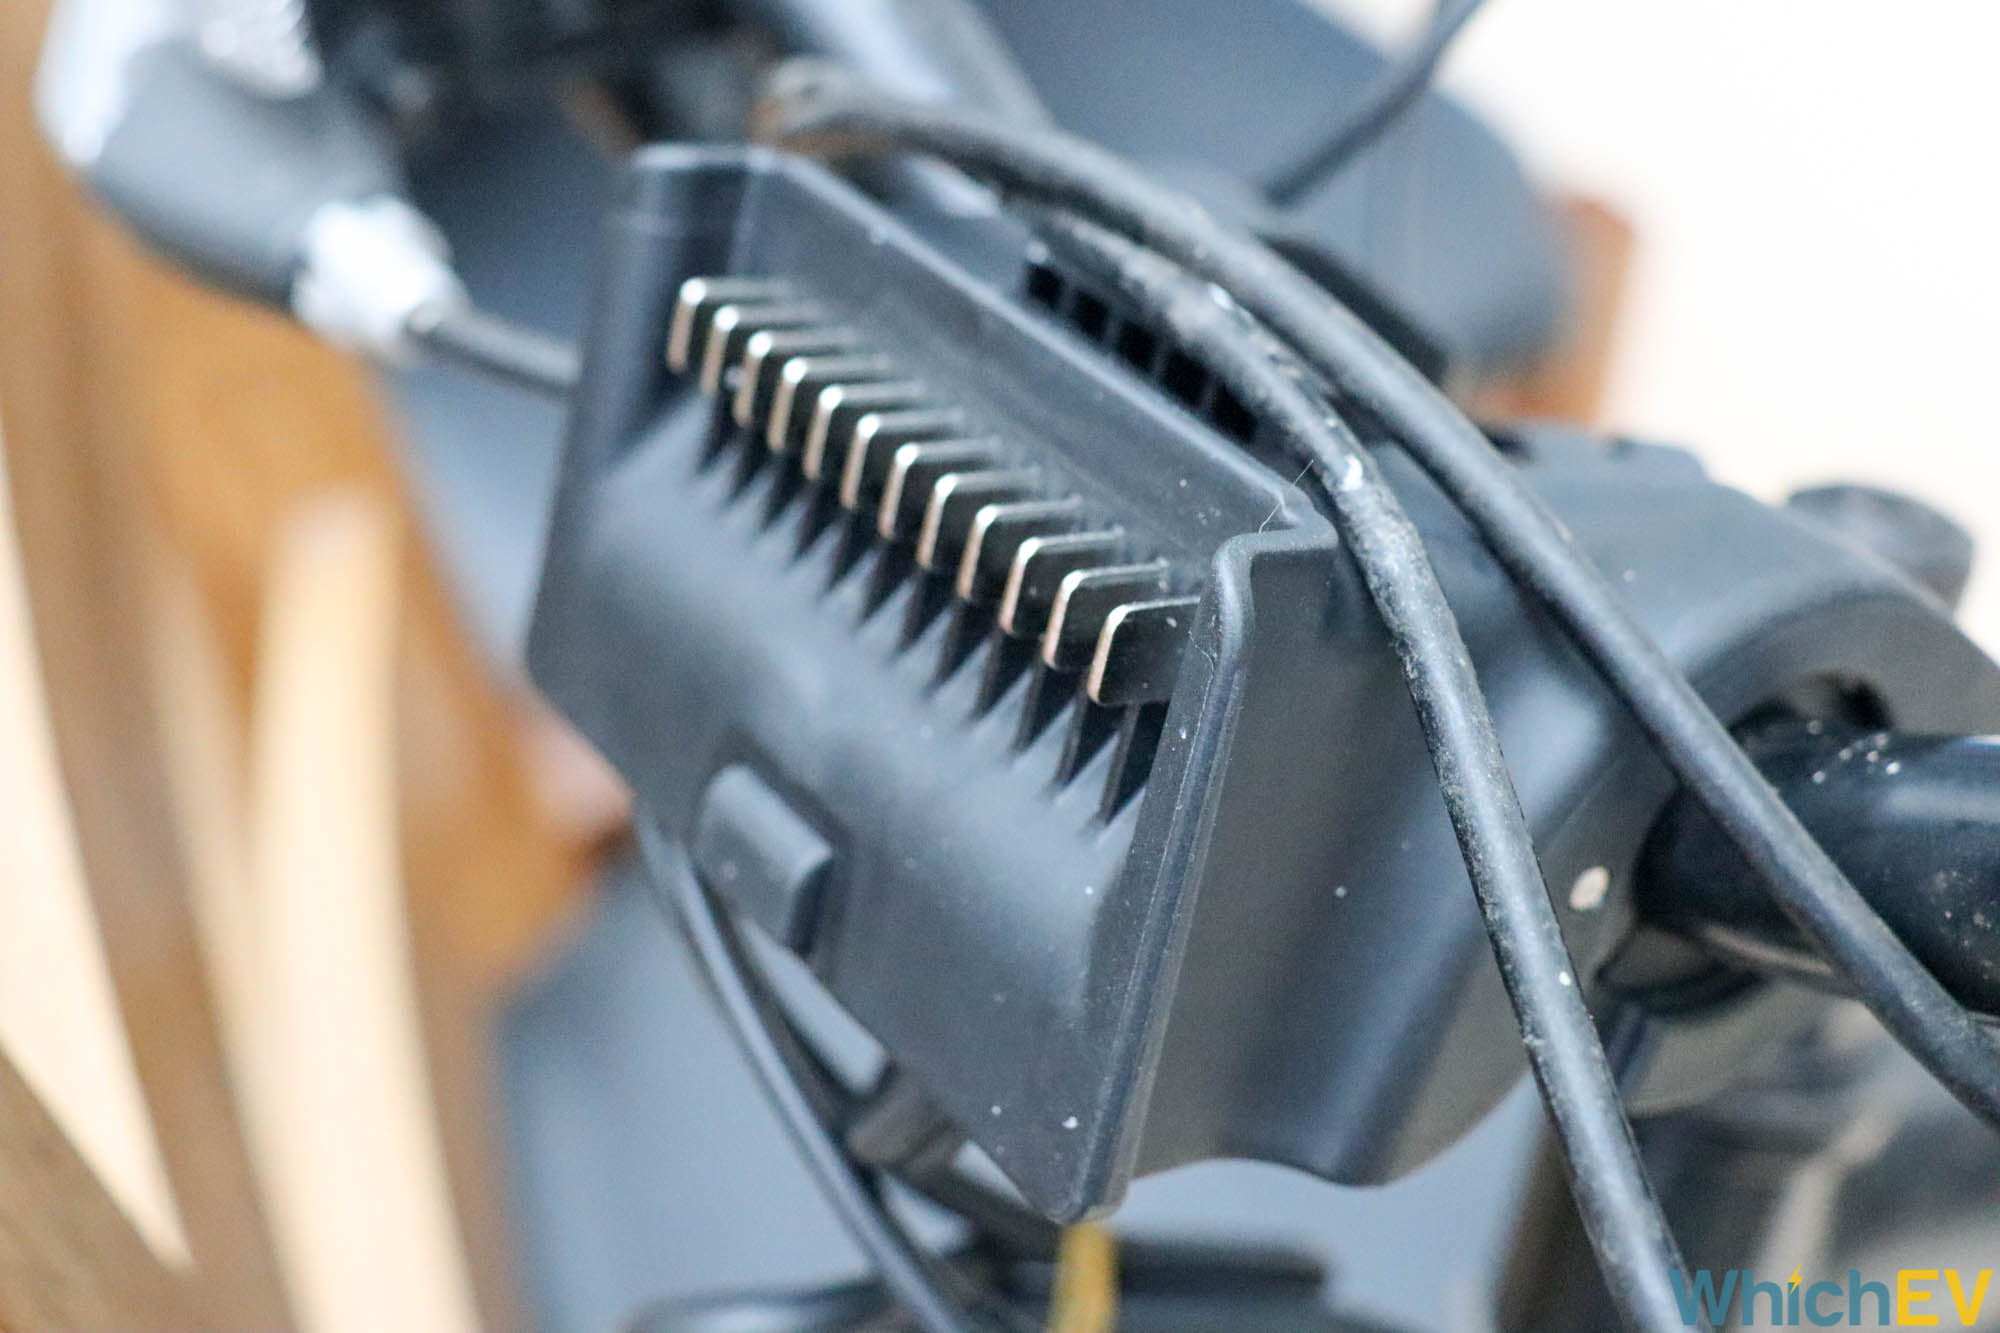
This unit simply slots on the front of the bike on the mount. You can then remove it for safekeeping and charging indoors, without having to bring the whole bike inside. One issue here could be that the battery sits where you would install a serious light, although the PRO kit does have a light built in. There are also multiple loops on the battery unit to attach lights to, both on the front and on top.
Once everything is installed you are invited to upload pictures of your installation to activate your warranty.
Battery Pack Settings and Functions
There are a number of settings available on the power pack. You access these through a few buttons on the top of the unit. You can reset to factory defaults, change the motor direction from forward to reverse, and set a limit on power. The five power limit levels range from 60% to 100% in 10% increments, with 80% the default. You can also set the top speed. The default is 15mph / 25kph, which is the UK and EU limit for ebikes without formal registration. There are four higher speeds, although Swytch doesn’t say what they correspond to. The final option, and the one you will definitely need to check and adjust if necessary, is for wheel size. The options are 16in 20in, 24in, 26in or 28in. The default is 24in so we had to move this up a notch.
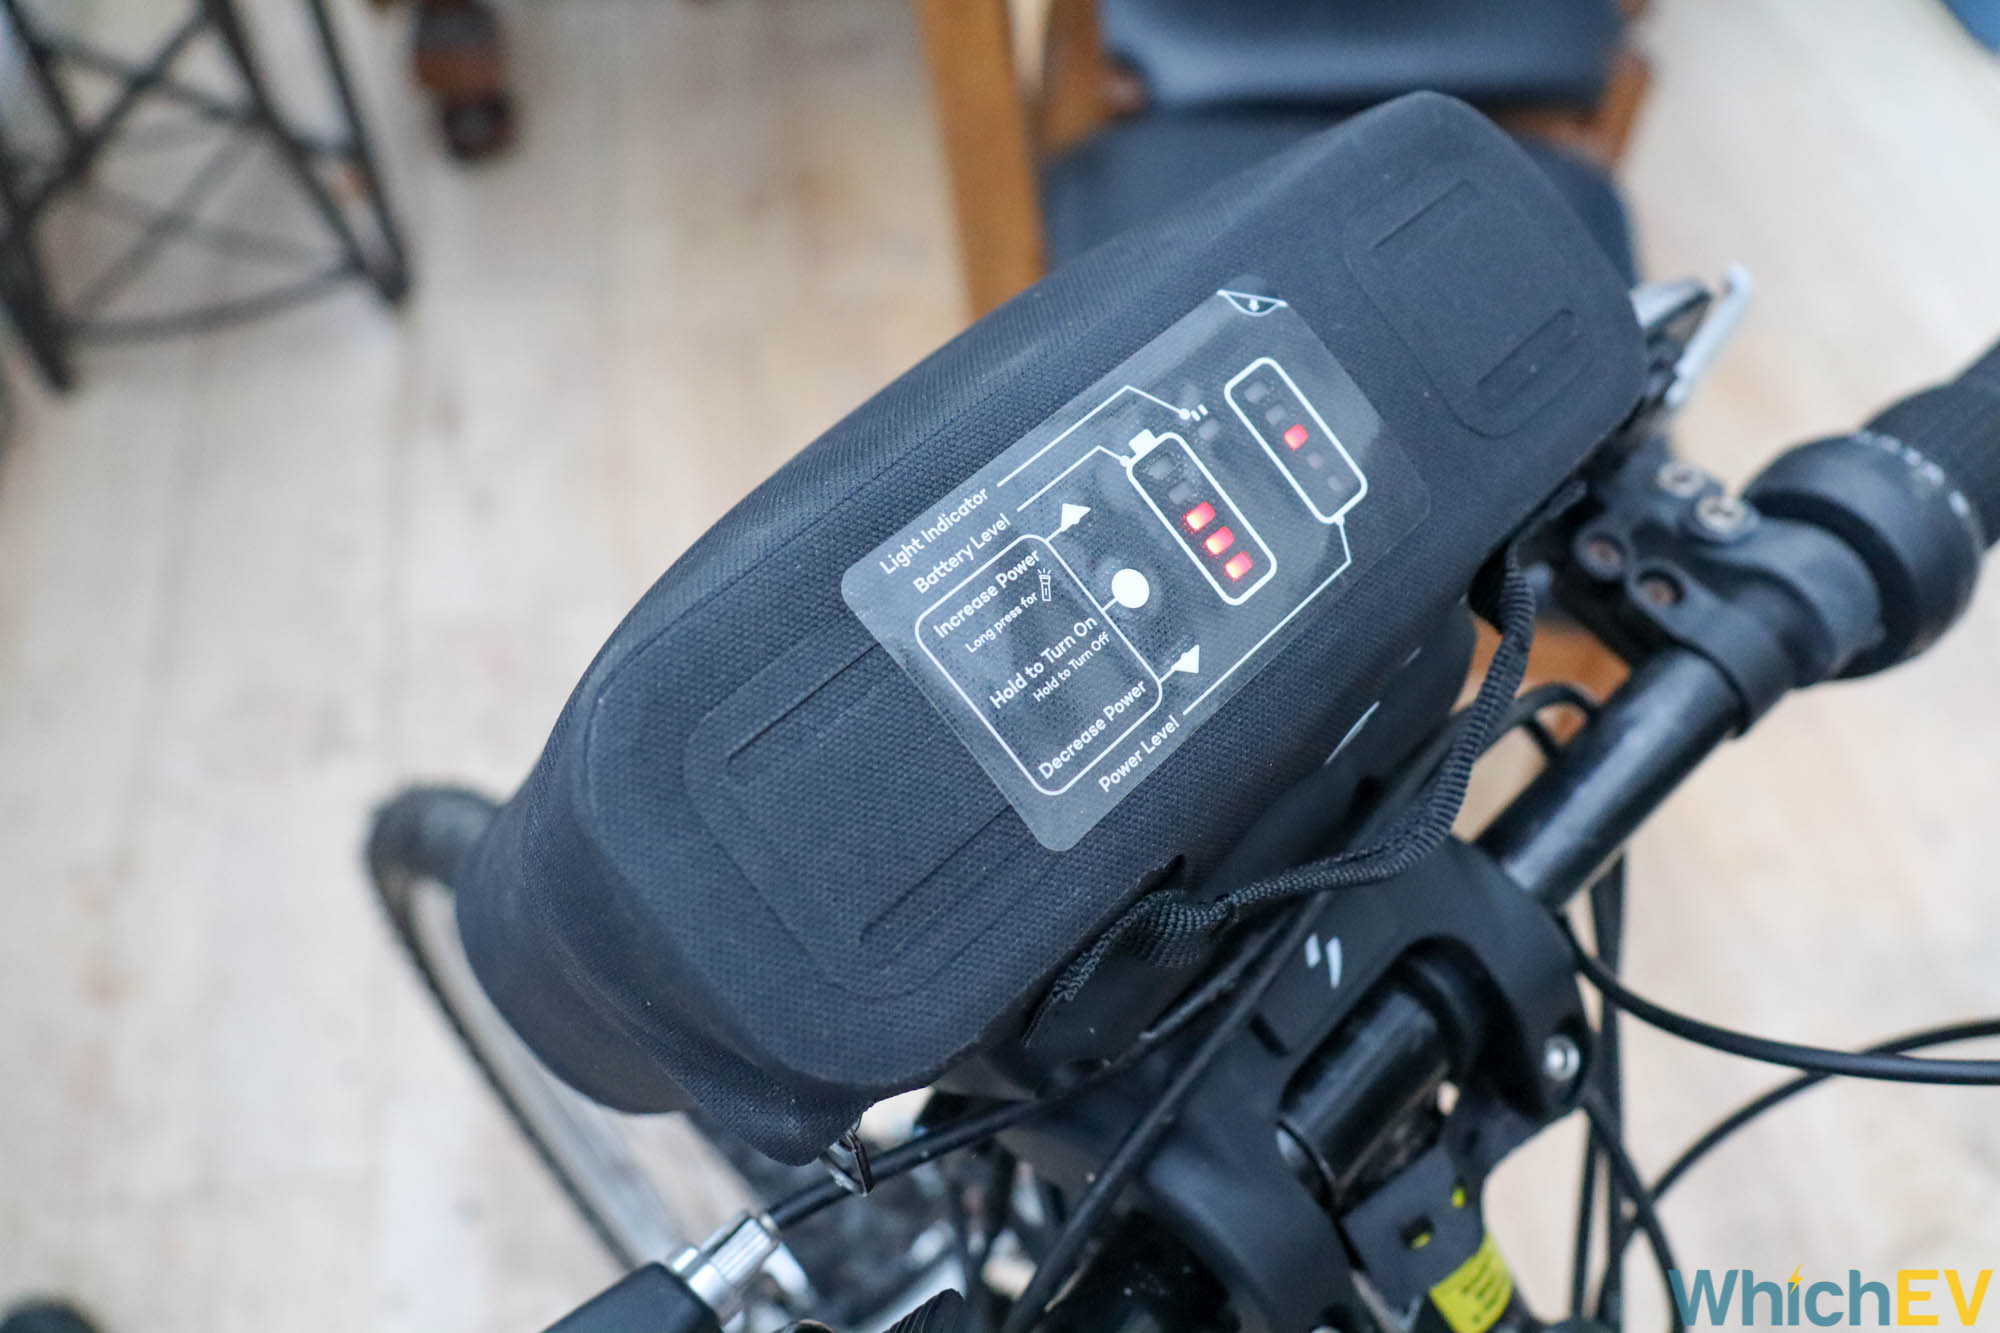
When in operation, the LEDs on the top of the pack show remaining charge and power setting, which you can use the arrows to increase or lower. To turn on the light on the PRO pack, you have to hold the up button on the top of the unit. The light isn’t hugely bright but its good to have it there since the pack sits where you would want to install your own. Installing the pack and removing it from the front of the bike is extremely easy, though. This is great if you go somewhere and leave the bike outside. You can take the expensive battery pack off and take it with you for safekeeping.
Riding and Performance
Getting the ebike motor going is as simple as starting to pedal. Unless you have a throttle controller, you vary the motor speed by simply pedalling faster or slower. It then cuts out when you stop pedalling. If you have the brake sensors, triggering a brake with a sensor attached will cut the power immediately, even if you are still pedalling. So in theory you will stop more responsively.

In practice, we never felt this element was lacking. The bike essentially behaved like it had before, only with less effort. The extra pull from the front wheel was subtle and extremely easy to get used to. The motor has 250W of motive power and 40Nm of torque. This gives it plenty of power to haul a rider and some luggage if you have any up a hill, but not so much power that you feel things are getting out of control, unless you try and pedal round a sharp corner, where having motive power pointed in multiple direction is a little disorientating. However, our heavy mountain bike felt much nimbler in its new motorised form. The motor is also so quiet that its inaudible over tyre, chain and environmental noise.

The battery weights about 1.5kg and the motor 1.5kg, so you have added 3kg to the weight of the bike. With the motor running, though, you won’t notice at all. You can still ride the bike with the motor turned off, which is handy if you run out of power before getting to your destination. We tried this and the extra weight made our Dunlop bike even more of a slog, but that’s not really the point. If you ever do want to ride entirely without power, you can leave the battery behind and you’ve only added 1.5kg instead of 3kg, which isn’t very noticeable. The motor is low friction when freewheeling, so the dynamics are scarcely different.
Range and Charging
Our PRO kit’s range of 50km is rated for medium (80%) power, and that’s going to be more than enough for most regular round-trip commutes. However, with only 5 steps on the power remaining LED indicator, you don’t have much indication of how much range you have left. With the 250Wh capacity, you’re using 5Wh per km, or 8Wh per mile. On a 14p per kWh supply, this bike costs just 0.1p per mile. So this is an extremely cheap way to electrically power your journey to work.
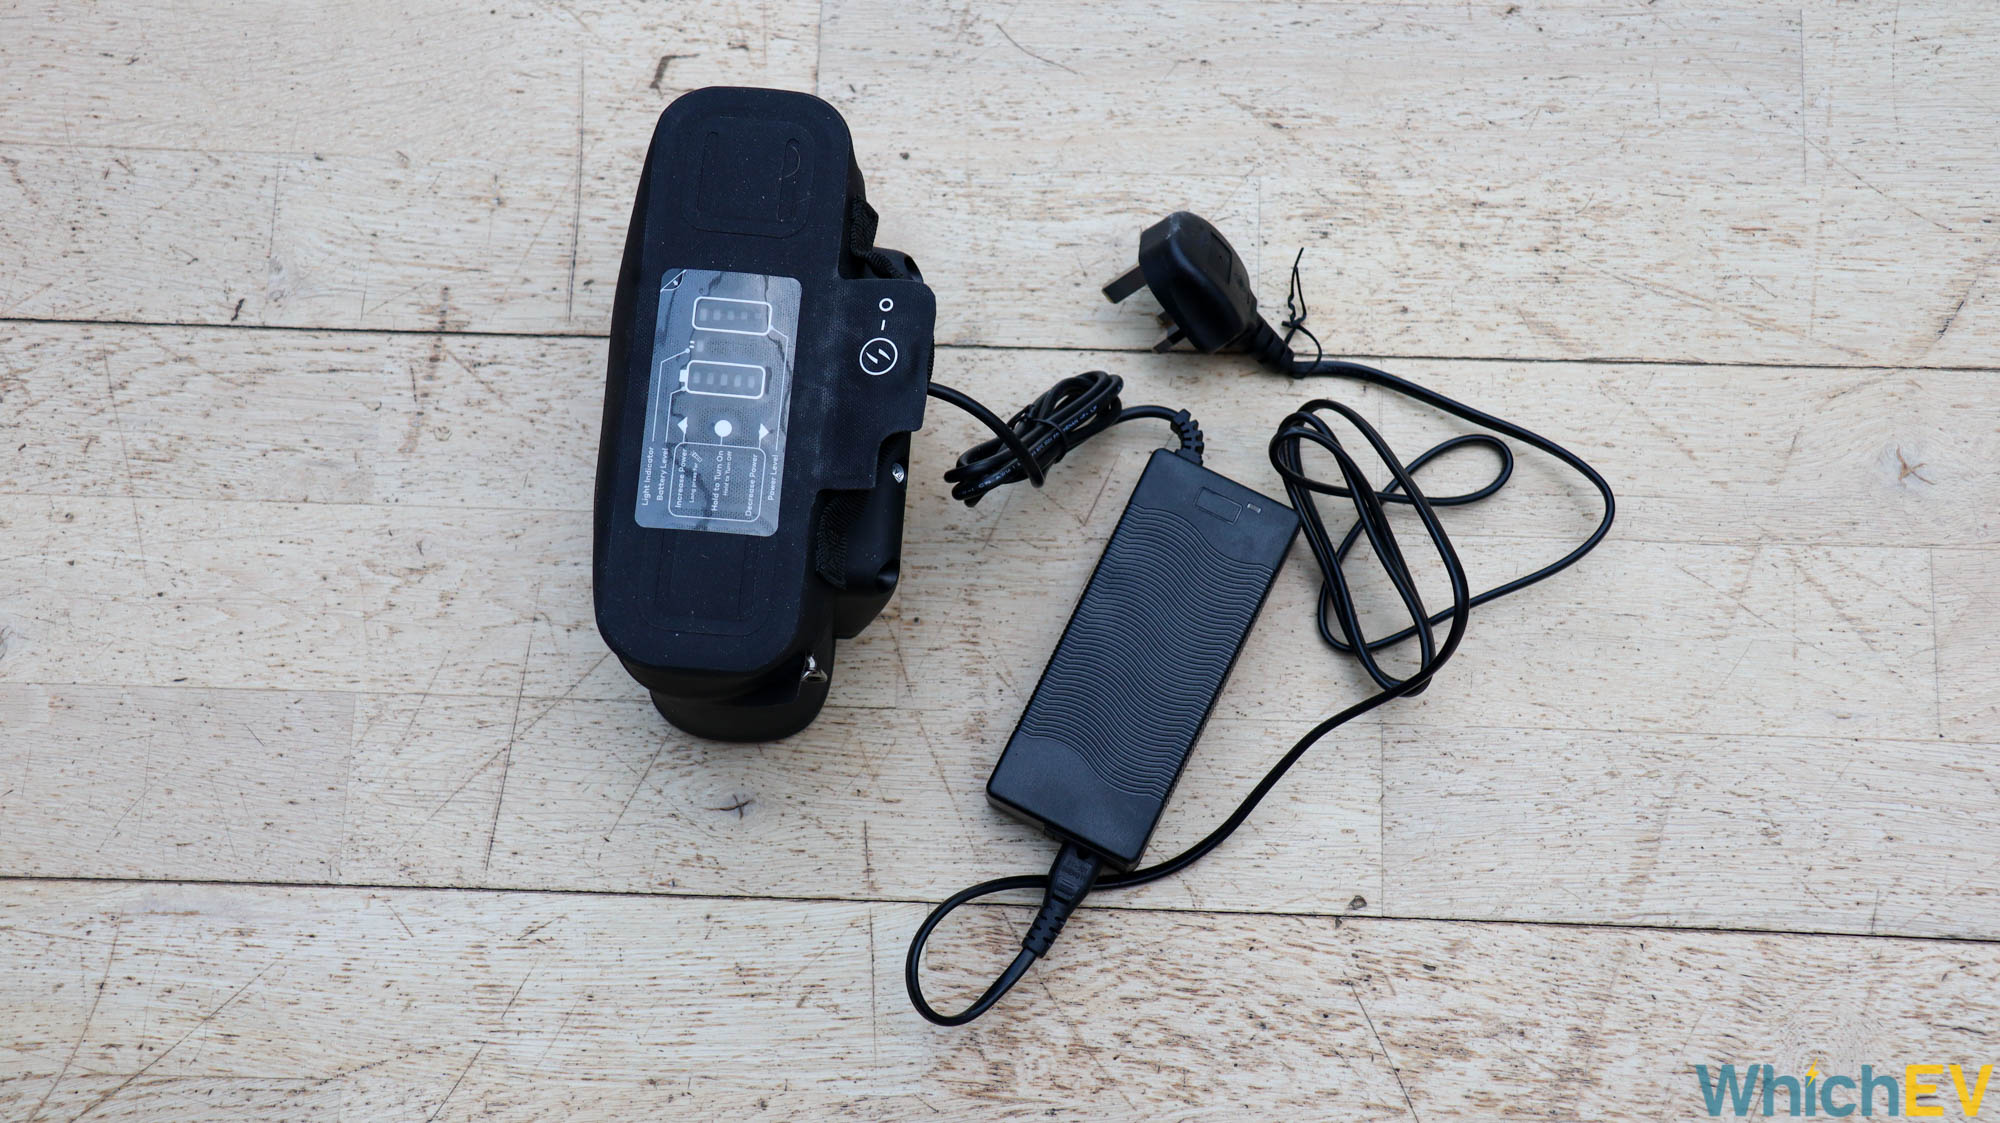
Charging the battery pack uses a typical external 240V power adapter. This is only 2A, so charges quite slowly. The ECO power pack takes around 2.5 hours to charge and the PRO pack takes 3.5 hours. There is apparently an optional 3A fast charger, which cuts these to 1.5 and 2 hours respectively. However, although these are quite lengthy periods for the battery capacity, even if your workplace is 50km away, you would have no problem recharging during a day’s work for the journey home.
Final Thoughts
Although it took us longer than we expected to install the Swytch kit (mostly due to the difficult tyre removal and replacement of our donor bike), we really enjoyed the process. If you like the idea of tinkering and customisation, the Swytch already wins on a sense of achievement from a successful installation.
Perhaps best of all, the end result can be as unique as the bike you start off with. If you’ve got a much-loved two-wheeler, a historic bicycle or something rare and full of character, you can have an ebike like no other. So this is almost like a classic car EV conversion for bikes, although in this case anybody with a little bit of knowledge about maintenance can do it.
The price is reasonable, particularly if you’re willing to place one of the orders with a longer lead time. However, it is not the cheapest way to electrify a bike. You can get a basic set of components for less than £350 from sites like Cyclotricity. But the Swytch kit has a polished and well explained installation process, it’s reliable, and well made. It’s also potentially cheaper than buying a standalone ebike, particularly if you use a relatively inexpensive donor (like our Dunlop, which cost under £100 new).
The bike you end up with is extremely functional. The range is decent, and you can configure it for more power if you want a more bracing journey. On a private road, you could even up the top speed for greater thrills. Not everyone likes the look of the battery pack on the front handlebars, but the fact you can so easily remove it for charging and safekeeping makes this forgivable.
Overall, the Swytch kit is highly recommended. It’s fun, flexible and functional, as well as providing an affordable route to electric biking – particularly if you're willing to place a delayed order and wait a while.
To place your order follow this link to the Swytch website.
Read our interview with Swytch founder Oliver Montague here.
Key Specifications
| Price: | £499 – 999 |
| Range: | ECO: 35km (22 miles); PRO: 50km (31 miles) |
| Charge time: | ECO: 2.5 hours; PRO: 3.5 hours |
| Battery: | 180Wh; PRO: 250Wh |
| Cost per mile: | 0.1p |
| Top speed: | 15mph / 25kph (default) |
| Power: | 250W / 40Nm |
| Wheels driven: | Front |